If you’re trying to install or update the AMD Ryzen chipset driver on your Windows 11 or 10 PC and the installer keeps failing with “Error 1603” (sometimes at around 20%), this guide will show you what usually causes it and how to get the driver installed.
Also see: Ryzen Master unable to initialize Kindly reinstall the program
Page Contents
Why does the AMD chipset driver fail with error 1603?
Error 1603 is the generic “fatal error during installation” code from Windows Installer, which is what AMD’s chipset package uses behind the scenes. In other words, it only tells you that something went wrong, not what. AMD support even told one user that it’s just a general Windows installation failure.
AMD’s own chipset FAQ lists these common reasons:
- Driver or software conflicts.
- Antivirus software wrongly flagging and blocking the installer’s files.
- Missing critical or important Windows updates.
- Corrupted registry keys or system files.
Sometimes the installer’s log shows a more specific error. One user on r/AMDHelp who dug into the installer’s log found that the real error behind 1603 was Error 1308 (“Source file not found”) for the GPIO2 driver files inside C:\AMD. That points to a broken copy of the files the installer had extracted earlier, and moving them out of the way fixed it.
Also, if you’ve already tried the AMD Cleanup Utility, it’s no surprise it didn’t help. According to AMD, that tool is meant for graphics and audio drivers and doesn’t touch chipset drivers at all.
Related problem: Windows 11 Shows Only One Processor Core, Why?
Rename the chipset installer’s old Chipset_Software folders
When you run the AMD chipset installer, it first unpacks its files to C:\AMD\Chipset_Software, and a later run can pick up what’s already in there. If some of those files are missing or damaged, the install can keep failing with 1603 every time you retry. This is the fix that worked in the GPIO2 / Error 1308 case, and it’s harmless since you’re only renaming folders, not deleting anything.
Here’s what you should do:
- Close the AMD chipset installer.
- Open File Explorer and go to
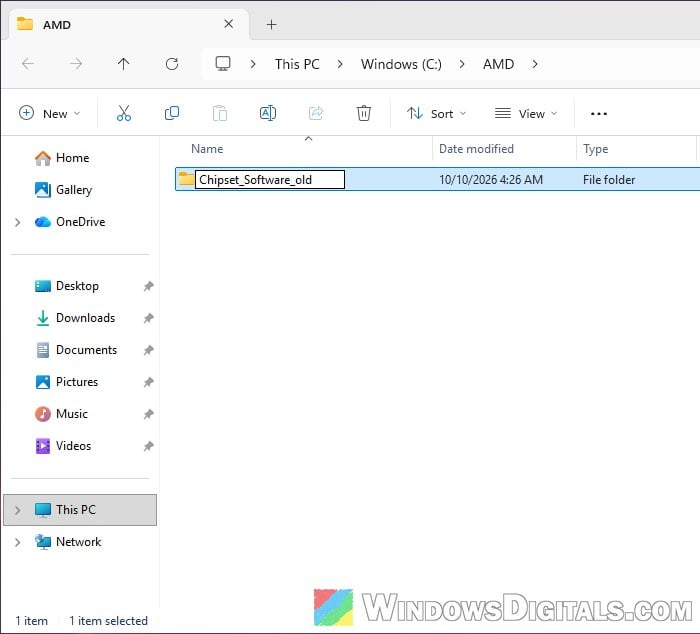
C:\AMD. - Right-click the Chipset_Software folder, select Rename, and rename it to “Chipset_Software_old“.
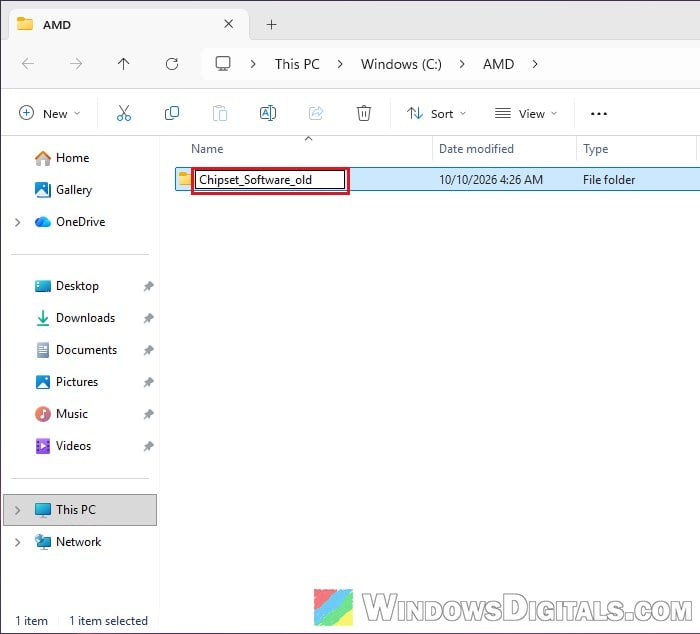
- Next, copy and paste the following path into File Explorer’s address bar and press Enter (if Windows says it can’t find it, skip to step 6):
%APPDATA%\AMD
- If there’s a Chipset_Software folder in there too, rename it to “Chipset_Software_old” as well.
- Run the AMD chipset driver installer again. It will create a fresh
C:\AMD\Chipset_Softwarefolder and extract clean copies of its files.
If the driver installs this time, you can delete the two “_old” folders later.
Learn more: How to Clean Up AppData Folder in Windows 11
Download the standalone installer from AMD’s website
If you’re updating the chipset driver through AMD Software or AMD Install Manager, try the standalone installer instead. In a popular r/AMDHelp thread about the install getting stuck at 20%, several users said the installer downloaded straight from AMD’s website went through when the update inside AMD’s app wouldn’t. A B650 owner on r/framework had the same result.
Here’s how to get it:
- Go to AMD’s Drivers and Support page (
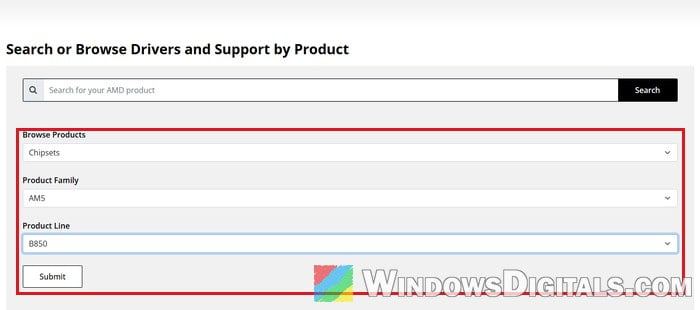
https://www.amd.com/en/support/download/drivers.html). - Scroll down to “Search or Browse Drivers and Support by Product“. Under Browse Products, select Chipsets.
- Under Product Family, select your CPU socket (for example AM4 or AM5), then under Product Line, select your motherboard’s chipset (for example B850), and click Submit.
- Under your Windows version (for example Windows 11 – 64-Bit Edition), click Download next to AMD Chipset Drivers.
- Run the downloaded installer and follow the prompts.
If you can’t find your chipset on that page, you can also get the installer through AMD Install Manager: click the three dots next to AMD Chipset Drivers and choose Release Notes. The release notes page for that driver has the installer’s download link near the bottom.
If the installer finishes without error 1603 this time, restart your PC and you’re done.
Uninstall the old AMD Chipset Software first
For some users, the new package just wouldn’t install over the old one. It only worked after they removed the old chipset software and restarted.
Please note that you should only remove the chipset drivers the way AMD describes below. AMD warns that removing chipset components through Device Manager or third-party driver removal tools can cause problems, and its uninstaller leaves the GPIO drivers in place on purpose.
To uninstall it the way AMD recommends, follow the steps below:
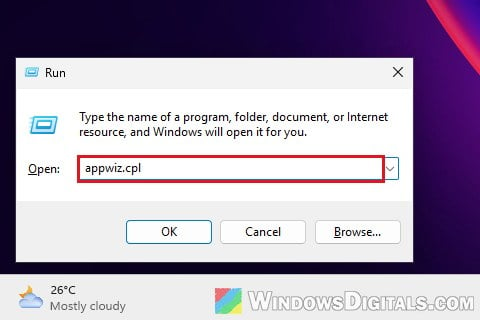
- Press Win + R, type “appwiz.cpl” and press Enter to open Programs and Features.
- Double-click AMD Chipset Software in the list. This opens the AMD Chipset Software Installer.
- The installer lists the chipset drivers that can be removed. Select them and follow the prompts to uninstall.
- Restart your computer.
- Run the standalone chipset installer (see the previous section if you haven’t downloaded it yet).
If it finishes without error 1603 this time, restart your PC once more and you’re done.
Install pending Windows updates and restart
AMD recommends installing all available critical and important Windows updates before installing the chipset package. And if Windows is still waiting for a restart, or another install is running in the background, the chipset installer can also fail with the same 1603 error.
Here’s what you should do:
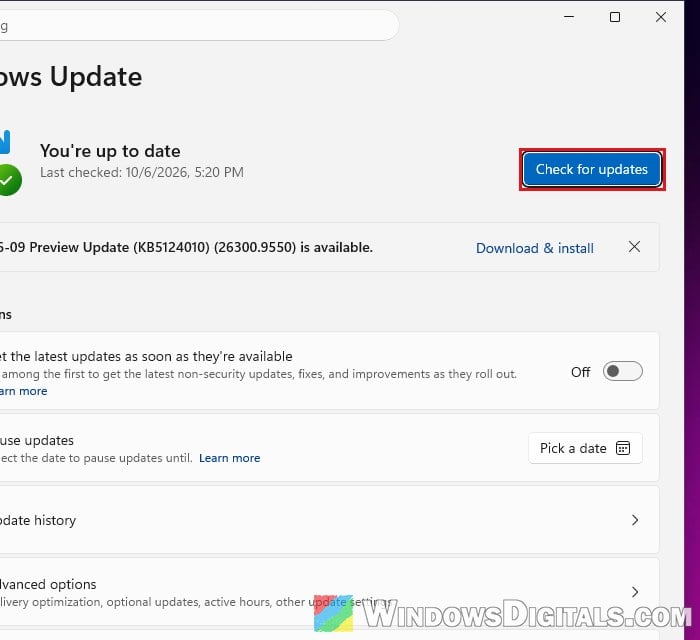
- Open Settings > Windows Update.
- Click Check for updates and install everything that’s offered.
- Restart your PC, even if Windows doesn’t ask you to.
- Run the chipset installer again.
If the installer gets past the point where it failed before, the missing updates or the pending restart were holding it back.
Temporarily turn off your antivirus
Your antivirus can sometimes flag the driver installer by mistake and block some of its files, which is one of the causes AMD lists for error 1603. First make sure your antivirus and its definitions are up to date. If the install still fails, turn off its real-time protection only until the chipset driver is installed.
If you only use the built-in Microsoft Defender:
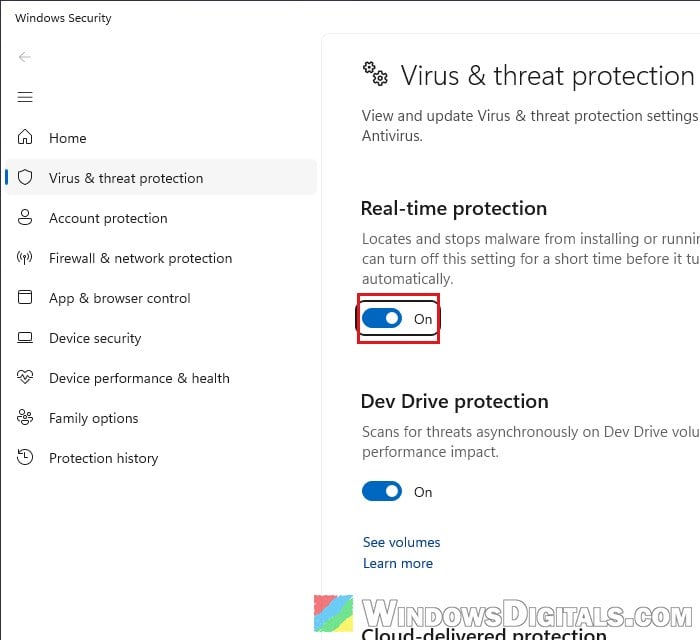
- Open Windows Security and go to Virus & threat protection.
- Under Virus & threat protection settings, click Manage settings.
- Turn off Real-time protection.
- Run the chipset installer again.
If the driver installs now, your antivirus was most likely blocking it.
Important: Turn Real-time protection back on right after the install. If you use a third-party antivirus, pause or turn off its protection from its own settings or tray icon instead.
Might be useful: Virus and Threat Protection Missing in Windows 11
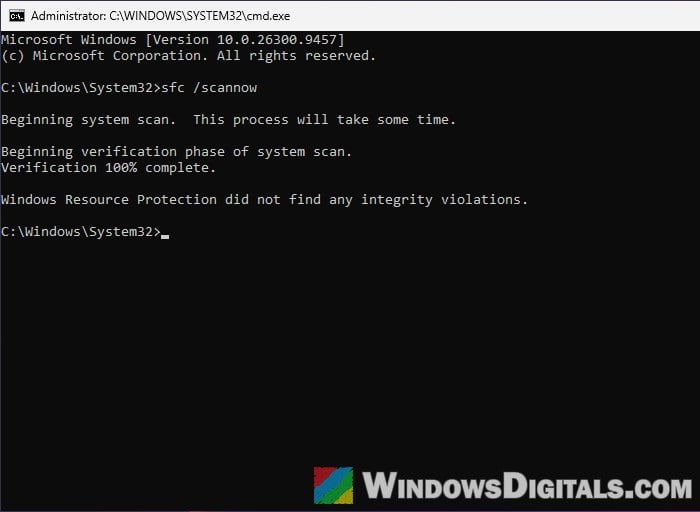
Repair Windows system files with DISM and SFC
AMD also lists corrupted system files as a possible cause, so it doesn’t hurt to check them. You’ve probably seen these two commands suggested for every Windows problem out there, and they’re not guaranteed to fix this one. One r/AMDHelp user fixed corrupted files this way, but the chipset install still didn’t go through afterwards. Still, they’re safe to run.
Follow the steps below:
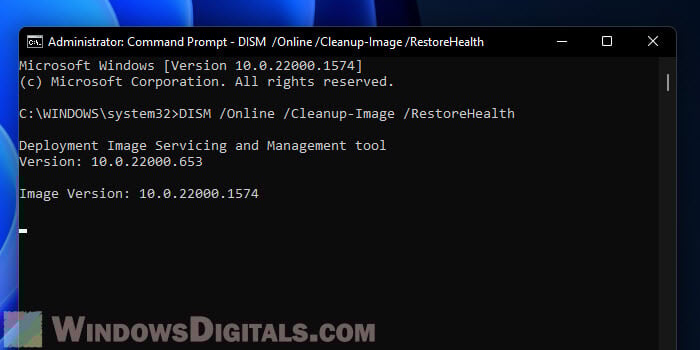
- Open Command Prompt as administrator.
- Run the following command to repair the Windows image:
DISM /Online /Cleanup-Image /RestoreHealth
- When it’s done, run a system file check:
sfc /scannow
- Restart your computer and try the chipset installer again, ideally after renaming
C:\AMD\Chipset_Softwareagain (for example to “Chipset_Software_old2“) as shown in the first fix.