Zebronics is a popular brand in India for computer hardware and accessories like USB WiFi adapters. For these adapters to work, you’ll need to install their drivers. Windows Update should usually deal with that for you. But for Zebronics WiFi adapter, there are often issues where Windows just couldn’t find and install the right drivers for it automatically. If that’s the case, you’ll need to manually download and install it, and this guide will show you how for Windows 11 or 10.
Also see: “Can’t connect to this network” WiFi or Hotspot Issue in Windows 11/10
Page Contents
Download the right driver for your Zebronics WiFi adapter
To make sure your Zebronics WiFi adapter works as it should, you need to install the correct driver that matches your model. Below is how you can find and download the right driver for it.
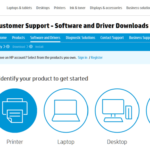
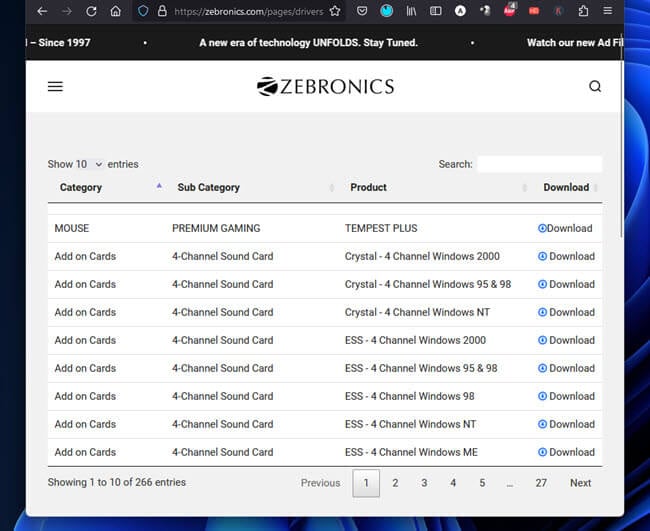
- Start by going to
https://zebronics.com/pages/drivers. - At the site, you’ll see a list of drivers for different Zebronics devices.
- Type your Zebronics WiFi adapter model into the search bar. For example, if you have the Zeb-USB300WFD WiFi USB Adapter, type “Zeb-USB300WFD”. You can also just type “Zeb-USB” to see drivers for various Zebronics USB WiFi adapters.
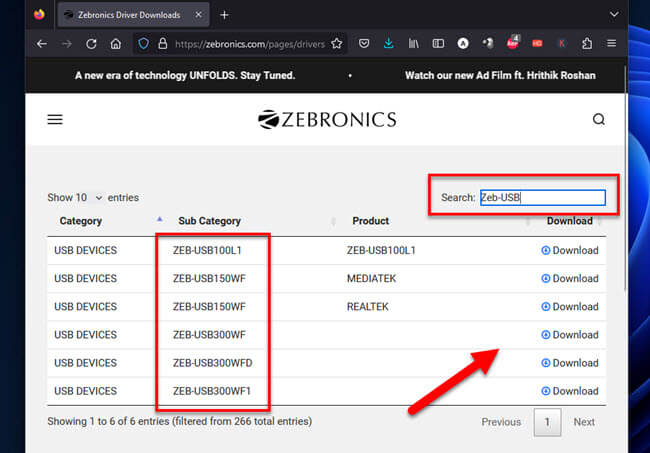
- Look through the results and find the driver for your specific WiFi adapter model.
- Click on the “Download” link next to your model.
- You might end up on a page like “Index of /driverszebronics7991/USB_Devices/ZEB-USB300WF” where you can see different versions for Linux, MacOS, and Windows.
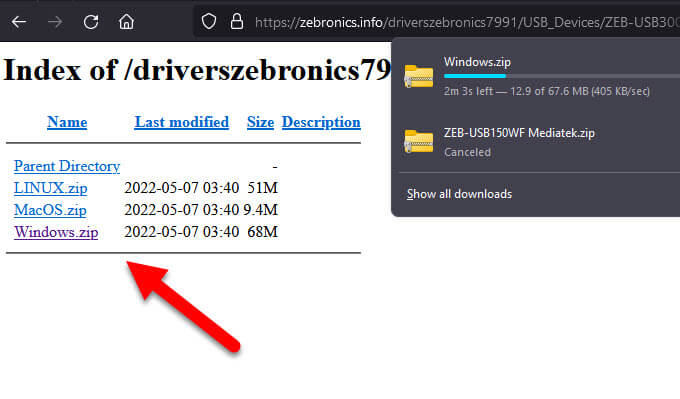
- Pick the OS you are using, like Windows 11 or Windows 10, and download the “Windows.zip” file.
See also: How to Update Realtek Drivers in Windows 11
Alternatively, you should also check the packaging or manual. The box or manual usually has info about the model or version. Note this down for more precise searches on the website.
Some products come with a CD or DVD with drivers, but it’s best to check the website for the newest drivers.
Linked issue: How to Fix “No Internet, Secured” WiFi in Windows 11/10
Install the Zebronics WiFi adapter driver
After downloading the right driver, the following steps will show you how to install it to make sure your adapter works well with your PC.
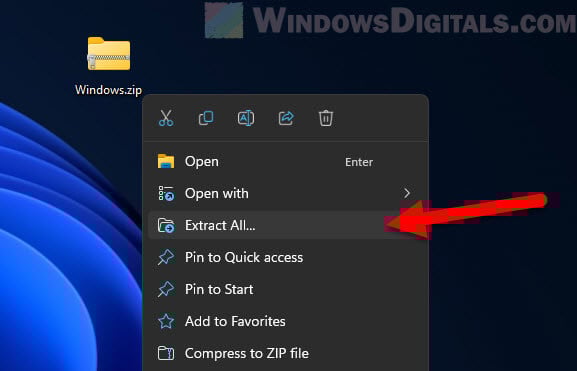
- Go to where you downloaded the driver, usually the “Downloads” folder unless you chose another place.
- If the file is a .zip file, right-click on it and pick “Extract All…”. Choose where you want to put the files.
- Open the folder you extracted and look for the installer, usually a file with an .exe extension for Windows.
- Double-click on the installer.
- If a message asks if you want the app to make changes to your device, click “Yes.”
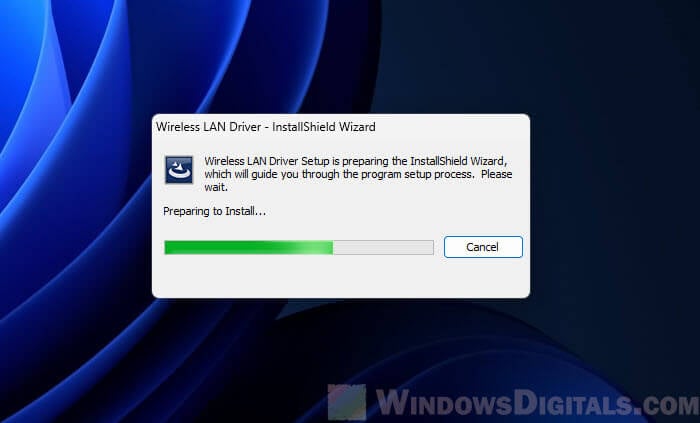
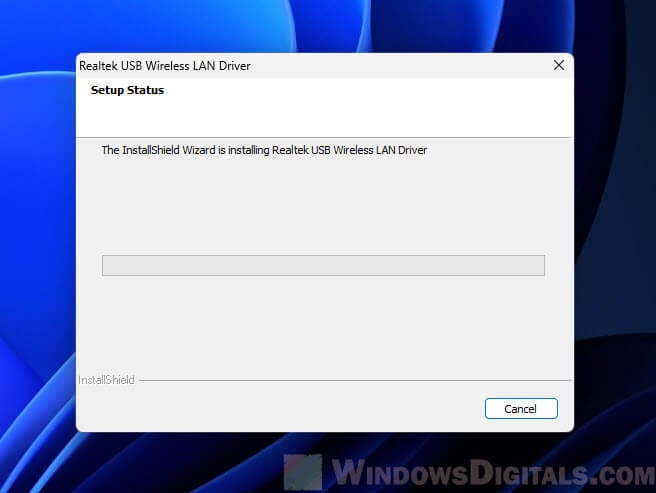
- You’ll see an installation wizard. Just follow the steps on the screen.

- When asked, click “Install” or “Next” to keep going with the installation.
- The wizard will help you finish up. You’ll probably see a message or get a chance to click “Finish” when it’s done.
- Click “Finish” or “Close” to end the wizard.
- It’s good to restart your computer after installing the driver. This makes sure the driver works well with your system.
- Go to the “Start” menu, pick “Power”, then “Restart”.
Useful tip: How to See What Drivers Are Installed in Windows 11
Check if it works and fix some common issues
With the driver installed, check to see if your Zebronics WiFi adapter is working as intended. The following steps will show you how to check if the adapter actually works and things you can do if you face any issues.
- Press Windows + X and pick “Device Manager” from the menu.
- In the “Network Adapters” section, you should see your WiFi adapter’s name (might show as Realtek).
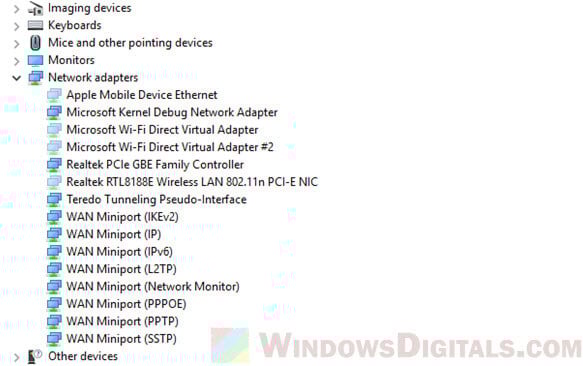
- Right-click on it and choose “Properties”. If the driver is right, you’ll see details like the provider, date, version, etc., under the “Driver” tab.
- Plug the Zebronics WiFi adapter into a USB port.
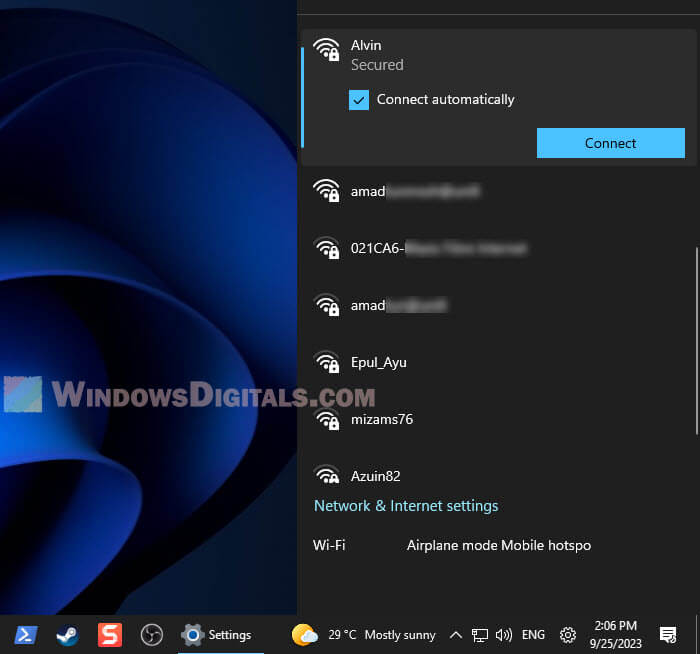
- Make sure your computer’s WiFi is on.
- Look for networks by clicking the WiFi symbol in Windows or the menu bar in macOS.
- Try connecting to a known network. If it works, the driver is likely fine.
- If your computer doesn’t see the adapter or it seems like it’s not working, try a different USB port.
- If the connection keeps dropping, make sure you have the latest driver. Check the Zebronics driver page again to see if there are any newer updates.
- Sometimes other software or drivers can mess with your WiFi adapter’s driver. If you think this is happening, try turning off other networking software for a while.
- If you see error messages about the driver or adapter, write them down and look them up online for more info.
- If you still have problems, consider reaching out to Zebronics’ customer support or asking for help on forums like Reddit or Microsoft’s forum.
Related resource: How to Check WiFi Password in Windows 11
Although Windows tries to get and update drivers automatically, it doesn’t always work. If that happens with your Zebronics WiFi adapter (which is a pretty common case), you should go to the manufacturer’s site, find the driver for your model, download it, and install it yourself.