Windows 11, when it comes to background services, is still more or less the same as its previous version, Windows 10. One well known fact is that not all of these services are needed for gamers. In fact, for computers that aren’t very fast or have older parts, every little bit of performance counts.
In this guide, we’ll talk about the Windows 11 services you can turn off to improve your gaming and overall performance. We’ll also share some tips on some very widely used tools to further improve your PC’s performance on Windows 11.
Page Contents
What to do before disabling services in Windows 11
Before you turn off any services in Windows, make sure to do a few things first so you don’t accidentally break something important and mess up your computer. Here’s what you should do:
Create a system restore point
Creating a system restore point before you disable services is a must. This makes sure you can get your system back to how it was if something goes wrong after you turn services off. Just search for “Create a restore point” in the Windows search bar, then click on “Create” to set it up.
Research the service
Before you disable a service, make sure you understand what it does and if your system really needs it. You can look up the service name online to get more details about what it does and if it’s okay to turn it off.
Related service: .NET Runtime Optimization Service High CPU Usage in Windows 11/10
Disable services one at a time
It’s safer to turn off services one by one and check your system after each change. This way, if something goes wrong, you’ll know which service caused it and you can switch it back on easily.
Monitor your system
After turning off services, keep an eye on how your computer is doing. If there are any problems, you can go back to the last restore point you created and turn any services you stopped back on.
What could actually go wrong when disabling Windows services?
Although turning off unnecessary services can sometimes help give your computer a little boost in terms of performance, doing so recklessly and disabling the wrong services can have some consequences.
For example, there are some services that handle security stuff that features such as Windows Defender and Windows Firewall rely on. If you accidentally disable these services, your PC can be open to viruses and other threats.
Besides, some services are actually there to increase your computer performance. Disabling these would be counterproductive and can actually make your computer slower.
Also, if you disable a service that a program requires, that program will either not start or crash after starting.
Related issue: How to Fix Game Stuttering on Windows 11
30+ Windows 11 services you can safely disable
Disabling Windows 11 services that you don’t need to improve gaming performance is a standard practice for many gamers to squeeze as much speed as possible from their PC. However, it’s utterly important to know which services you can actually safely disable without hurting your system or stopping things you shouldn’t.
Some Windows 11 services are very important for Windows’ basic functions, which we won’t list here. In the following list, we’ll only focus on services that you can disable if you don’t need what it does.
Please know that even among the services we’ll list below, some may still be required in many cases. Please double-check or at least read their basic descriptions first to understand what they do and if you need them.
- Connected user experiences and telemetry: This service gathers your usage data and sends it to Microsoft for analysis. If you’re worried about your privacy, feel free to turn it off.
- Touch keyboard and handwriting panel service: This service lets you use the touch keyboard and handwriting features on touch-screen devices. If your screen doesn’t support touch, you can turn this off.
- Netlogon: This service helps set up secure links between your computer and the domain controller. If you aren’t connected to a domain or network, you can turn this off without any problem.
- Xbox live services: These services power Xbox app features like managing accessories, saving games, and networking. If you don’t use the Xbox app, you might want to disable them.
- Windows image acquisition: You need this service to use scanners and digital cameras. If you don’t have these devices, or don’t plan to use them, you can disable this service.
- Geolocation service: This service lets apps offer location-based services and notifications. If you prefer not to be tracked, you can turn it off.
- Program compatibility assistant service: This service finds problems with old games and software. If you don’t use older software, you can turn it off.
- Device management wireless application protocol (WAP) push message routing service: This service collects and sends your data to Microsoft. If privacy is important to you, you can disable it.
- Retail demo service: This is meant for vendors and retailers to show off Windows features to customers. If that’s not you, you can safely turn it off.
- Windows error reporting service: This lets you report problems and logs them when programs stop working. Usually, you can turn this off safely.
- Internet connection sharing: This service is for sharing your internet in small home or office networks. If that’s not your situation, you can turn it off.
- Print spooler: This service is needed for printing. If you don’t need to print, you can turn it off.
- Certificate propagation: Related to the Smart Card service, it detects when a Smart Card is connected and installs the necessary drivers. If you don’t use Smart Cards, feel free to disable it.
- Enterprise app management service: Needed for managing enterprise apps provided by companies. If you aren’t part of a company that uses these apps, you can disable it.
- Windows biometric service: This service is for devices with fingerprint sensors. If yours doesn’t have one, you can turn it off.
- Windows insider service: This is for Windows Insiders who test new features. If you’re not one, you can disable it.
- Network connection broker: Allows Microsoft Store apps to receive notifications from the internet. If you don’t use these apps, you can turn it off.
- Remote desktop configuration and remote desktop services: These let you connect to other PCs nearby. If you don’t need this, you can disable them.
- Portable device enumerator service: This service makes changes to group policy for removable drives and helps synchronize content for applications like Windows Media Player and Image Import Wizard.
- Parental control: This service lets parents limit what their kids can access online. If you don’t need to manage this, you can turn it off.
- Windows mobile hotspot service: Needed for sharing your mobile’s internet connection with your PC. If you don’t use this feature, you can disable the service.
- Windows connect now: This service helps desktops and laptops connect to wireless networks and devices. If you don’t have a wireless setup, you can disable it.
- Smart card and other related services: Enables the use of Smart Cards for security in big organizations. If you’re a regular home user or your workplace doesn’t need Smart Cards, you can turn them off.
- Windows event log: Generates logs about Windows events. You might not need this, but be careful if you decide to disable it—some users say it can mess up Windows Explorer. If you have issues with Explorer after turning it off, turning it back on should fix them.
- Windows event log: This service creates logs about Windows events. If you don’t need it, you can disable it. Note: Some users reported issues with Windows Explorer after disabling this service. If you encounter any problems, turning it back on should fix them.
- Remote registry: Allows anyone to access and change your Windows registry. For better security, it’s a good idea to turn this off. Your own access won’t be affected.
- Phone service: Needed for the Your Phone app and its features. If you don’t use the app, you can disable it.
- Downloaded maps manager: Only necessary for Bing Maps. If you don’t use Bing Maps, you can turn it off.
- AllJoyn router service: Lets you connect to the Internet of Things and communicate with smart devices. If you’re not using IoT devices, you can turn it off.
- FAX: Needed if you plan to send or receive faxes. If not, you can disable it.
- Secondary logon: Allows standard users to run specific applications as admins. If you’re the only user of your PC, you can turn this off.
Also see: GPU 100% Usage When Idle or Gaming (Good or Bad)
How to disable services in Windows 11
There are different ways to turn off services in Windows 11. Here are two popular methods you can use:
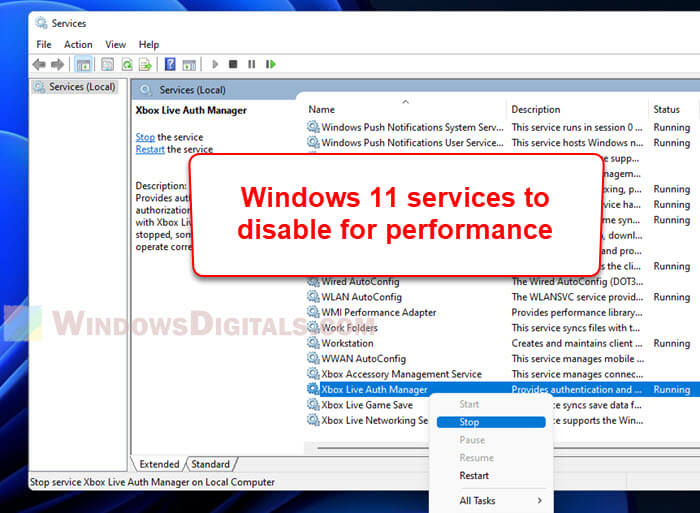
Using Services.msc
Services.msc is a built-in tool in Windows 11 that lets you see and change system services. Here’s how to use Services.msc to disable a service:
- Open the Start menu and search for “Services“.
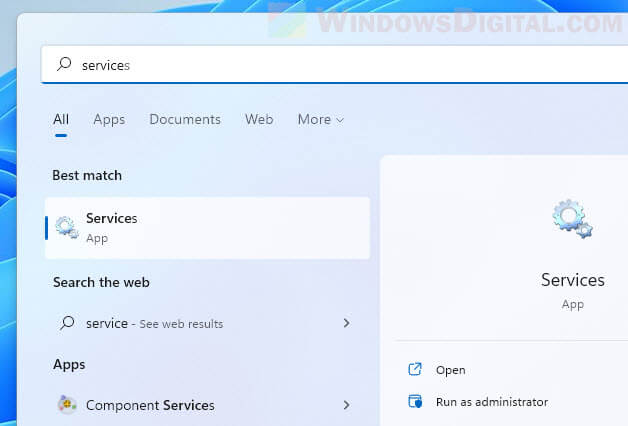
- Click on the “Services” app to open it.
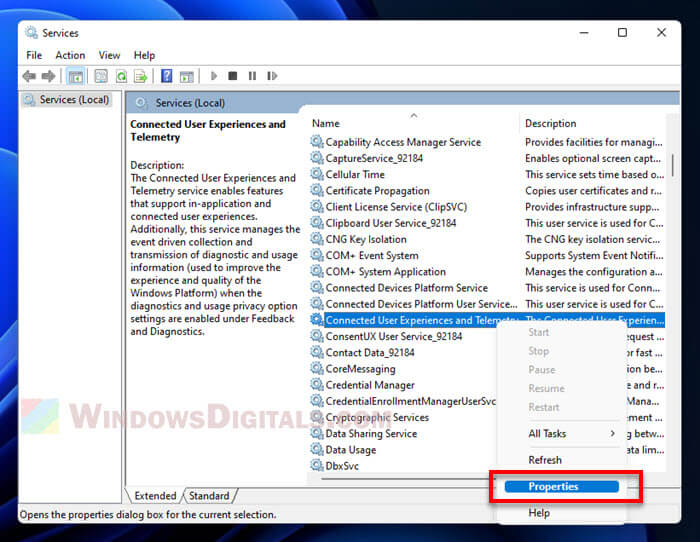
- Find the service you want to disable in the Services window.
- Right-click on the service and choose “Properties“.
- In the Properties window, under the “General” tab, set the “Startup type” to “Disabled“.
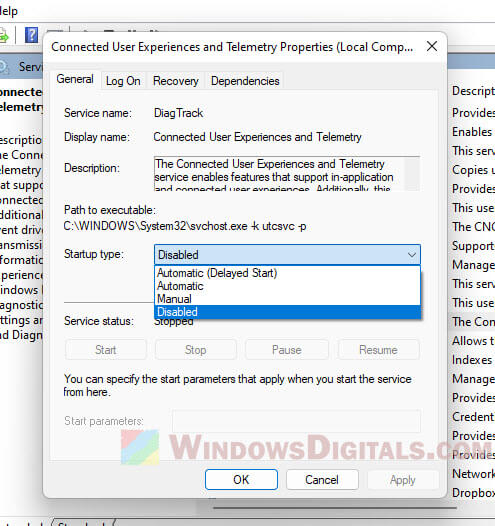
- Click on the “Apply” button to save your settings.
- Restart your computer to apply the changes.
Suggested read: How to Disable Superfetch and Prefetch in Windows 11 or 10
Although you can just set the Startup type to “Disabled”, it might be better to stop the service and set it to manual. This way, the service won’t start automatically with Windows, but you can still start it manually if you need to. Here’s how to do it:
- Follow steps 1-3 from the instructions above.
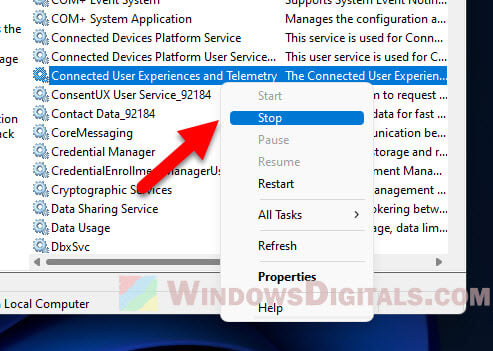
- Right-click on the service and choose “Stop“.
- Right-click on the service again and choose “Properties“.
- In the Properties window, under the “General” tab, change the Startup type to “Manual“.
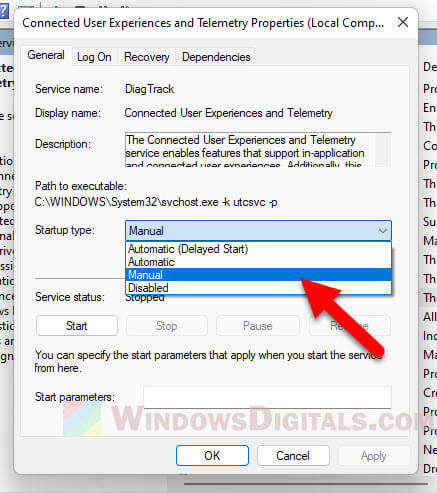
- Click on the “Apply” button to save the changes.
- Restart your computer to apply the changes.
Using MSConfig
MSConfig is another built-in tool in Windows 11 that you can use to modify system services.
- Open the Start menu and search for “msconfig“.
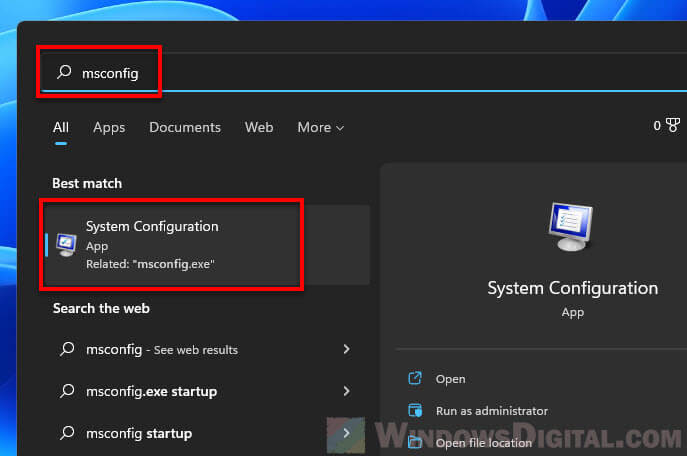
- Click on the “System Configuration” app to open it.
- Go to the “Services” tab in the System Configuration window.
- Find the service you want to disable.
- Uncheck the box next to the service.
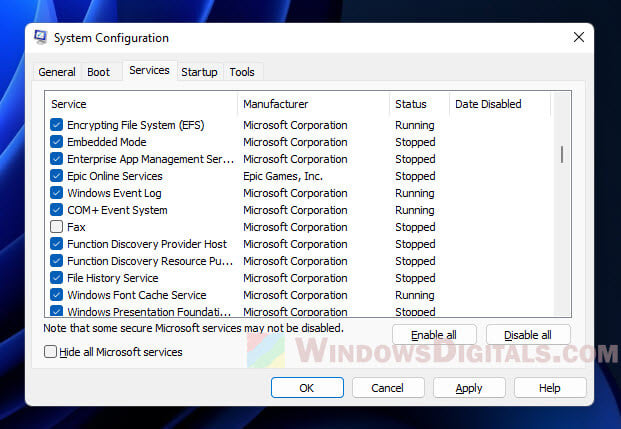
- Click on the “Apply” button to save your settings.
- Restart your computer to apply the changes.
Please know that not all services can be safely turned off. Some are very important for your system to work properly. Always check the service’s function before disabling it.
Also, it’s best to turn off services one at a time and check your system after each change. This helps you spot any problems and easily undo changes if needed.
Some other tips to improve your PC’s gaming performance in Windows 11
Turning off unnecessary services is just one of many ways to slightly boost your computer’s performance for gaming. The below are some more tips you can try.
See also: Why is My Memory Usage So High When Nothing is Running?
Using O&O ShutUp10++
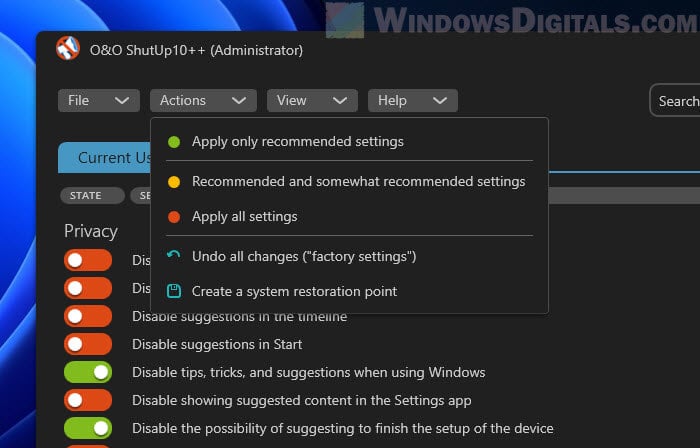
O&O ShutUp10++ is a free tool that lets you turn off privacy-related features and services in Windows 11 that you don’t need for gaming. Turning these off can make more system resources available and potentially improve your gaming performance.
Here’s how to use O&O ShutUp10++:
- Download and install O&O ShutUp10++ from the official website.
https://www.oo-software.com/en/shutup10
- Start the program.
- Look through the list of features and services that can be turned off and choose the ones you want to disable.
- To use recommended settings, click the “Actions” menu and select “Apply only recommended settings” (or another option that fits your needs). To undo changes, choose “Undo all changes“.
- Restart your computer to apply the changes.
Be careful when turning off certain privacy-related features and services as it might affect other programs and services. Only turn off what you really don’t need.
Using Optimizer
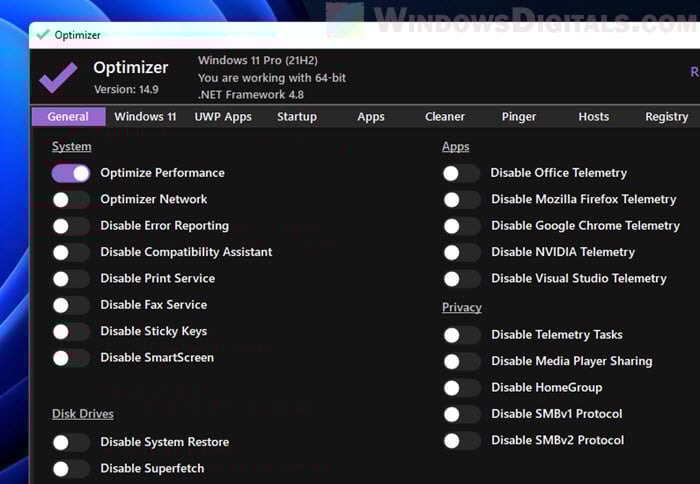
Optimizer by hellzerg is another free tool that you can use to tweak your system’s settings to free up resources and improve performance.
- Download and install Optimizer from its GitHub releases page.
- Start the program and check out each tab.
- Go through the list of settings to be optimized and select the ones you want to apply.
- Restart your computer to apply the changes.
Be cautious when optimizing settings as it may affect other programs and services. Only optimize what is not needed for your system.