Superfetch and Prefetch services are parts of Windows 11 and Windows 10 features that helps accelerate the startup of frequently used apps. Since the services have to preload data into memory and drives as cache, they may cause negative impact on gaming performance or multimedia processing on your PC.
If you experiencing random high CPU, Memory and disk usage on your PC, you may want to try disabling the Superfetch service. This short tutorial will show you how to disable Superfetch and Prefetch services in Windows 11/10.
Also see: Why is My RAM Usage So High When Nothing is Running?
Should you disable Superfetch and Prefetch?
Superfetch is a service that caches data of frequently used programs into memory to help them start quicker. Since the process can take quite some CPU, RAM and Disk resources, it may sometimes cause high CPU and Disk usage issue (sometimes spike to or stuck at 100% CPU or Disk usage in some slower PC).
If your PC is frequently at high CPU and Disk usage even on idle (especially if you’re not using a SSD for your system drive), you can try to temporary disable Superfetch and see if it helps reduce the CPU and Disk usage. If it doesn’t, it may be other culprit that causes the slow down of your PC. You may want to re-enable Superfetch and leave it on as it’s actually a beneficial feature if your PC is strong enough to handle it.
Prefetch, on the other hand, is a similar feature that cache data directly on the drive located at C:\Windows\Prefetch. The Prefetch service uses very minimal PC resources. The resources usage may not even be noticeable.
Prefetch is recommended to stay enabled even if your Windows is on a slow HDD. Though we don’t think disabling Prefetch service would help improve the performance of your PC (may even slow down loading of apps), you may want to test it out yourself whether your PC can perform better with or without Prefetch.
You can always re-enable the Superfetch or Prefetch service (by following the same steps below) if you change your mind later.
Disable Superfetch and Prefetch via Registry Editor
To disable Superfetch or Prefetch in Windows 11 or 10, follow the steps below.
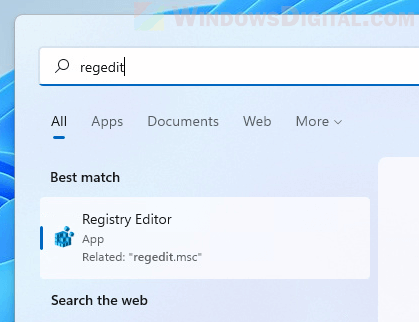
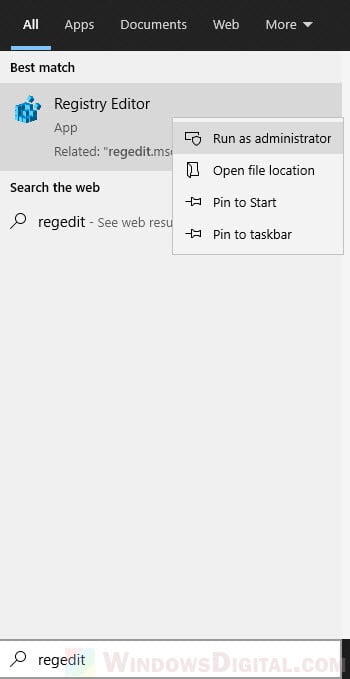
Go to Start menu and search for “regedit“. Right-click Registry Editor from the search result and then select “Run as administrator“.
In the Registry Editor window, on the left pane, navigate to:
Computer\HKEY_LOCAL_MACHINE\SYSTEM\CurrentControlSet\Control\Session Manager\Memory Management\PrefetchParameters
To disable Superfetch:
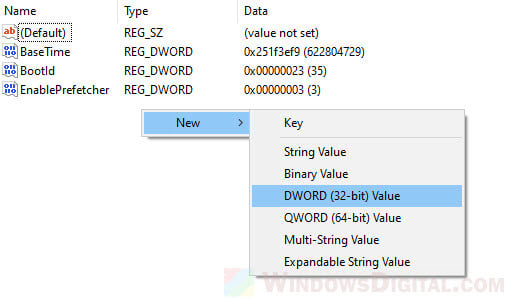
While PrefetchParameters is selected, on the right pane, double-click on EnableSuperfetch. If you don’t see the option, right-click any empty area on the right pane, then select New > DWORD (32-bit) Value.
Name the new key “EnableSuperfetch“.

To enable of disable Superfetch, double-click on EnableSuperfetch and change the value in the “Value data” field to one of the following values:
- 0 = Disable Superfetch
- 1 = Enable Superfetch for boot files only
- 2 = Enable Superfetch for applications only
- 3 = Enable Superfetch for everything (boot files and applications)
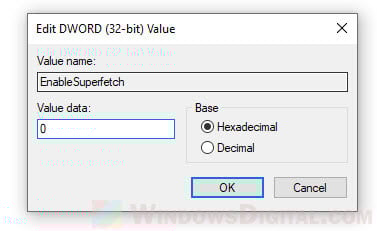
For example, to completely disable Superfetch service, change the value to 0 and click OK. To re-enable Superfetch, change the value to 3 instead. Restart your PC for the changes to take effect.
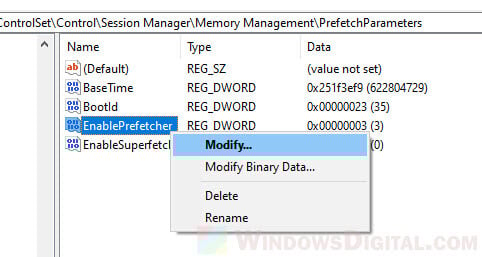
To disable Prefetch:
While PrefetchParameters is selected, right-click on EnablePrefetch and select Modify.
In the “Value data” field, enter one of the following value:
- 0 = Disable Prefetch
- 1 = Enable prefetching of applications
- 2 = Enable boot prefetching
- 3 = Enable prefetching of everything (both applications and boot).
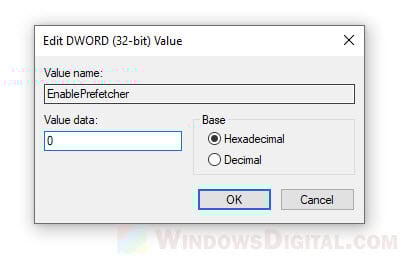
To completely disable Prefetch, change the value to 0 and click OK. To re-enable Prefetch service, change the value to 3 instead.
Restart your PC for the changes to take effect.
Disable Superfetch service via services.msc
If for any reason you can’t use the registry editor, you can disable Superfetch from Windows Services. In Microsoft Windows, Superfetch is handled by a service called SysMain. Follow the steps below to enable or disable Superfetch (SysMain) via services.msc.
Search for and open “services.msc” from the Start menu (or from Win + R keys). In the Services window, look for a service called SysMain. Double-click it to open its properties window.
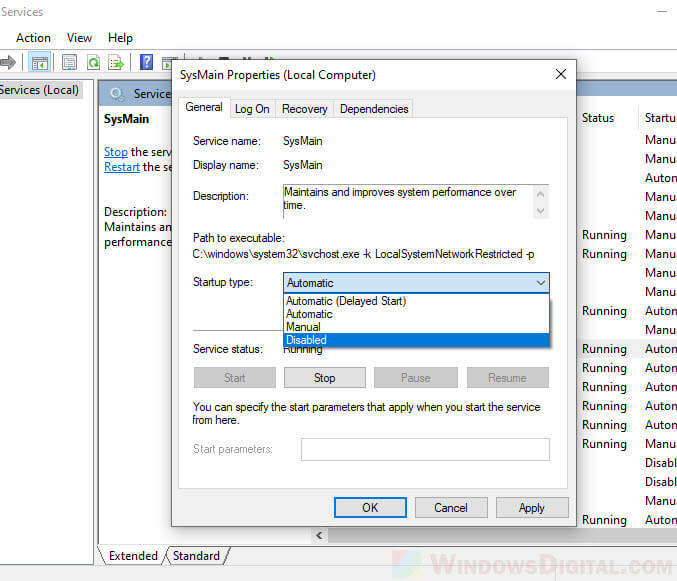
In the “Startup type” drop-down menu, select Disabled to disable Superfetch service (To re-enable it, select Automatic instead). Restart your PC for the changes to take effect.