While the Nahimic Service, or nahimicservice.exe, is designed to boost audio capabilities, especially for gaming systems like MSI and Alienware, it often causes problems on the systems where it is pre-installed. Users often report that Nahimic Service uses too much CPU and memory even when running in the background. In this guide, we’ll show you how to disable or uninstall Nahimic Service from your Windows 11 or 10 system.
Also see: What is Nahimic Service (nahimicservice.exe) in Windows 11/10
Page Contents
Why disable or uninstall Nahimic Service?
Nahimic Service normally is just there to make the sound quality better for apps that need good and accurate audio, like games and media players. But in some cases, you might need to turn it off or remove it if it’s causing more problems than it’s worth.
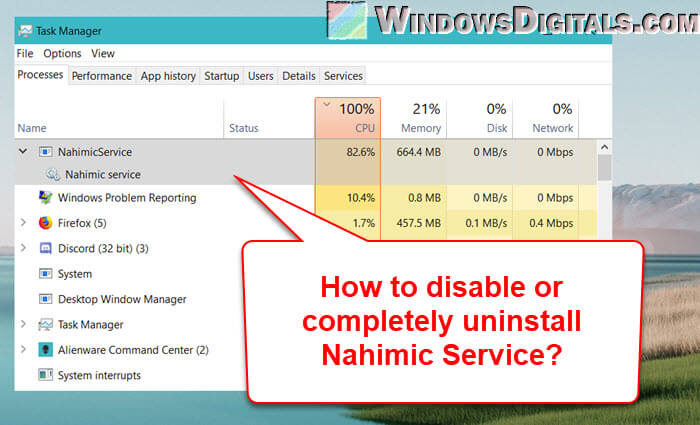
If you’ve noticed your computer is slower than usual, and you see in the Task Manager that Nahimic Service is using more CPU and memory than it should, or if it’s causing issues with other software on your PC, turning it off can give you some clues as to whether it’s actually causing these problems.
If turning off the service doesn’t really do anything, or if you don’t need to use the advanced audio features the service provides in the first place, it might be better to just completely uninstall the service from your Windows.
Related resource: How to Disable Startup Services on Windows 11 or 10
How to disable Nahimic Service in Windows 11 or 10
Before you decide to turn off Nahimic Service, know that this action will stop the service’s functionality, which means you won’t get the enhanced audio features it provides. However, if you’ve thought about the good and bad points and decided to go ahead, follow these steps:
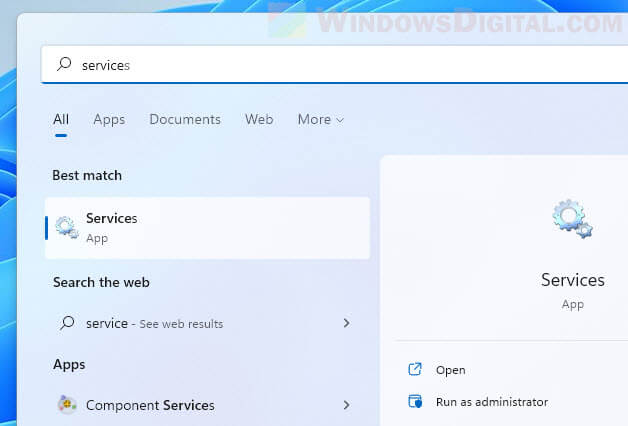
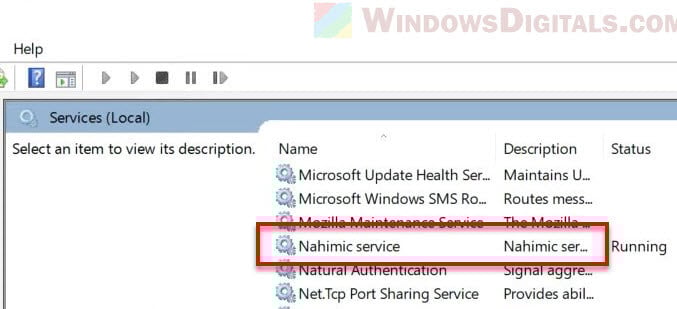
- Open the “Services” application. You can do this by typing “Services” into the Windows Search bar and selecting the application.
- In the Services window, find the “Nahimic Service”.
- Right-click on “Nahimic Service” and select “Properties”.
- In the Properties window, under the “General” tab, you’ll find a dropdown menu next to “Startup type”. Select “Disabled” from this dropdown.

- Click “OK” to apply the changes.
- Next, you need to stop the currently running service. Go back to the “Nahimic Service” in the Services window, right-click and choose “Stop”.
It’s also a good idea to end any related processes, like A-Volute NS, Alienware and MSI-related processes, from the Task Manager. If you want to keep MSI software but stop it from reinstalling Nahimic Service, turn off auto-updates.
Useful tip: How to Delete a Service in Windows 11 or 10 Using CMD
How to uninstall Nahimic Service in Windows 11 or 10
Sometimes, just turning off Nahimic Service isn’t enough, and you need to completely remove it. This might seem a bit tricky because Nahimic Service is deeply integrated into your system, and just uninstalling the MSI or Alienware software usually doesn’t get rid of it completely. The service could come back after a system restart if any related processes are still running.
Before you start, it’s very important to be careful because you’ll be changing the Windows Registry, which is a critical part of your computer. A wrong move here can cause very serious problems, and you might have to reinstall your operating system. You should create a system restore point first before making any changes to the Registry. If you’re not sure, get help from someone who actually knows more about this.
To proceed, follow the steps below to completely remove Nahimic Service:
- Stop the Nahimic Service as described in the previous section.
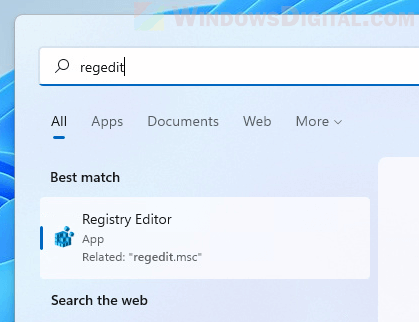
- Open the Registry Editor (type “regedit” into the Windows Search bar).
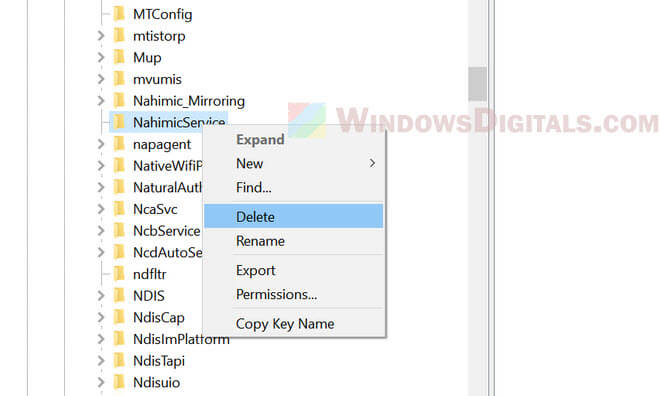
- Go to the following keys and delete them:
Computer\HKEY_LOCAL_MACHINE\SYSTEM\CurrentControlSet\Services\NahimicServiceComputer\HKEY_LOCAL_MACHINE\SYSTEM\CurrentControlSet\Services\Nahimic_MirroringComputer\HKEY_CURRENT_USER\SOFTWARE\A-Volute
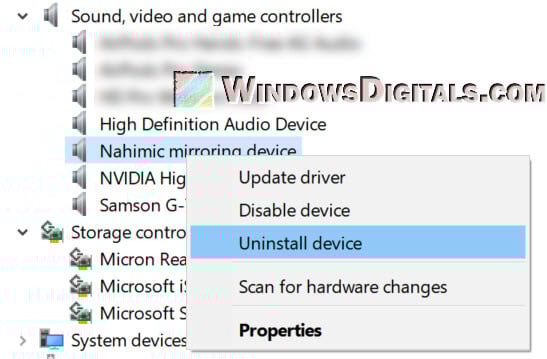
- Open the Device Manager, find the Nahimic mirroring device under “Sound, video and game controllers”, right-click it and select “Uninstall device”. Make sure “Delete the driver software for this device” is checked.
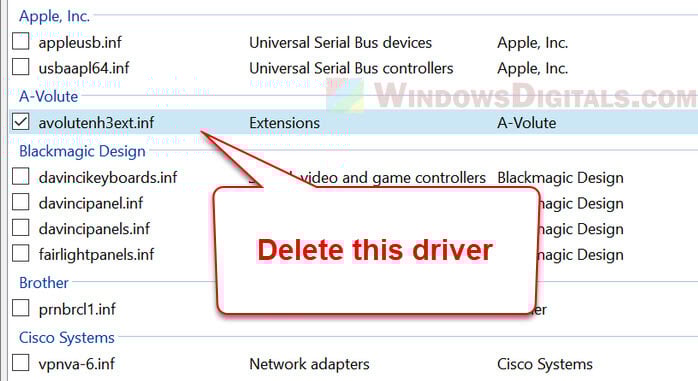
- Use the Driver Store Explorer tool to remove any leftover drivers from “A-Volute” or “Nahimic”. Make sure to “Force Deletion”.
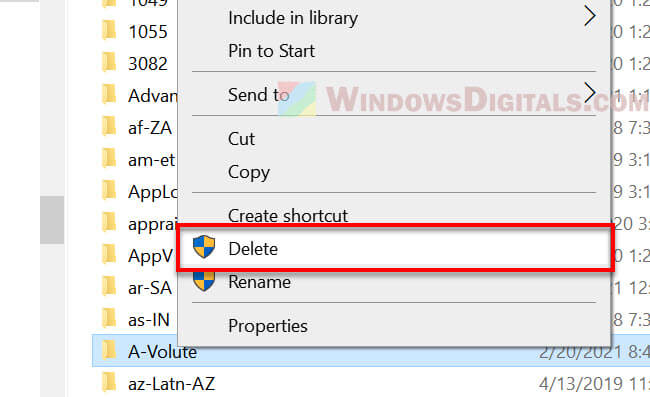
- Go to the following paths and delete associated files:
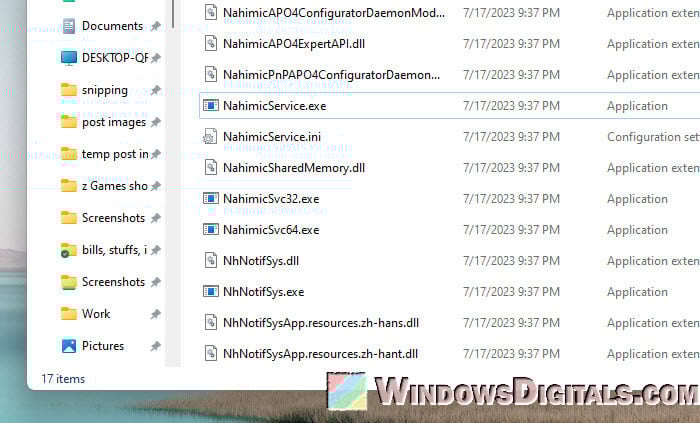
C:\Windows\System32\A-VoluteC:\Program Files (x86)\MSI\One Dragon Center\NahimicC:\Windows\System32\NahimicService.exe%APPDATALOCAL%\NhNotifSys
- Open the Task Scheduler and delete any tasks related to Nahimic or A-Volute.
- Finally, restart your system to apply the changes.
Linked issue: Can’t Completely Uninstall a Driver in Windows 11 (Fix)
Some final notes
The Nahimic Service is known to help improve your audio experience when playing games, watching a movie, etc. But if it starts causing problems, or you don’t need it anymore, this guide has shown you how to either turn it off or get rid of it completely. When in doubt, don’t hesitate to run a full scan on your PC using a proper antivirus program, like Windows Defender.