System Center Configuration Manager (SCCM) helps manage and deploy software, patches, and updates across big networks in many businesses. Sometimes, you might need to remove SCCM from a computer, maybe because you’re troubleshooting some issues or the device isn’t managed by SCCM anymore.
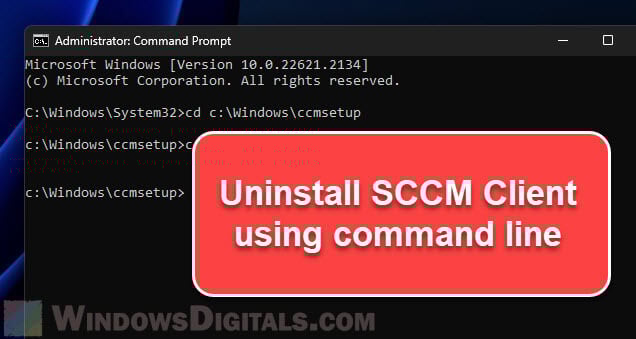
If you need to uninstall the SCCM client, you can use the Command Prompt (CMD) to do it. In this guide, we will show you how to manually uninstall SCCM on Windows 11 or 10 using command line.
Page Contents
Things you’ll need to prepare first
To avoid unnecessary problems later, below are some things you might need to do first.
- To run the uninstall commands, you need to be an administrator on the computer. Make sure you are logged in with an account that has these rights.
- Make sure all software or services related to SCCM are completely closed. This makes sure nothing related to SCCM is running when you try to take it off.
- If you can, disconnect the PC from the network during the uninstall. This stops any updates or settings from being pushed to the SCCM client while you’re removing it.
- To open CMD with admin rights:
- Click on the Windows icon (usually at the bottom left corner of the screen).
- Type “Command Prompt” or “cmd” in the search bar.
- Right-click on the “Command Prompt” from the search results and choose “Run as administrator”.

Also see: How to Run CMD or PowerShell as SYSTEM or TrustedInstaller in Windows 11/10
How to uninstall SCCM client using command line
Now that you’re ready for it, we can start the actual uninstall process. You will need to run specific commands in the Command Prompt.
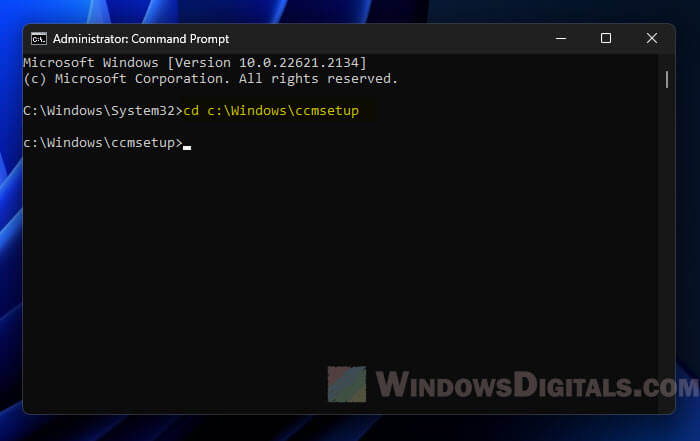
- To start, you need to go to the SCCM installation folder. Usually, it’s in
C:\Windows\ccmsetup. To go there, type this command in Command Prompt:cd C:\Windows\ccmsetup
 If you get an error saying the path isn’t found, SCCM might be in a different place. If that’s the case, find the right path and go there.
 - Once you’re in the right folder, type this command to start taking SCCM off:
ccmsetup.exe /uninstall
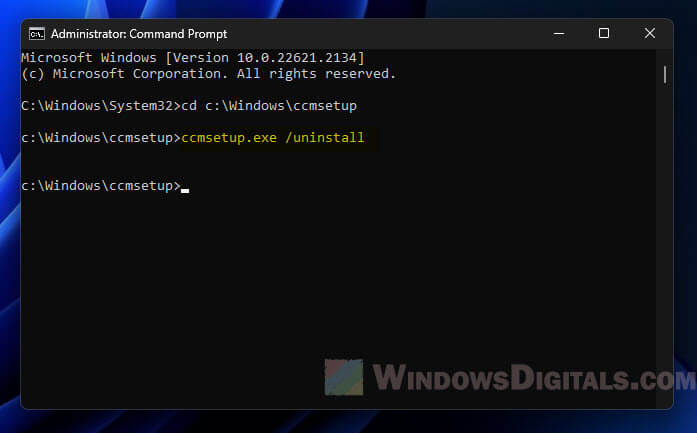 This will start the uninstall process. It might take a few minutes, so please wait. When it’s done, you’ll see a confirmation in Command Prompt.
 - After that, check to make sure SCCM is really gone. Here’s how:
- Click on the Windows icon.
- Go to “Settings” then “Apps.”
- Type “SCCM” or “Configuration Manager” in the search box and check that no related apps are listed.
- Sometimes, some files are left behind even after uninstalling. To clean these up, go to
C:\Windowsand look for theccmsetupfolder. If you find it, you can delete it safely. - It’s always a good idea to restart your computer after removing software to make sure all changes are applied.
Relevant guide: How to Force Delete a File in Use by Another Program on Windows 11/10
Some common issues you might encounter
Sometimes you might run into problems when trying to uninstall SCCM. The following are some common problems and steps to try if things don’t go as planned.
SCCM uninstallation command doesn’t execute
If the ccmsetup.exe /uninstall command doesn’t start the uninstall:
- Check you are in the right folder in CMD.
- Make sure SCCM isn’t busy doing other tasks.
- If the command still won’t run, try opening Command Prompt as admin. Sometimes you need extra permissions to run some commands.
If CMD doesn’t work, you might want to try using PowerShell or Configuration Manager Console to uninstall SCCM.
Related resource: How to Install Telnet via CMD or PowerShell in Windows 11
Residual services still running
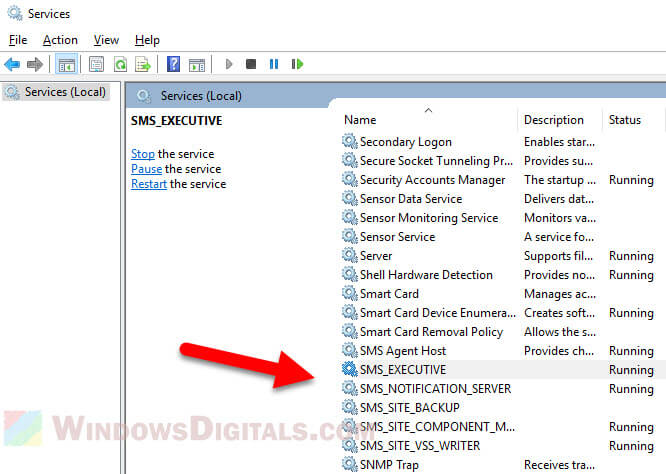
Even after taking SCCM off, some of its services might still be running. Here’s how to stop them:
- Press
Win + Rto open the “Run” dialog. - Type “services.msc” and press Enter.
- In the Services window, look for any services that start with “SMS” or are related to “Configuration Manager.” Right-click each one and choose “Stop.”