In Windows 11, sometimes you need special permission to do big things like changing system files or doing admin stuff. This guide shows you how to make apps like Command Prompt, PowerShell, Registry Editor, or Windows Explorer work with these special permissions, called SYSTEM permissions.
Also see: How to Take Ownership of a File, Folder or Drive in Windows 11
Page Contents
How to run an application as SYSTEM in Windows 11
Running an app as SYSTEM in Windows 11 is super powerful for the tech-savvy, but be careful. This power can mess up your computer if you’re not careful. Always back up your stuff, create a restore point, use apps you trust, and know what you’re doing to keep everything safe.
Once you’re ready and understand the risks, here’s how to run apps with SYSTEM or TrustedInstaller privileges.
Related issue: Windows Registry Key “Access is Denied” Error
Using Advanced Run
Advanced Run lets you run apps with different permissions, including SYSTEM. Here’s how:
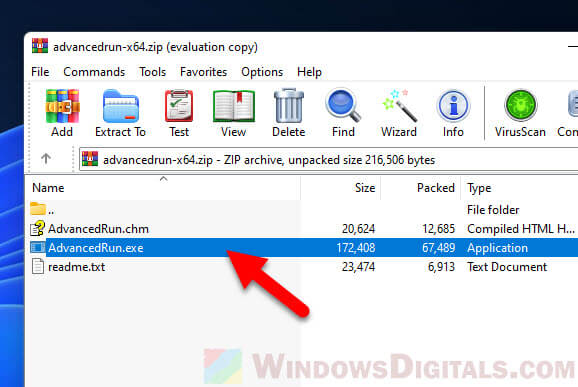
- Get Advanced Run from the developer’s website, unzip it, and open it.
- Find and open “AdvancedRun.exe“.
- Type the full path of the app you want to run as SYSTEM in the “Program” field, like:
C:\Windows\System32\cmd.exefor Command PromptC:\Windows\System32\WindowsPowerShell\v1.0\powershell.exefor PowerShellC:\Windows\regedit.exefor Registry Editor
- For “Start in,” put the folder path where the app is. Use
C:\Windows\System32for Command Prompt or PowerShell, andC:\Windowsfor Registry Editor. - Choose “SYSTEM User” in the “Run as” field.
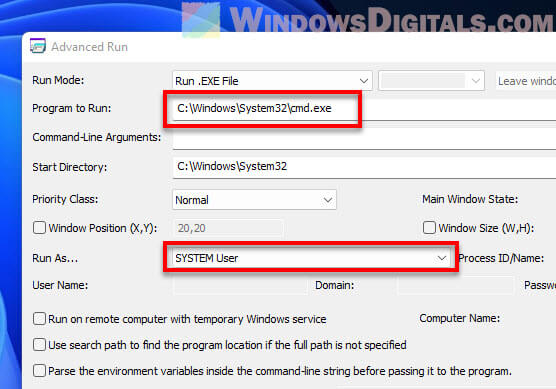
- (Optional) Add command-line arguments for the app in the “Arguments” field if you need to.
- Hit the “Run” button to start the app with SYSTEM privileges.
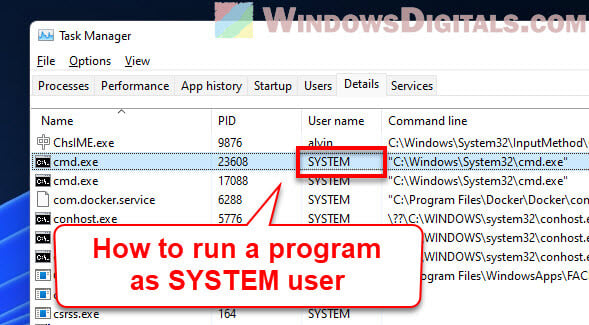
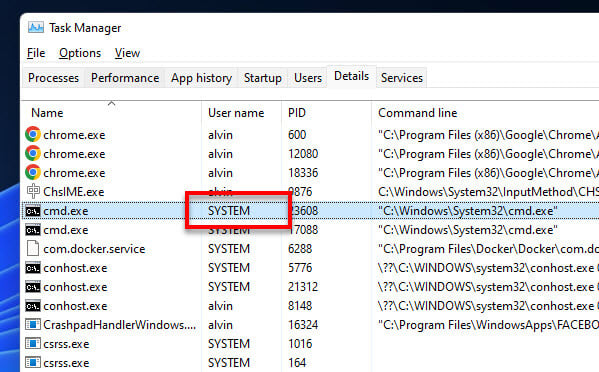
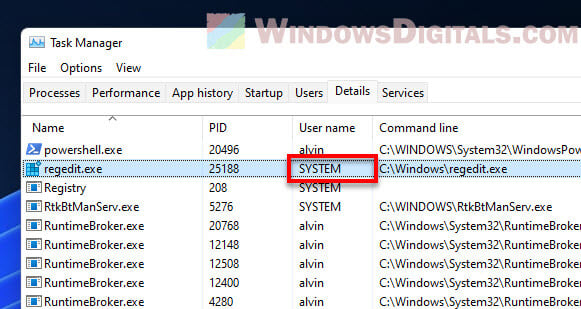
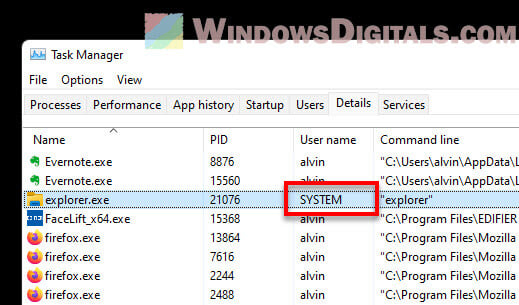
To see if CMD.exe started as the SYSTEM user, open Task Manager with Ctrl + Shift + Esc and look for cmd.exe under the “Details” tab. The “User name” column should show “SYSTEM”.
Useful tip: How to Check Who is Logged in Remotely or Locally in Windows 11
Using NirCMD
NirCMD is a small tool that lets you do lots of different things, including running apps as SYSTEM. Here’s how:
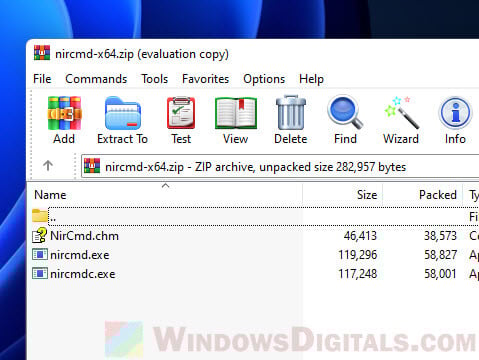
- Download NirCMD from the NirSoft website, unzip it, and open it.
- Open Command Prompt as an admin by right-clicking the Start button and picking “Windows Terminal (Admin)”.
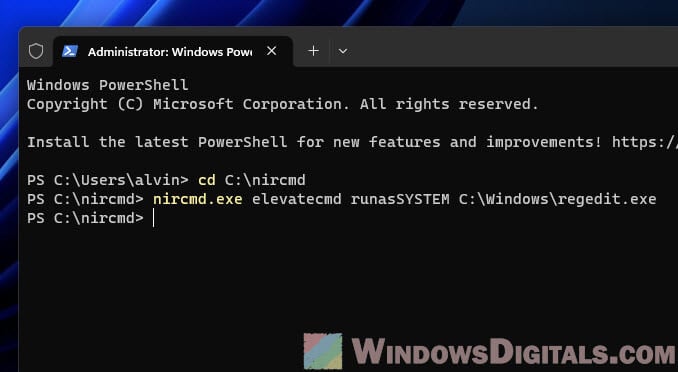
- Go to the NirCMD folder by typing
cd <path-to-nircmd-folder>and hitEnter. Change<path-to-nircmd-folder>with your NirCMD folder path. - Start the app as SYSTEM with
nircmd.exe elevatecmd runasSYSTEM <application-path>, replacing<application-path>with the path to your app, like:C:\Windows\System32\cmd.exefor Command PromptC:\Windows\System32\WindowsPowerShell\v1.0\powershell.exefor PowerShellC:\Windows\regedit.exefor Registry Editor
For example:
cd C:\nircmd
nircmd.exe elevatecmd runasSYSTEM C:\Windows\regedit.exe
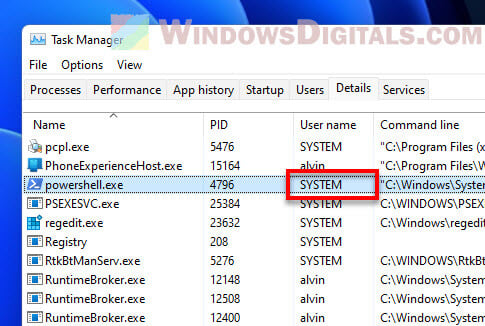
To make sure it worked, open Task Manager and check the “Details” tab for the app you started. It should show up as being run by the SYSTEM user.
Using PsExec
PsExec is a tool by Microsoft that lets you start processes on other computers or your own as SYSTEM.
- Download PsExec from the Microsoft website, unzip it, and open it.
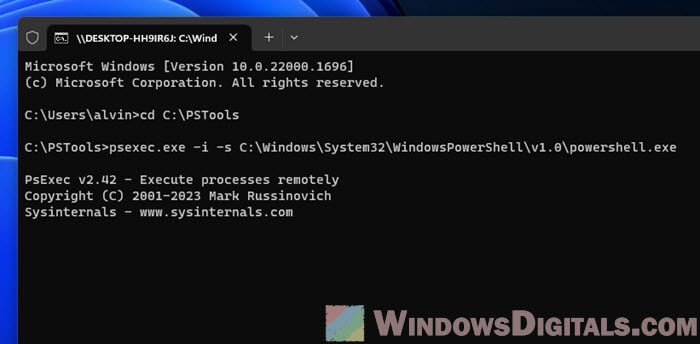
- Open Command Prompt as admin by searching for it, right-clicking, and picking “Run as administrator.”
- Go to the PsExec folder by typing
cd C:\PSTools(replace the path with actual path to where the folder is) and hittingEnter. - Start the app as SYSTEM with
psexec.exe -i -s c:\app.exe, swappingc:\app.exewith your app’s actual full path, like:-
C:\Windows\System32\cmd.exefor Command PromptC:\Windows\System32\WindowsPowerShell\v1.0\powershell.exefor PowerShellC:\Windows\regedit.exefor Registry Editor
For example:
cd C:\PsTools
psexec.exe -i -s C:\Windows\System32\WindowsPowerShell\v1.0\powershell.exe
-
- PsExec will start the app with SYSTEM privileges.
Running Explorer as SYSTEM in Windows 11
Running Windows Explorer as SYSTEM lets you touch files that are usually off-limits, even to admins. You can run explorer.exe as SYSTEM with the help of PsExec.
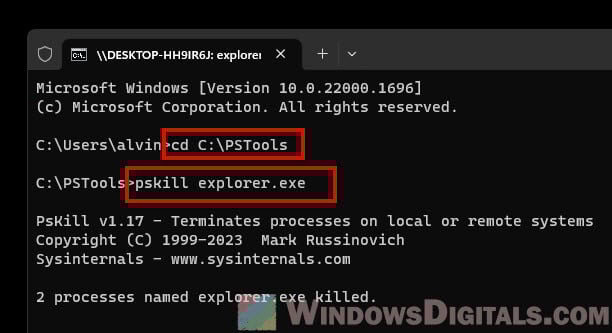
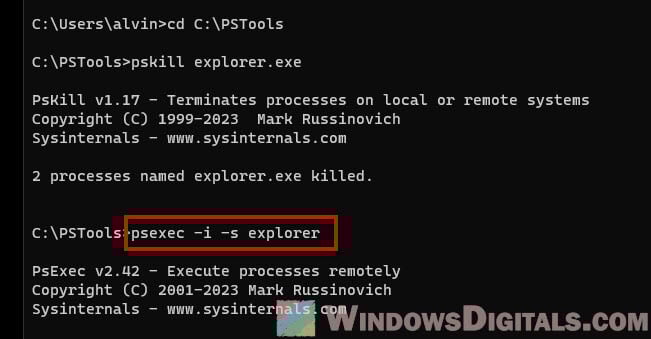
- Terminate the current Explorer instance. First, you need to stop the running Windows Explorer. Open Command Prompt as admin, go to the PsExec folder with
cd c:\PSTools, and typepskill explorer.exe
This will make your taskbar and icons vanish because you’ve stopped Explorer.
- With the old Explorer gone, start a new one with SYSTEM rights using
psexec -i -s explorer
Your taskbar and icons will come back, now with SYSTEM permissions.
- Open Task Manager with Ctrl + Shift + Esc, find “Windows Explorer,” right-click, and check Properties. Under “Security,” it should say “NT AUTHORITY\SYSTEM“, proving it’s running as SYSTEM.
- When you’re done, switch back to a normal user by stopping the SYSTEM Explorer like in step 1. Then, open Task Manager, hit “File“, “Run new task“, and type “explorer.exe“. This starts a new session with normal permissions.
How to schedule a task to run as SYSTEM
Windows 11 has this cool feature called Task Scheduler. It lets you set up a task to run an app as certain user level, such as Administrator, TrustedInstaller or even SYSTEM.
- Start Task Scheduler by pressing
Win + R, typingtaskschd.msc, and hittingEnter. - Click “Create Task” on the right side to open the task creation window.
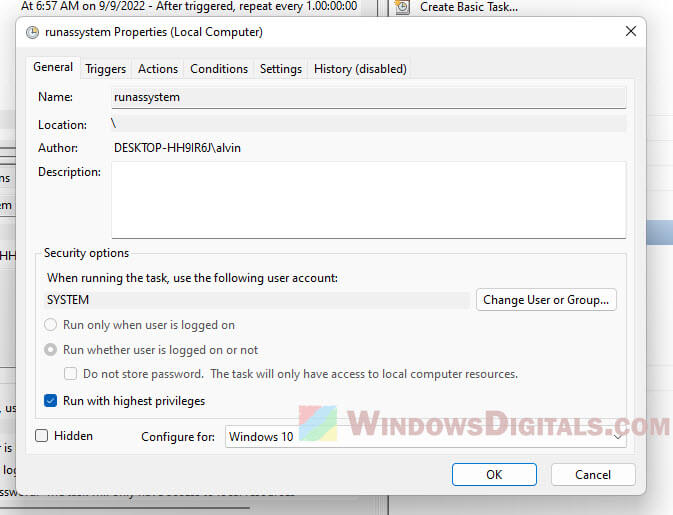
- Give your task a name and description under the “General” tab.
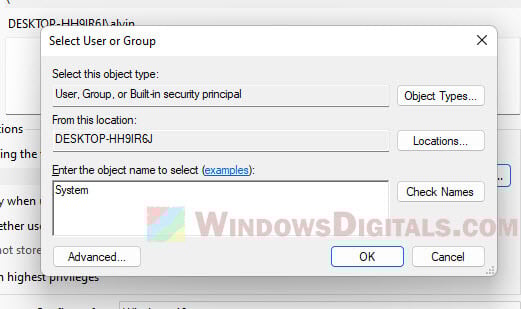
- In the “Security options” part, click “Change User or Group,” type “SYSTEM” in the box, hit “Check Names” to make sure it’s right, then click “OK”.
- Tick the box for “Run with highest privileges” and pick “Windows 11” in the “Configure for” menu.
- Jump to the “Triggers” tab, click “New” to set a new trigger. Choose “At task creation/modification” from the menu and click “OK”.
- Under the “Actions” tab, hit “New” to add an action. Select “Start a program” for the action. Type the path to your app in the “Program/script” box, like
C:\Windows\System32\cmd.exefor the Command Prompt, then click “OK”.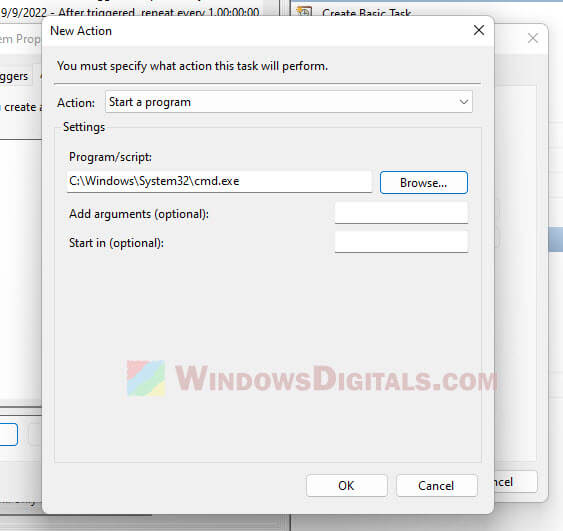
- In the “Settings” tab, adjust settings if you need to, and hit “OK” to create your task.
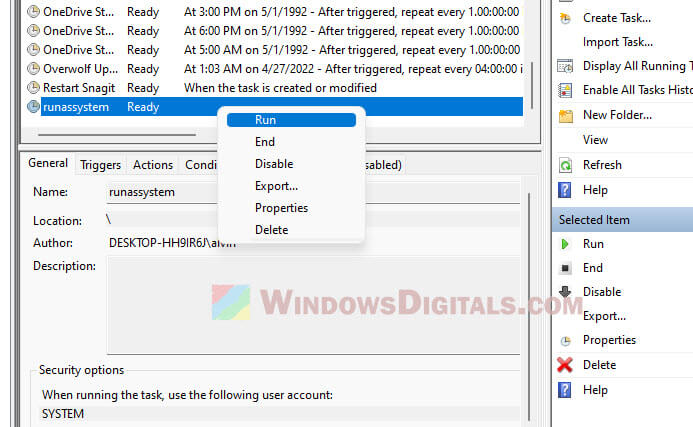
- To run your app as SYSTEM, right-click the task you just made and choose “Run”.
Why run apps as SYSTEM?
Running apps as SYSTEM in Windows 11 can be super helpful, especially for deep system tweaks or fixing things.
- Running as SYSTEM lets you mess with system files and folders that are usually off-limits, helping with big changes or fixing stuff.
- This gives you the highest level of access, letting you do things usually reserved for the LocalSystem account, like managing important services or changing system settings.
- Sometimes, you need SYSTEM privileges to install software or do updates the right way.
Things to be aware of when running apps as SYSTEM
While it’s useful, running things as SYSTEM has its risks.
- Having this much power means you could mess up important system stuff, causing crashes or other even more serious issues. Always back up or make a restore point first.
- Higher access can attract bad software, risking your system. Be extra careful with what you run and change.
- Messing with system files or settings can lead to lost data if you’re not careful. Double-check your moves!
My two cents
You should really only run a program as SYSTEM as a last resort for whatever you’re trying to do. This is especially the case when you’re running apps like CMD, PowerShell or Regedit that can have access to many things on your computer with just a simple command line. Windows permissions and rights are there for a reason: to protect your PC.