The Snipping Tool is a very common and useful feature in Windows that lets you take screenshots easily. With Windows 11, this tool has gotten some updates to become more handy. If you can’t find it on your computer, maybe because it was removed or you removed it by accident, you can use PowerShell to either get it back or remove it. This guide will show you how to use PowerShell commands to do that.
Also see: How to Find Snipping Tool History in Windows 11 or 10
Page Contents
Run PowerShell as administrator
In order to install or uninstall the Snipping Tool with specific commands, you will need the right permissions in PowerShell.
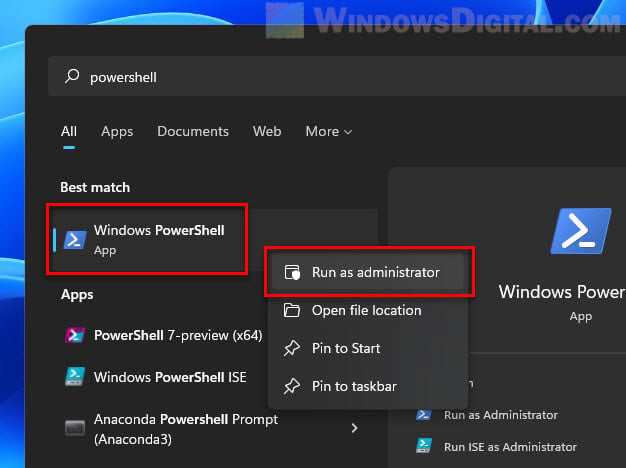
- Find the Search Bar on your taskbar or just press Win + S.
- Type in “PowerShell”.
- In the search results, right-click on “Windows PowerShell” and choose “Run as administrator”.
- You might see a User Account Control dialog asking if you allow the app to make changes to your device. Click “Yes”.

- A blue window will open, showing that you are now running PowerShell with admin rights.
Useful tip: How to Run PowerShell or CMD as SYSTEM or TrustedInstaller in Windows 11
Now that you have PowerShell ready with the needed permissions, let’s go through the steps to install or uninstall the Snipping Tool.
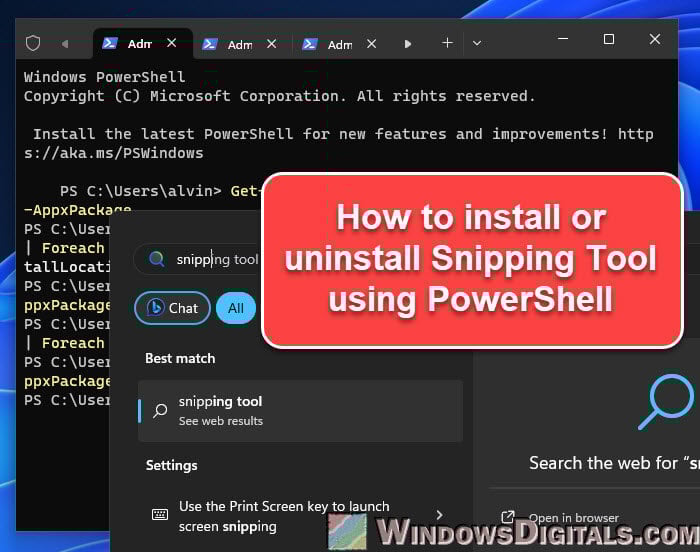
How to install Snipping Tool using PowerShell
If the Snipping Tool isn’t already on your Windows 11 device, you can install it easily with a single line of command. Follow the steps below:
- Make sure the PowerShell window you opened as admin is still active.
- To install the Snipping Tool, type in this command:
Get-AppxPackage -AllUsers *Microsoft.ScreenSketch* | Foreach {Add-AppxPackage -DisableDevelopmentMode -Register "$($_.InstallLocation)\AppXManifest.xml"}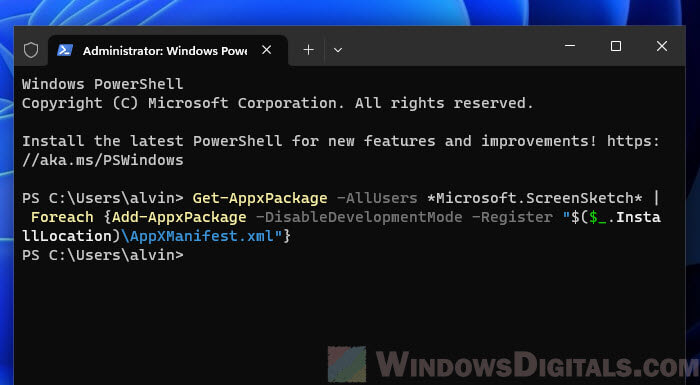
This command looks for the Snipping Tool package (calledMicrosoft.ScreenSketchin Windows 11) on all user accounts and sets it up if it’s not already. - Wait for the command to finish. It might take a little while, depending on how fast your computer is and what it’s doing right now.
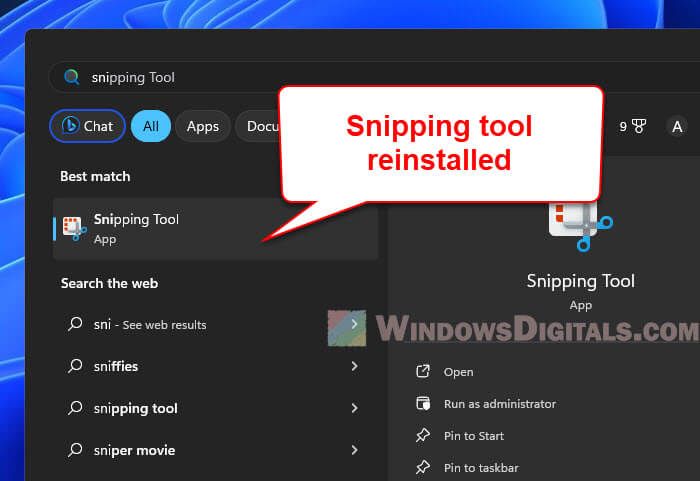
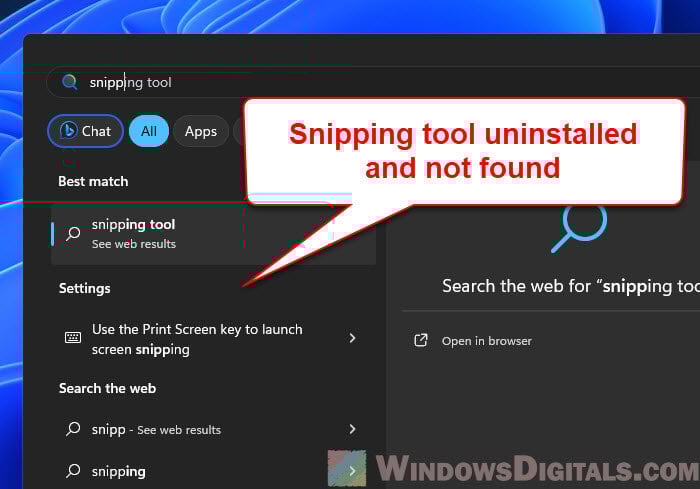
- Once it’s done, check if the installation worked. Go to the Start Menu and type “Snipping Tool” or “Screen Sketch”. The app should show up in the search results, meaning it’s installed and ready to use.
If you run into any errors during the installation, make sure you’re connected to the internet. Sometimes, Windows needs to pull files from online to complete the setup.
Handy guide: How to Take a Screenshot Showing Cursor on Windows 11
How to uninstall Snipping Tool using PowerShell
Sometimes you might want to clean up your system or you might prefer using different software for screenshots. If that’s the case, below is how you can uninstall the Snipping Tool on your Windows 11 PC using PowerShell.
- Make sure your PowerShell window, still running as admin, is up front and active.
- To remove the Snipping Tool, type in this command:
Get-AppxPackage *Microsoft.ScreenSketch* | Remove-AppxPackage
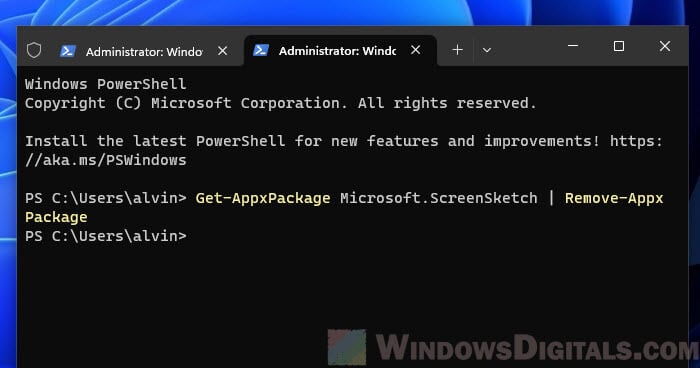
This command finds the Snipping Tool package (known asMicrosoft.ScreenSketchin Windows 11) and tells PowerShell to remove it from your computer. - Give it a minute to work.
- After it’s done, to check if it’s really gone, go to the Start Menu and type in “Snipping Tool” or “Screen Sketch”. If it’s no longer there, it means the uninstall worked.
Be very careful when using PowerShell, especially when removing software. Make sure you type the commands correctly to avoid deleting something else important by mistake.
Related resource: Disable Microsoft Store in Windows 11 Home or Pro (GPO)
Tip: Restoring all default Windows apps
Sometimes, after removing some default apps, you might change your mind and want them back. Windows 11 makes it easy to get all these default apps back with just one PowerShell command.
- Make sure the PowerShell window you opened as admin is still active.
- To get all default apps back that come with Windows 11, type in this command:
Get-AppxPackage -AllUsers| Foreach {Add-AppxPackage -DisableDevelopmentMode -Register "$($_.InstallLocation)\AppXManifest.xml"}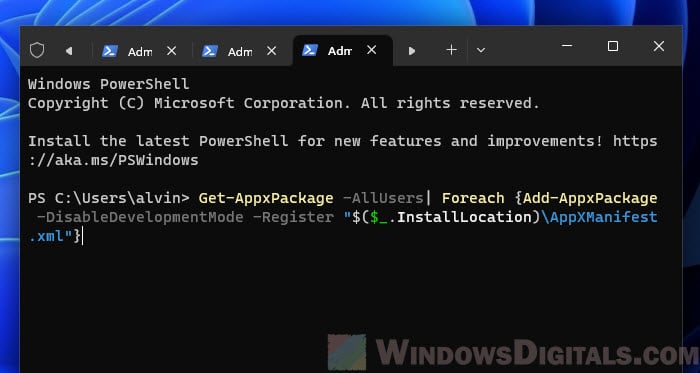
This command will reinstall all the default apps for Windows. It checks each app package and sets it up again. - Wait a bit for it to finish. The time it takes can vary based on how many apps are being restored.
- Check the restoration by going to the Start Menu. You should see the Snipping Tool and other default apps reinstalled and ready to use.
Note: Make sure the process isn’t interrupted. If you just want the Snipping Tool back, follow the earlier steps to install it.