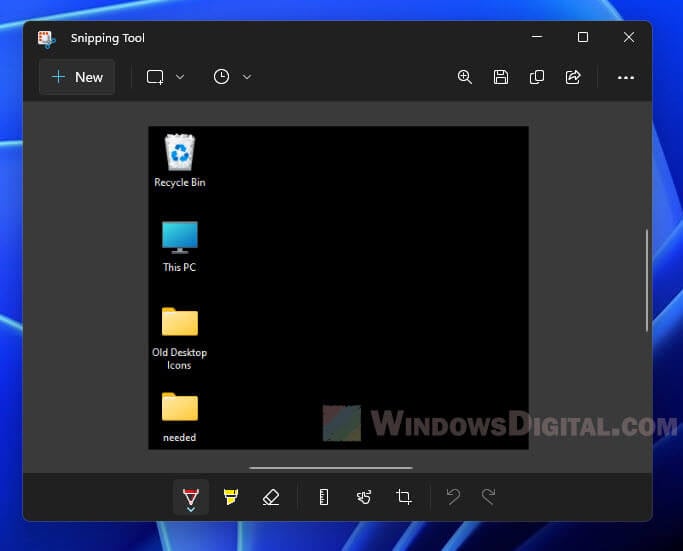
Snipping Tool has been a great addition to Windows and the preferred solution for many users to quickly take a screenshot of the entire screen or part of it. Previously, before Windows 11 and Windows 10 introduced the new Clipboard feature, if you take a new snip with Snipping Tool and close it without saving the snipped image, the unsaved snip will be lost.
However, since the introduction of the Clipboard History feature in Windows 11 and 10, users can now find the old snips from snipping tool via the Clipboard manager. This short guide will show you how to find the Snipping Tool history in Windows 11 or 10.
Also see: How to Open Clipboard in Windows 11
Page Contents
Snipping Tool History in Windows 11 or 10
Each snip you create using Snipping Tool will be saved to the Windows Clipboard. You can quickly test this by creating a new snip without saving it, and paste it (Ctrl + V) in any software that support image pasting such as Microsoft Word and Paint.
This means that since the snips you make using Snipping Tool will be captured by the Clipboard, you can also find and view the previously unsaved snip via the Clipboard History in Windows 11 or 10. You can access the Windows Clipboard manager by simply pressing the Win + V keys.

Try to take a few quick snips with Snipping Tool and you should then be able to see those unsaved snips appear in the Clipboard History.
To re-copy a previously snipped content, left-click to select it from the clipboard history and paste the image to anywhere you like. You can paste the image to Paint if you would like to save it as a file.
Related issue: Why did all my Screenshots come out Black in Windows 11?
Clipboard History not showing after pressing Win + V
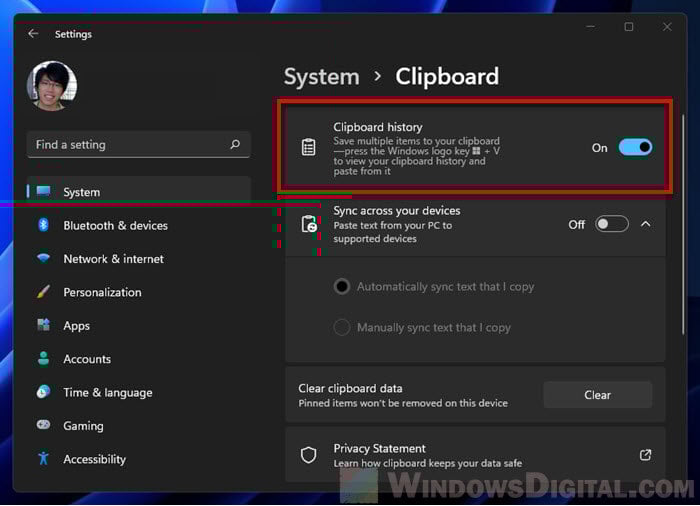
Although the Clipboard feature is enabled by default in Windows 11 and 10, if you have accidentally disabled the feature before, here’s how to enable it.
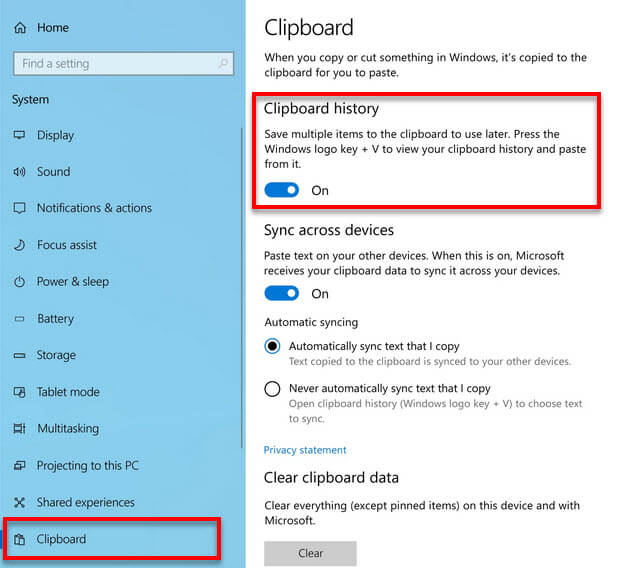
In Windows 11, press Win + i to open Settings. On the left pane, select System. Then, on the right, select Clipboard. Click the toggle button next to Clipboard history to turn on the feature.
In Windows 10, go to Start and select Settings. Select System and then Clipboard from the left pane. Under Clipboard history, click the toggle button to enable the feature.
After enabling the Clipboard History feature, retry pressing Win + V keys and you will then be able to see the Clipboard manager and access the previous unsaved screen snips.
Suggested read: How to Print Screen Without PrtScn Button
About Snipping tool history and Windows Clipboard
The Clipboard History in Windows 11 and 10 will save any type of content you copy. It has a limit of 25 copied entries. Older items will be removed automatically to make room for new copied items. You can pin any item so that it doesn’t get removed from the Clipboard history as you copy new items.
Since the snip you take using Snipping tool is like any other image content you copy to the clipboard, it follows the same rules. As you copy more items (including text, etc.), the older items, including the old snips you made using Snipping Tool, will be removed.
Note: Clipboard history gets cleared every time you reboot your computer. However, the items you’ve pinned will still be available. Thus, if you have not restarted your PC yet, you can still recover unsaved image from Snipping Tool via the Clipboard history.
Clipboard history also has a size limit of 4 MB per item. If the snip you took using Snipping Tool exceeds 4 MB, it may not be saved to the clipboard history.
Snipping Tool history without Clipboard manager
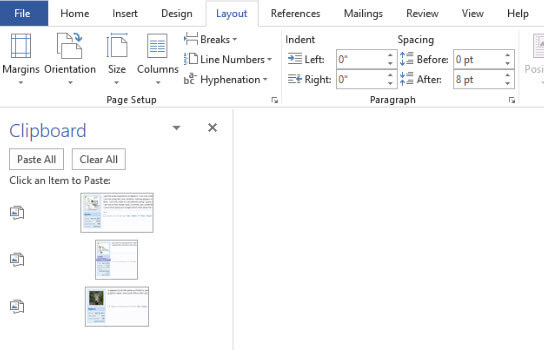
If you are using older versions of Windows or Windows 10 version without the clipboard update, the only viable way to save Snipping Tool history without using any clipboard manager is to use the Clipboard in Microsoft Word.
You can test this by first opening Microsoft Word and bring up the Clipboard pane. Then, quickly create 3 new snips with Snipping Tool. You should then be able to see the 3 snips in the Word Clipboard.