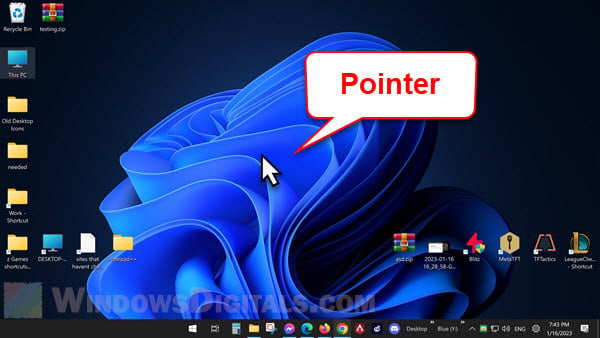
Normally, when you take a screenshot with a general tool such as Snipping Tool, Xbox Game Bar or Win + PrtScn hotkey, the mouse cursor will not be included in the generated screenshot. If you need to take a screenshot that includes the mouse pointer, this guide will show you how to do so on Windows 11.
Also see: How to Print Screen Without the PrtScn Button
Page Contents
Print screen with mouse cursor in Windows 11
Use Steps Recorder
If you don’t like to install any third-party application, you can use this pre-installed but lesser-known tool in Windows 11, Steps Recorder, to take screenshots that will include the mouse pointer.
Steps Recorder is a tool that allows you to record steps you take on your screen and show you a slide show of those steps you recorded. After recording, you can save the screenshot from the generated slide show. To do so, follow the steps below.
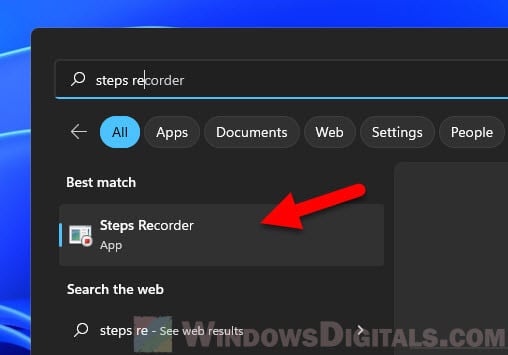
- Search for and open “Steps Recorder” via Start.
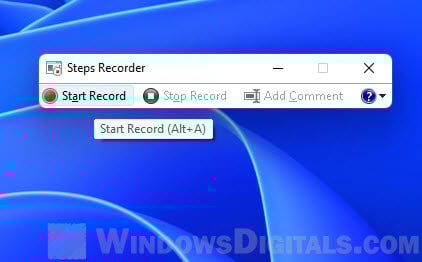
- In the Steps Recorder window, click Start Record to begin recording.
- Now, move your cursor to whenever you want it to be and left-click to take the screenshot.
- You will see a red dot appears on the cursor when you left click which indicates that the step was recorded. If you need to take more steps, you can continue clicking to record more steps.
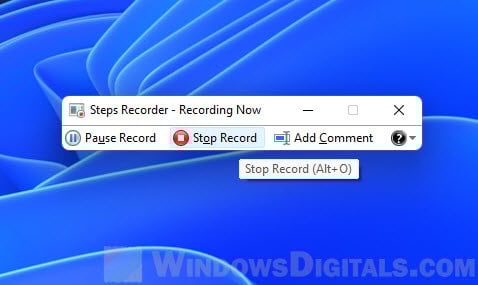
- Once you have done recording, click Stop Record.
- The Step Recorder will then show you the recorded steps in detail. You will see all the screenshots you have taken throughout the recording process.
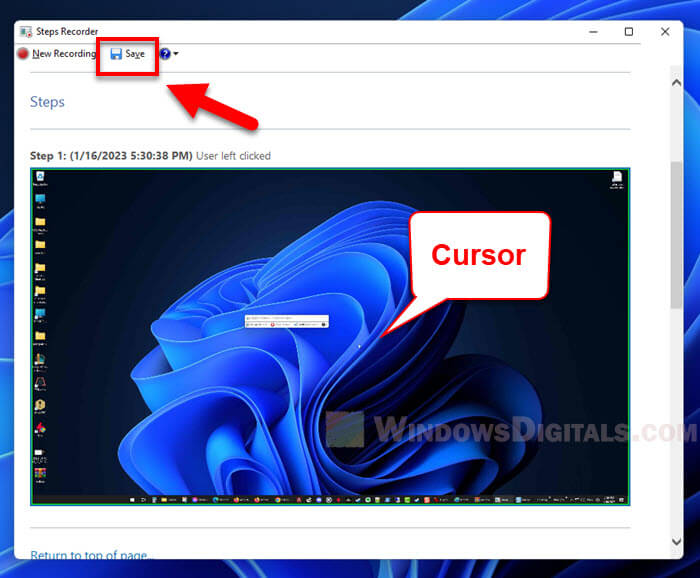
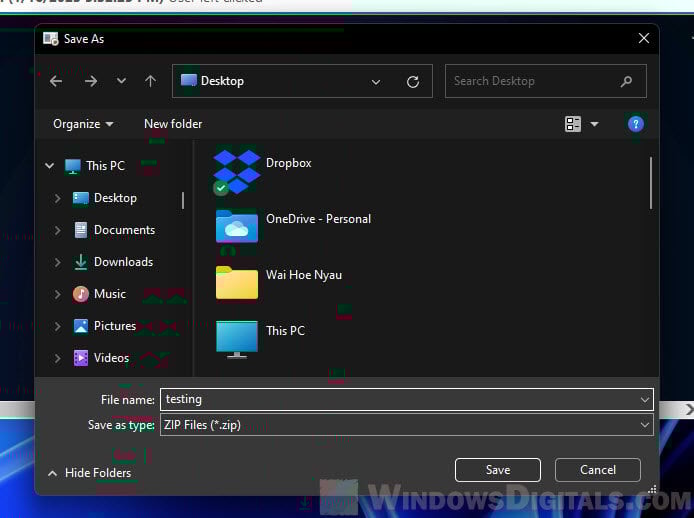
- Since the application does not allow you to right-click or save individual images, you will need to save the entire record as an MHT file first. Click “Save” next to “New Recording” on the menu bar. Give the zip file any name you want and save the file in a place that is convenient for you.
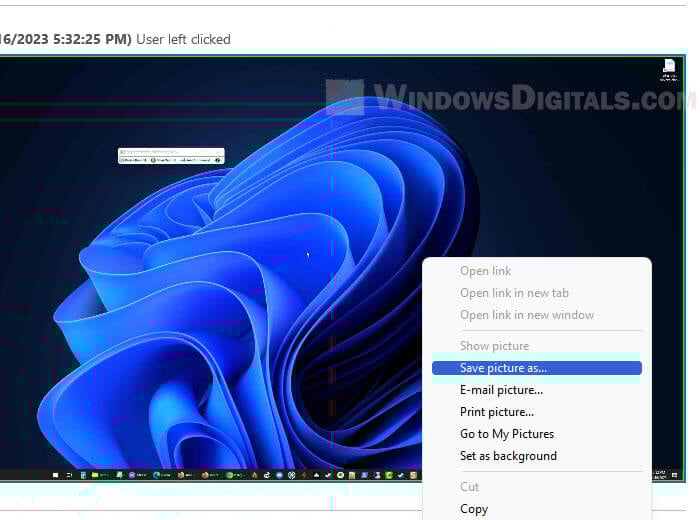
- Next, extract the zip file and open the MHT file in it with a web browser such as Edge or Chrome.
- You can now right-click any screenshot you want to save and click “Save picture as” to save it.
Related: How to Screenshot Only One Monitor on Windows 11
Take screenshot with IrfanView
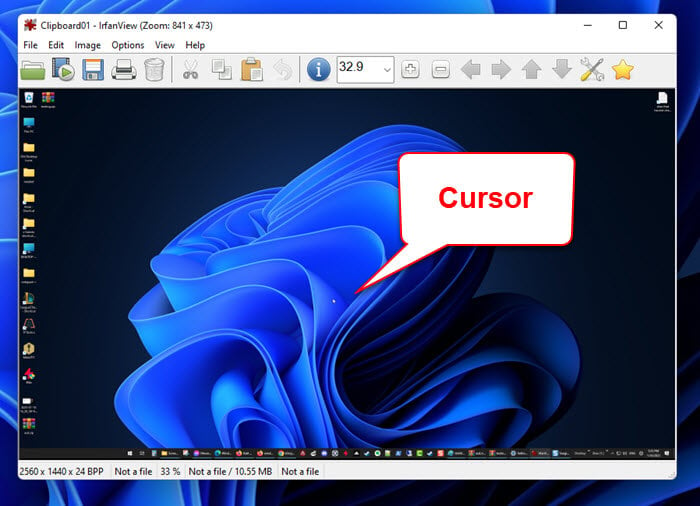
If you don’t mind installing a third party app, you can try using IrfanView – one of the most popular image viewer software for decades. Although IrfanView is known as an image viewer, it also has the ability to capture screenshots on Windows. The screenshot it takes will also include the mouse cursor.
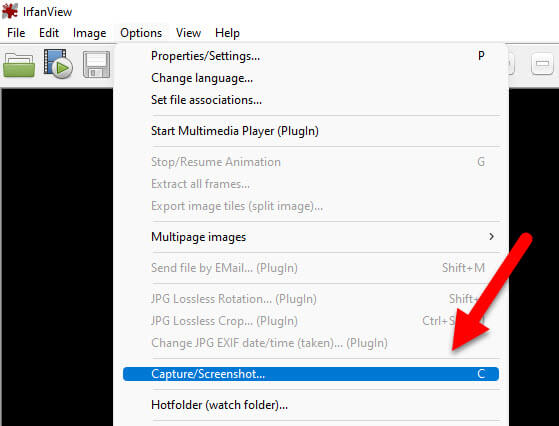
You can download the software from https://www.irfanview.com/. Choose the 64-bit version for Windows 11. Once you’ve installed the app, open it. To use it to take a screenshot, click Options on the menu bar and select Capture/Screenshot.
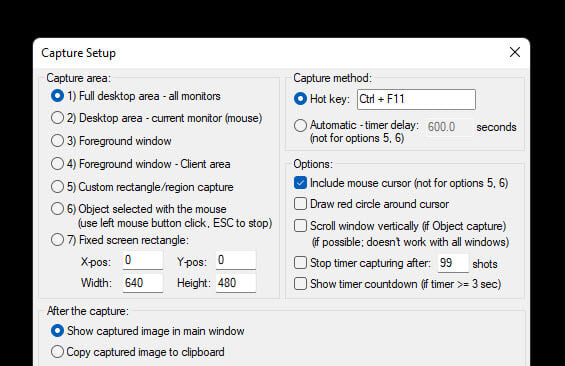
Under “Capture area“, select the capture area you would like to use (e.g. the entire desktop screen, foreground window, custom region, etc.). Under “Capture method“, take note of the hot key because you will need to press it later in order to take a screenshot. You can also change the hotkey to any other key you prefer. Once you’re satisfied with the settings, click Start.
Then, in order to take a screenshot using IrfanView, press the hotkey shown to you earlier (the default is Ctrl + F11). As soon as you press the shortcut key, a screenshot of your screen will be taken and then displayed in IrfanView’s window. The screenshot you take will also include your mouse pointer.
Use Greenshot
Greenshot is one of the most well-known screenshot software tools for Windows. It is open source and free, and it’s always the go-to choice if you need more advanced features and flexibility when capturing screenshots in Windows. Although the latest version was released a few years ago, it still works well with Windows 11.
Since we want to include the mouse pointer when taking a screenshot, Greenshot has just the right option for it. Once you’ve downloaded and installed the app, run it. It will not open any window, but you can find the app’s icon from the taskbar corner.
Right-click the Greenshot icon and select Quick preferences. Make sure the “Capture mouse pointer” option is enabled.
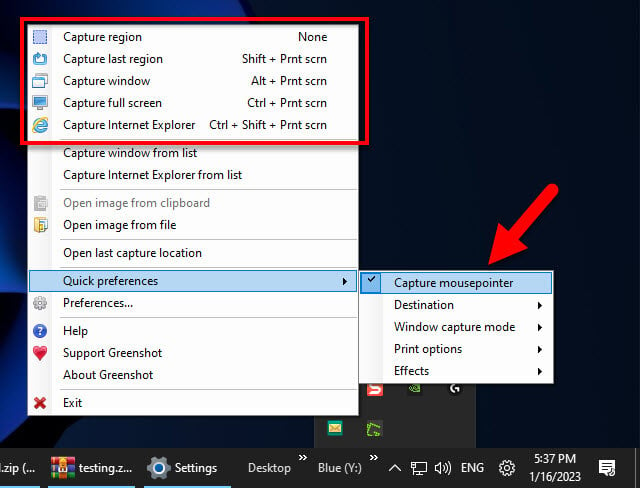
Then, to capture a screenshot in Windows 11 using Greenshot, press the respective hotkey to capture the screen. For example, to take a screenshot of the entire screen, press Ctrl + PrtScn; to capture just one window, press Alt + PrtSc.
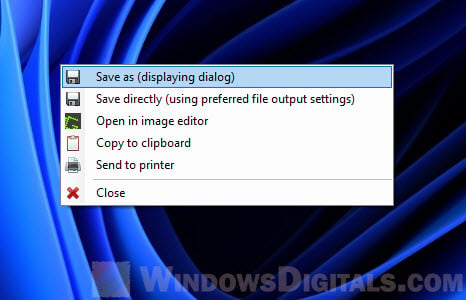
After pressing the hotkey, you will be prompted to choose a method to save the captured screenshot. To save it directly as a picture, choose “Save as“. To open it in image editor, select “Open in image editor“. The mouse cursor will be visible in the screenshot you take.