Taking screenshots is like snapping a photo of whatever that is on your screen. If you have a Samsung laptop with Windows 11 or 10, the way to do it might look a bit different from other devices. In this guide, we’ll show you several ways to get the perfect screenshot on your Samsung laptop.
Also see: How to Screenshot Games on Windows 11
Page Contents
Taking screenshots on Samsung laptop using the PrtScn key
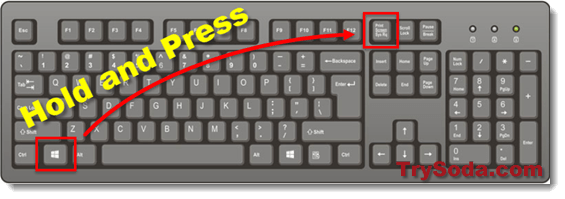
The PrtScn button on most keyboards lets you quickly take screenshots. The following will show you how to use this key on your Samsung laptop with Windows 11 or 10.
Keyboard shortcuts
If you want to capture your screen fast without going through apps, keyboard shortcuts are your best bet.
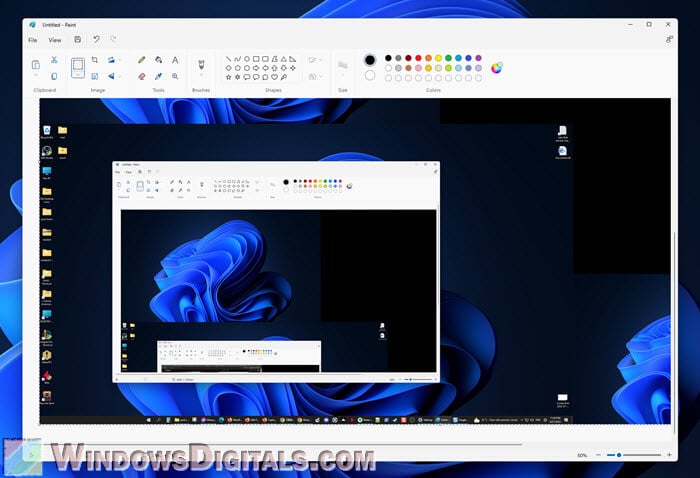
- Press the PrtScn key. This grabs your whole screen but doesn’t save it as a file. Instead, it copies it to your clipboard. You need to paste it into an app like Paint or Word to see and save it.
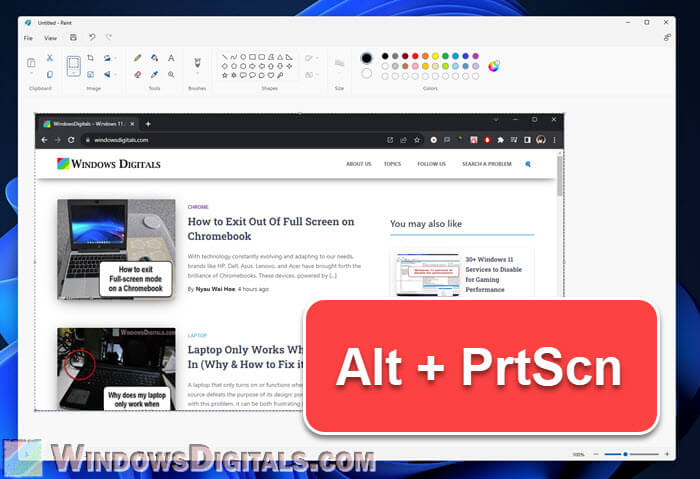
- Press Alt + PrtScn. This only captures the window you’re currently using and copies it to your clipboard.
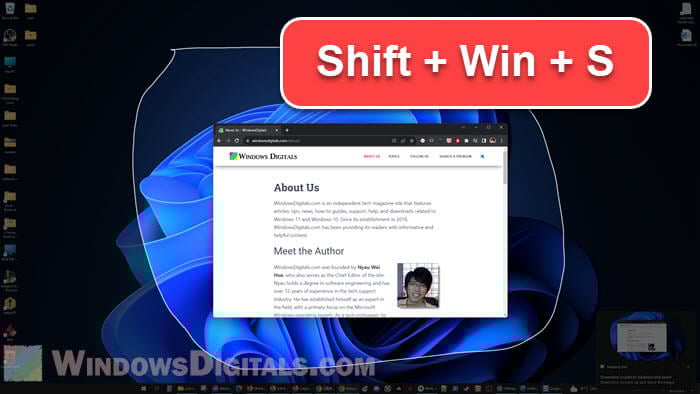
- Press Shift + Windows + S. Your screen will dim, and you can select a specific area to capture. The screenshot then goes to your clipboard.
Useful tip: How to Screenshot Only One Monitor on Windows 11
Windows + Print Screen
This method is great if you want something easy and fast. It captures your whole screen and saves it right away.
- Just press Windows + PrtScn.
- Your screen will dim for a moment, showing that a screenshot has been taken.
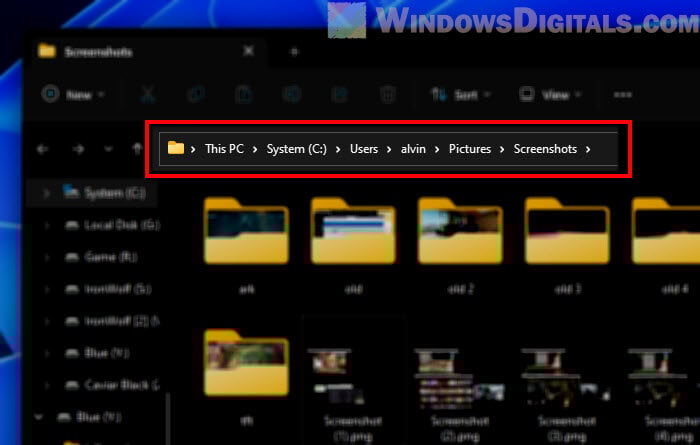
- The screenshot is saved automatically in the “Screenshots” folder in your “Pictures” library.
Handy guide: How to Crop Screenshot on Windows 11
Screenshots with OneDrive
If you use Microsoft OneDrive and like having your screenshots backed up to the cloud automatically, this is the method for you:
- Make sure OneDrive is running on your Samsung laptop.
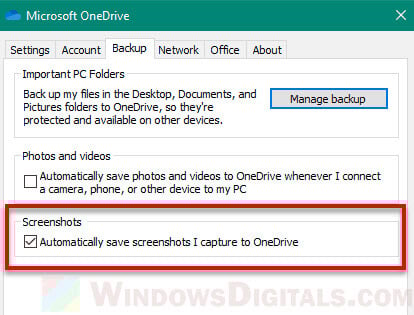
- Right-click on the OneDrive icon in your system tray and pick Settings.
- In the Backup tab, look for the Screenshots section and tick the box that says “Automatically save screenshots I capture to OneDrive.”
- Now, any screenshots you take using PrtScn or Windows + PrtScn will be saved to your OneDrive folder automatically.
Linked issue: Screenshots are always blurry in Windows 11 (Fix)
Taking screenshots on Samsung laptop without the PrintScreen button
If you don’t want to use the PrtScn button, whether it’s not working or you need more features, there are several other recommended ways.
Snipping tool
The Snipping Tool has been around for a while and is still a solid way to take screenshots, even with newer tools in Windows 11/10.
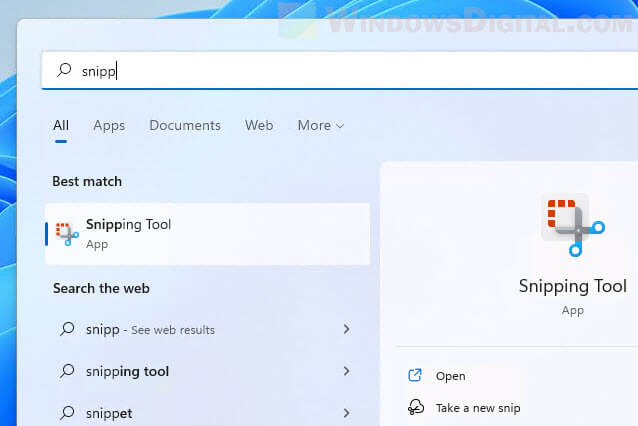
- Click the Start button at the bottom left of your screen.
- Type “Snipping Tool” into the search bar.
- From the search results, click on the Snipping Tool app to open it.
- Click the New button to start taking a screenshot.
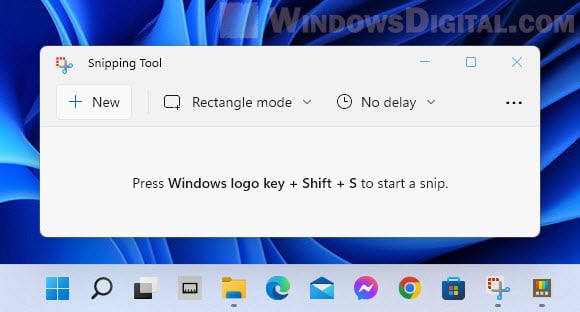
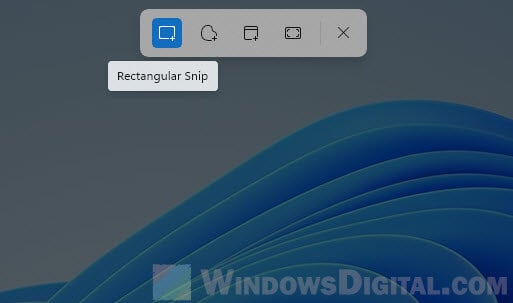
- Your screen will dim, letting you select the area you want to capture.
- After capturing, the screenshot will open in the Snipping Tool window, where you can save, copy, or share it using the File menu.
Related resource: How to Find Snipping Tool History in Windows 11 or 10
Use the Xbox Game Bar
The Xbox Game Bar is mainly for gamers, but anyone can use its screenshot feature on a Windows machine.
- Press Windows + G to open the Game Bar.
- A toolbar will show up at the top of your screen. Click on the Screenshot icon, which looks like a camera.
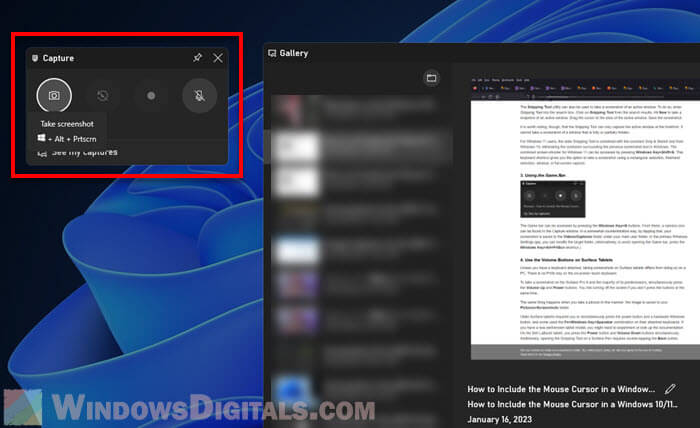
- The screenshot will be taken and saved automatically in the “Videos” folder, in a sub-folder called “Captures.”
Note: If you’re playing a game or using a full-screen app, the Game Bar can be a great way to quickly take a screenshot.
Pro tip: How to Take a Screenshot Showing Cursor on Windows 11
Use third-party tools for advanced features
While Windows has several screenshot tools, some people might want more advanced options like delayed captures or enhanced editing. LightShot, SnagIt, and Greenshot are popular for these features.
LightShot:
- Download and install LightShot from its official website.
- Once installed, press PrtScn.
- Select the area you want to capture by dragging.
- A toolbar will show up, letting you edit, save, or upload the screenshot.
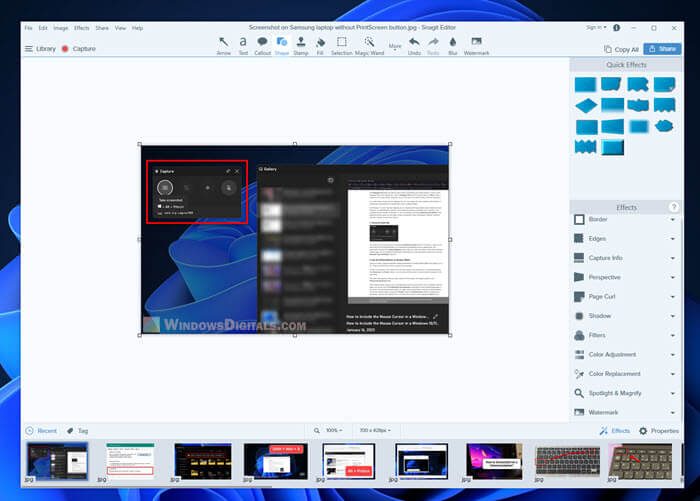
SnagIt:
- Download and install SnagIt, then open the app.
- Use the easy interface to pick your screenshot method (full screen, window, region, and more).
- After capturing, SnagIt opens the screenshot in its editor where you can add notes, crop, and apply effects.