PowerShell 7 is a pretty common tool for developers or admins to manage things on Windows computers, and keeping it updated is always an important job. This guide will show you how to install or update PowerShell 7 using only the command line.
What actually is PowerShell 7? PowerShell 7 comes after PowerShell Core 6.x and Windows PowerShell 5.1. It brings certain improvements and fills the gap between Windows PowerShell and PowerShell Core, and adds more features to the shell and scripting language.
Page Contents
Install PowerShell 7 using “winget”
To install PowerShell 7 on your system using the command line, you have a couple of options. One easy way is to use the Windows Package Manager (winget), a cmdlet that helps you find, install, upgrade, and set up apps on your Windows 11 or 10 system.
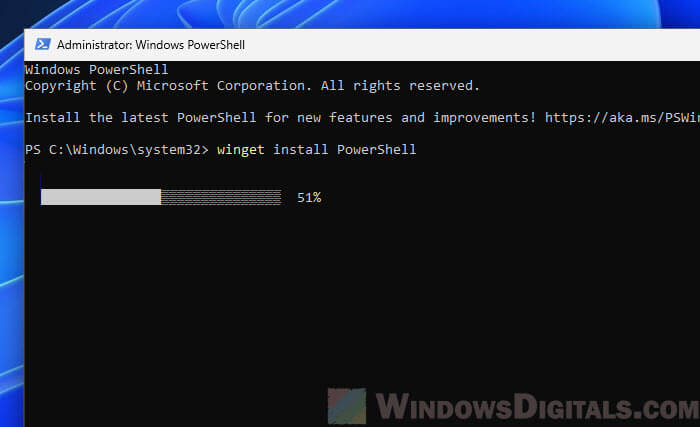
- Open a command prompt or PowerShell window as an admin.
- Type the following command and press Enter:
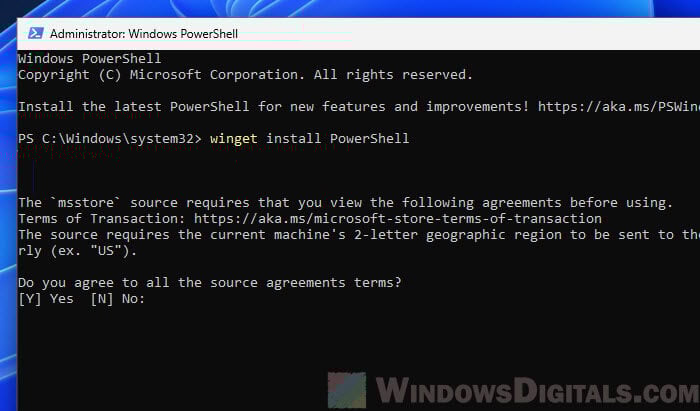
winget install PowerShell
- It will ask you to agree to the terms before installing. Press Y to continue.
- The winget tool will take care of the rest, downloading and installing the latest version of PowerShell 7.
Note that if the winget command doesn’t work, make sure you have the Windows Package Manager installed. It should already be pre-installed on Windows 10 version 1809 and later, and on Windows 11. If you don’t have it, you can download it from the Microsoft Store or from the GitHub releases page of the Windows Package Manager CLI (https://github.com/microsoft/winget-cli). Or, you can just try the next method instead.
Related resource: Install Active Directory Users and Computers via PowerShell
Install or update PowerShell 7 using a simple script
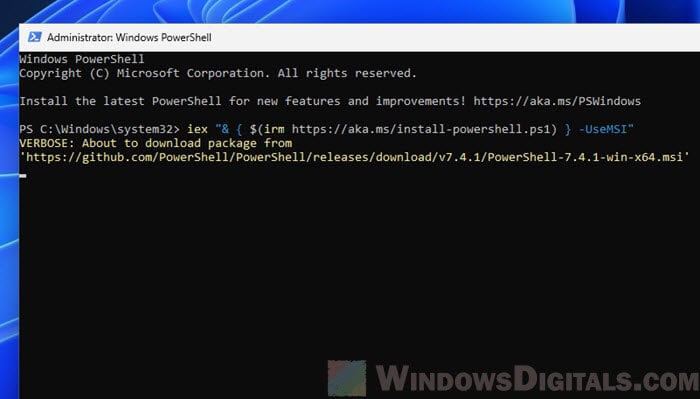
If you can’t use winget or if you prefer a different method, there’s a quite useful script from Microsoft that you can use to install or update PowerShell 7. This method is good for automating updates or making sure everything is consistent across many machines. To use this script, run the following command in a PowerShell window.
iex "& { $(irm https://aka.ms/install-powershell.ps1) } -UseMSI"
What the script actually does
The command line might look complicated, but it’s actually pretty straightforward when you break it down.
iex: Short forInvoke-Expression, this cmdlet runs commands or expressions passed to it as a string. Here, it runs the installation script.irm: This stands forInvoke-RestMethod, a cmdlet that sends a web request and gets the response. It’s used here to download the PowerShell installation script from the link (https://aka.ms/install-powershell.ps1).& { ... }: This is a script block, a set of commands or expressions that run together. The&operator runs the script block.-UseMSI: This tells the installation script to use the MSI (Microsoft Installer) package. MSI is standard for Windows apps and offers a familiar setup experience, including silent installs, custom install locations, and more.
When you run this command, it does these things:
- Downloads the PowerShell installation script from the given link.
- Runs the script, which looks for the newest version of PowerShell.
- If there’s a newer version, the script downloads and starts the MSI installer.
- The MSI installer then updates PowerShell to the latest version, keeping your settings and configurations.
This method is very helpful for automated scripts or when you’re managing many machines, as it can be added to deployment scripts or scheduled tasks to keep PowerShell up to date.
Get PowerShell 7 from Microsoft Store instead
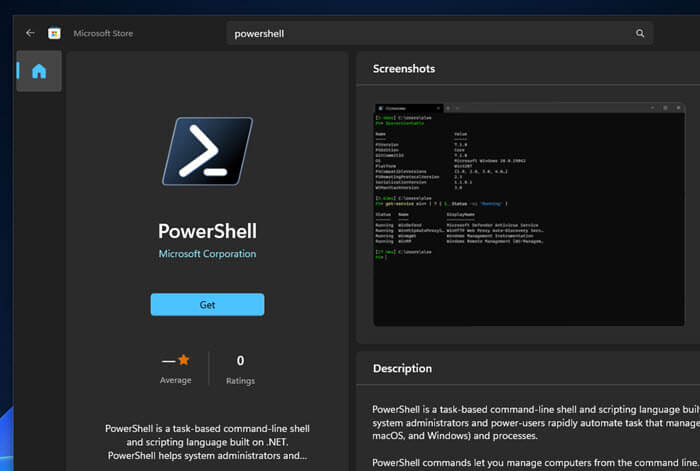
Another easy way to install or update PowerShell 7 is through the Microsoft Store. After installing it from the Store, PowerShell 7 will update automatically in the background, just like other store apps do.
- Go to the Start menu and open the Microsoft Store.
- Use the Search feature and type “PowerShell”.
- Find “PowerShell” in the results and click on the app.
- Click the “Get” or “Install” button and follow the steps.
Check the installation
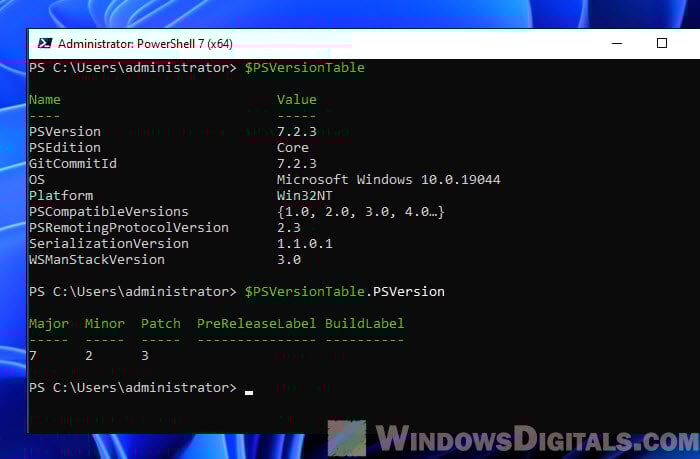
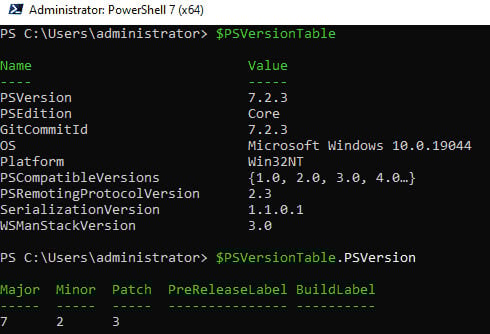
After you’ve installed or updated PowerShell 7, you might want to double-check its version again to see if the updates were really applied.
- Open a new PowerShell window.
- Type
$PSVersionTable.PSVersionand press Enter. - The version number shown should match the latest version of PowerShell 7 you just installed or updated.
Some common issues
If you update PowerShell 7 using the command line as we talked about, you might sometimes come across the following common issues.
- If the
wingetcommand doesn’t work, check that you have the latest version of the Windows Package Manager. - If the script method doesn’t work, make sure your PowerShell session can run scripts with the
Set-ExecutionPolicycmdlet. - When using the Microsoft Store, make sure you’re logged into your Microsoft account and that the Store app is updated.