PowerShell lets system administrators and power users automate boring tasks. In this guide, we’ll show you how to use a PowerShell script to add a TCP/IP printer to a computer running Windows 11 or 10.
We’ll use a general printer driver in our examples, but you should replace it with the right driver for your printer. This script needs the INF file for the driver. INF files have the info that Windows uses to set up hardware. We’ll also cover how to find and get this file from the printer driver executable.
Note: This script only works on Windows 8 and newer versions, because the “add-printer” cmdlets don’t work on Windows 7.
Also see: How to reinstall printer driver on Windows 11
Page Contents
Getting the printer driver INF file
First off, we need the INF file for our printer driver. An INF file is just a text file that tells the setup program how to install your hardware. You can pull this file out from the printer driver executable.
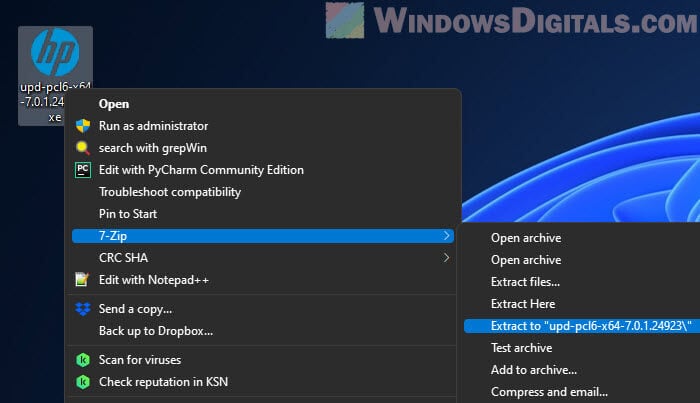
If the driver comes as a .exe file, you’ll need a tool like 7-Zip to open it up and find the INF file. Here’s how you do it:
- Download and install 7-Zip.
- Use 7-Zip to open and get into the printer driver .exe file.
- Open PowerShell and switch over to the folder you just got out.
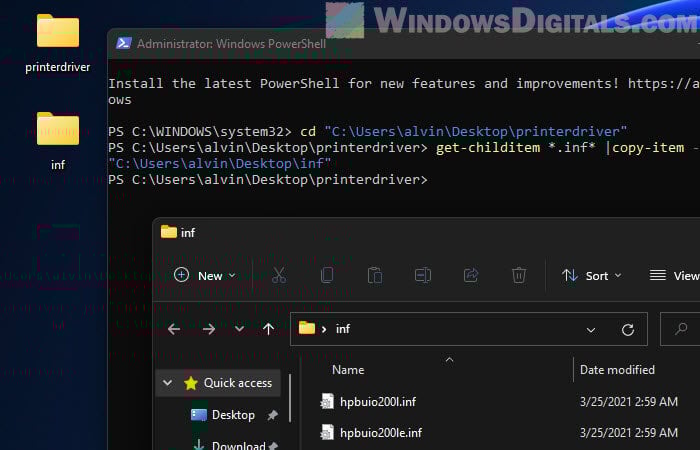
- Type in this command to spot and move the INF file to a spot you like:
get-childitem *.inf* |copy-item -destination "C:\desiredfolder"
Make sure to change
C:\desiredfolderto where you want to keep the INF files.
Useful resource: How to see what drivers are installed in Windows 11
PowerShell script to add a printer driver
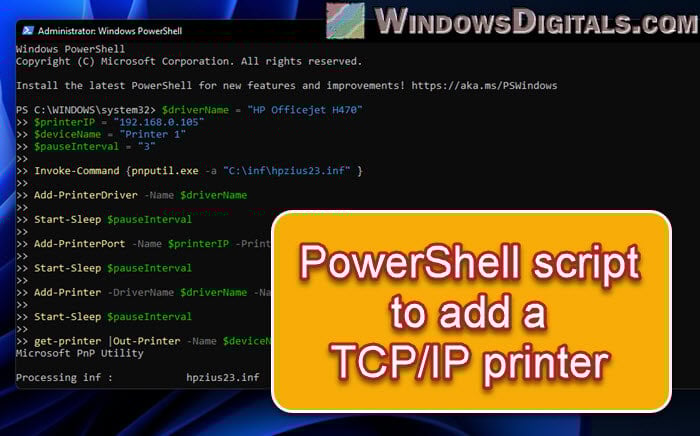
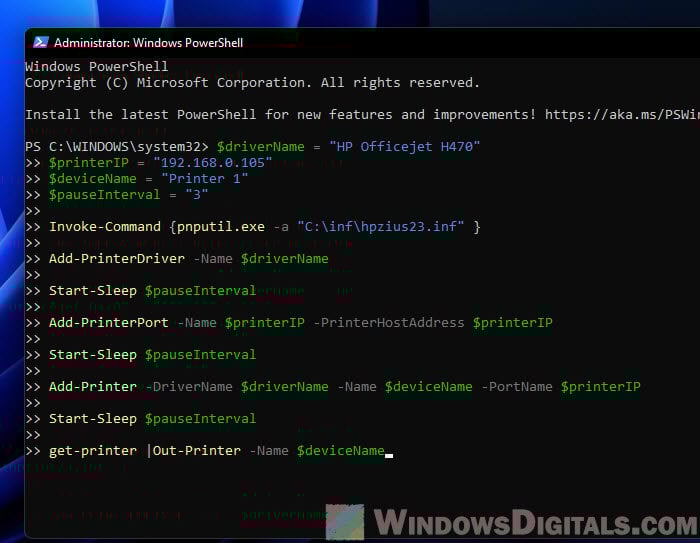
Now that we’ve got our INF file, here’s the PowerShell script to add a TCP/IP printer to your local computer:
$driverName = "Your Printer Driver"
$printerIP = "x.x.x.x"
$deviceName = "Your Printer Name"
$pauseInterval = "3"
Invoke-Command {pnputil.exe -a "C:\path_to_driver\printer.inf" }

Add-PrinterDriver -Name $driverName

Start-Sleep $pauseInterval

Add-PrinterPort -Name $printerIP -PrinterHostAddress $printerIP

Start-Sleep $pauseInterval

Add-Printer -DriverName $driverName -Name $deviceName -PortName $printerIP

Start-Sleep $pauseInterval

get-printer |Out-Printer -Name $deviceName
This script is made up of six main parts. Let’s break it down to understand what each part does.
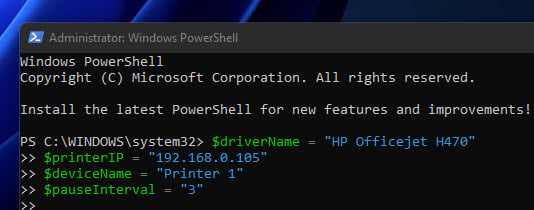
Section 1: Setting up variables
$driverName = "Your Printer Driver"
$printerIP = "x.x.x.x"
$deviceName = "Your Printer Name"
$pauseInterval = "3"
These four variables at the start are crucial. Here’s what they do:
$driverName: The name of the printer driver we’re installing.$printerIP: The printer’s IP address. Change “x.x.x.x” to your printer’s real IP address.$deviceName: What you want to call the printer on your system.$pauseInterval: How long to wait between commands. This helps because some commands might take a bit to finish before you can start the next one.
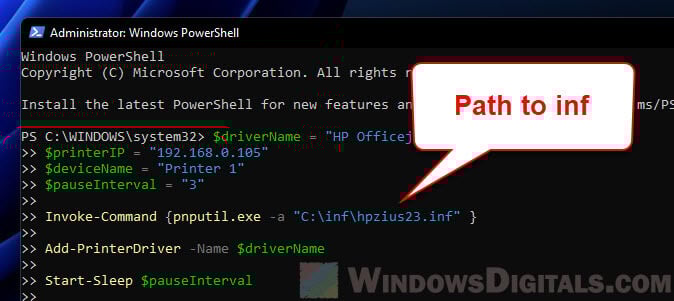
Section 2: Adding the printer driver
Invoke-Command {pnputil.exe -a "C:\path_to_driver\printer.inf" }
This command uses pnputil.exe to bring the printer driver’s INF file into Windows. You’ll need to swap out C:\path_to_driver\printer.inf with your file’s real location.
Section 3: Putting the printer driver in place
Add-PrinterDriver -Name $driverName
Start-Sleep $pauseInterval
The Add-PrinterDriver cmdlet gets the printer driver onto your computer. It uses the $driverName variable we set up before. The Start-Sleep cmdlet makes the script wait a bit, as defined by $pauseInterval.
Section 4: Making a new printer port
Add-PrinterPort -Name $printerIP -PrinterHostAddress $printerIP
Start-Sleep $pauseInterval
The Add-PrinterPort cmdlet creates a new TCP/IP printer port using the printer’s IP address, which you set in the $printerIP variable. The script then pauses for a bit with Start-Sleep, waiting for the time you set in $pauseInterval.
Section 5: Adding the printer to your system
Add-Printer -DriverName $driverName -Name $deviceName -PortName $printerIP
Start-Sleep $pauseInterval
Here, the Add-Printer cmdlet actually adds the printer to your computer. It needs the driver name, the printer name, and the port name, all of which come from the variables we talked about earlier. The script takes a little break again with Start-Sleep for $pauseInterval.
Section 6: Checking if the printer was added correctly
get-printer |Out-Printer -Name $deviceName
This last bit uses the get-printer cmdlet to show a list of all printers on your system and sends this list to the new printer, just to show that it’s set up and ready to be used.
Related guide: How to AirPrint from iOS to a shared printer on Windows 11/10
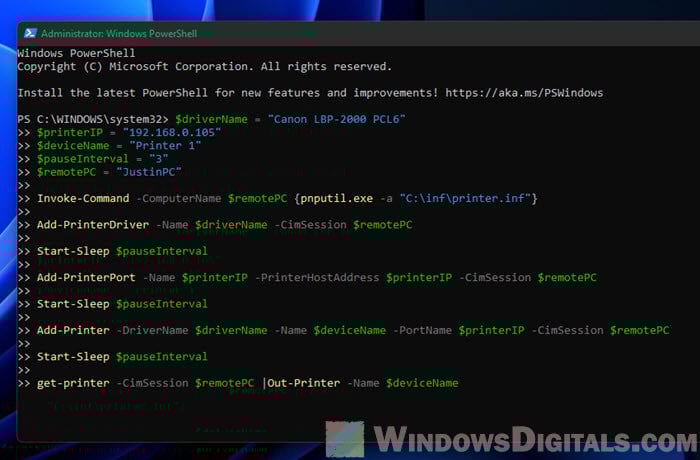
Using the PowerShell script for a printer on a different computer
If you need to add a printer to another computer, this script can also do the trick with a few tweaks. This can be very useful if you’re managing a bunch of computers or working with servers. The following shows you what you need to change:
- You need the INF file on the computer where the printer will be. You can move it over yourself or use a PowerShell cmdlet like
Copy-Itemto send it over. - Use the
Invoke-Commandwith the-ComputerNameoption to run the script on another computer. You’d adjust the script like this:Invoke-Command -ComputerName "RemotePC" {pnputil.exe -a "C:\path_to_driver\printer.inf"}Switch “RemotePC” with the actual name or IP address of the other computer. Make sure the INF file path is right for that computer.
- Once you’ve made these changes, run the script like you normally would. Just make sure you’ve got the rights to run things on the other computer. Windows remoting should be on and set up right on that other computer.
Running the script
To run the script, open PowerShell with admin rights, paste the script in, and press Enter. Remember to change the placeholders with your printer’s details.
The Start-Sleep bits in the script make sure each step finishes before the next one starts. This helps avoid errors by giving each operation the time it needs to complete.
We used a universal printer driver here to show you how it’s done, but you should use the right driver for your printer model.