Your computer might start slowing down or running out of disk space (mainly on the C: drive) when it gets filled up with unnecessary stuff over time. The AppData folder in Windows 11 is one place where this happens. When you install a new program or update existing apps, some files will be created in this folder that store various items like settings or saved data for the apps or games. However, when you remove these programs or games, these files sometimes get left behind. If you don’t remove them, they will just be sitting there wasting your disk space.
This guide will show you how to correctly clean up the AppData folder in Windows 11 so that you can reclaim some of your precious storage space.
Also see: How to Clean C: Drive in Windows 11
Page Contents
What does the AppData folder do?
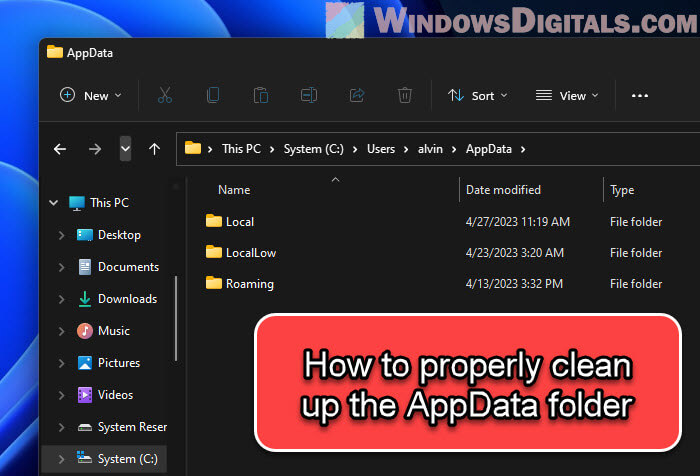
Before we clean up the AppData folder, we should at least know what is actually stored inside the folder. There are basically three big subfolders:
- Local – This folder has data specific to you and your computer, like cache and temporary files.
- LocalLow – It’s a lot like the Local folder but for apps with less permission to mess with your system.
- Roaming – This folder holds data that can be shared across different devices, like your settings and preferences.
Recommended tip: How to Delete Windows Update Files in Windows 11
Accessing the AppData folder
To get to the AppData folder in Windows 11, do this:
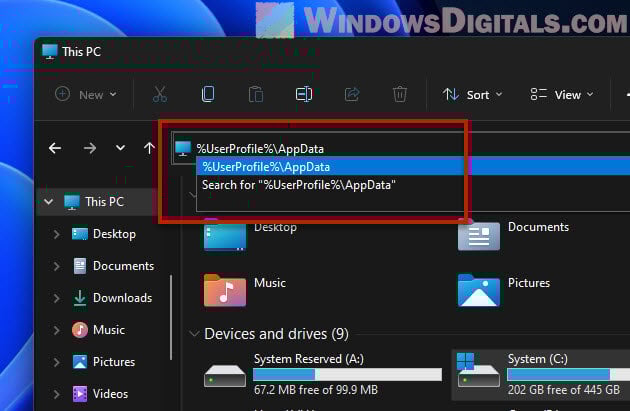
- Press Win + E to open File Explorer.
- Up top where the web address goes, type
%UserProfile%\AppDataand hit Enter. - You’ll see the three parts we talked about (Local, LocalLow, and Roaming).
Is it safe to delete files in the AppData folder?
Be careful with deleting stuff from the AppData folder. Some apps keep important settings and data here, and you could mess them up or lose data if you’re not careful.
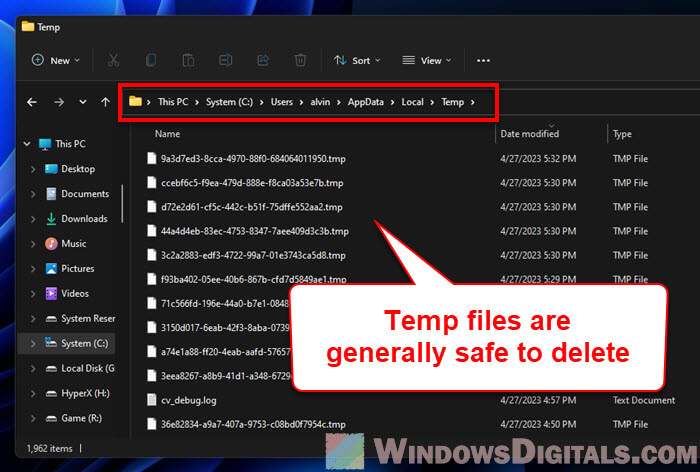
But, you can usually safely delete files from the Temp folder (in AppData\Local\Temp). Apps create these temporary files when they’re installing, updating, or just running. Getting rid of them every now and then can help your computer run smoother and free up space.
Handy hint: Delete Windows.Old Folder in Windows 11/10
Manually cleaning up the AppData folder
Before you start deleting anything from the AppData folder, it’s important to know that you could accidentally remove something important. If you’re not sure, it’s a good idea to back up your stuff first. Here’s how to clean up the AppData folder yourself:
- Open the AppData folder like we showed you before.
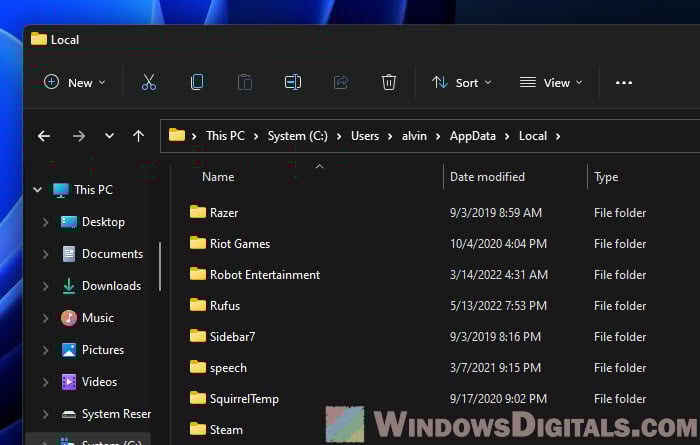
- Go into the Local subfolder and look for folders named after apps you know.
- Delete folders for apps you’ve removed or don’t use anymore. Just be careful not to delete anything important.
- Head over to AppData\Local\Temp. It’s usually okay to delete stuff here since these are just temporary files. Select everything (press Ctrl + A) and hit Delete. You might not be able to delete some files if they’re being used by the system.
- Do the same thing for the LocalLow and Roaming parts.
- Don’t forget to empty the Recycle Bin to really get rid of the files.
Useful guide: How to Clear DirectX Shader Cache (Windows 11)
Using Storage Settings
Windows 11 has a feature that makes it easy to clean up temporary files. Here’s how to use it:
- Press Win + I to open Settings.
- Click on System, then Storage.
- Under your System drive, look for “Temporary files”.
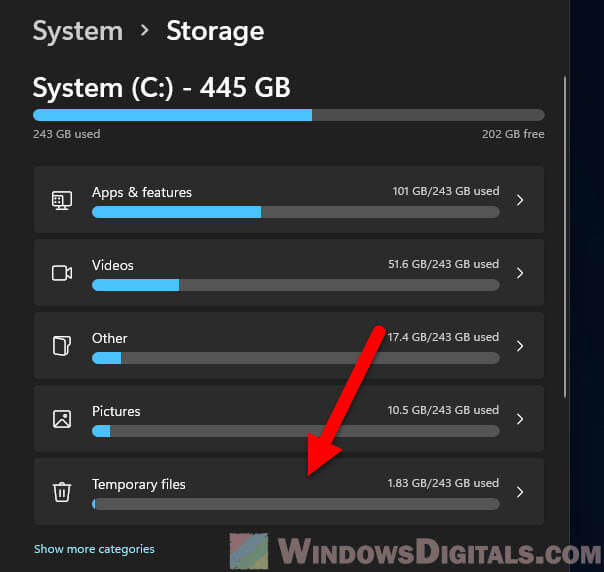
- On the next page, make sure “Temporary files” is checked.
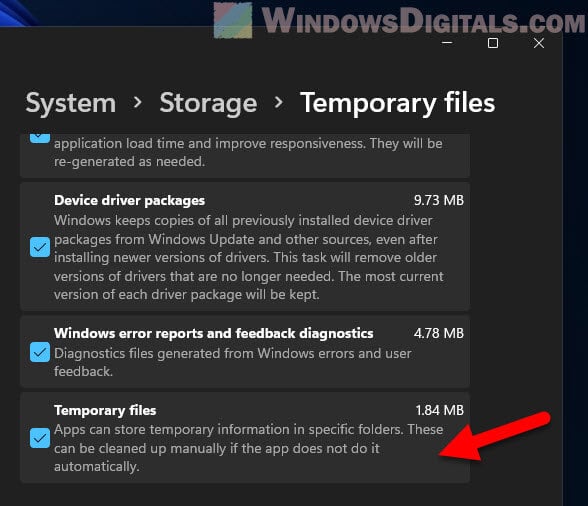
- Hit “Remove files” to get rid of temporary files. Windows will take care of the rest, including those in the AppData folder.
Read next: Clear Cache (Memory, Browsers, Temp Files) in Windows 11/10
Using Disk Cleanup Utility
Windows 11 has a tool called Disk Cleanup that’s also great for getting rid of temporary files. Here’s what to do:
- Press Win + S to search, then type “Disk Cleanup” and open it from the results.
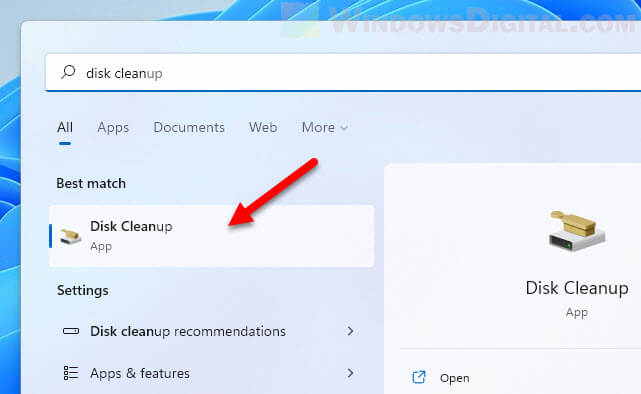
- Pick the drive where your AppData folder is (usually the C: drive) and click “OK.”
- Disk Cleanup will show you what can be safely removed. Check “Temporary files” and anything else you want to delete.

- Click “OK,” then “Delete Files” to clean up.
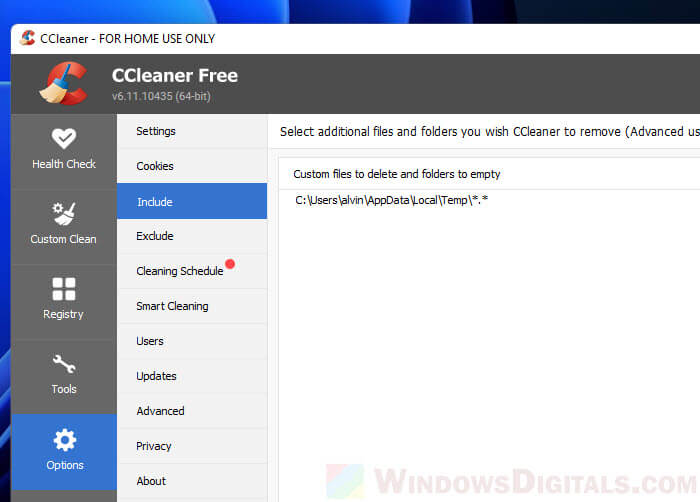
Using third-party tools
There are other programs you can download to help clean your computer. CCleaner and BleachBit are two that are easy to use and can safely delete unnecessary files.
To use one of these:
- Download and install it from its website.
- Open it and look for the part about cleaning temporary files.
- Let it run. These programs usually know what’s safe to delete, including in the AppData folder.
- If you specifically want to clean out the AppData\Local\Temp folder, in CCleaner go to Options > Include, and add
%UserProfile%\AppData\Local\Tempto the list.
Just one last thing
In most cases, you might not think about the AppData folder, but there could be times when you are really out of disk space and need to squeeze some space out, you might want to clean up the AppData folder, especially when you have old files from apps you don’t use anymore. Just be careful though, and make sure you know what you’re doing. If you’re not sure if something is safe to delete, you can make a copy of the folder to a different location, so that you can restore it when you notice any bad changes.