If you have multiple Windows installations on your computer, you may notice some that aren’t used anymore but still take up lots of disk space. Each Windows folder can use up about 20 GB or more. Getting rid of these old Windows folders, usually appear as “Windows.old“, can free up a lot of space. But, you can’t just delete them by pressing the Del or Shift+Del keys. If you try, you might see errors like “Access Denied” or “Permission Needed“.
This guide will show you how to properly remove old Windows folders you don’t need anymore in Windows 11 or Windows 10.
Also see: How to Force Delete a File in Use by Another Program on Windows 11/10
Page Contents
How to delete old Windows folder in Windows 11 or 10
Before you start deleting the folder, make sure you don’t need anything from the old Windows folders anymore. If you still need some of the files in it or are unsure if you have anything that you may need in the future, just make a copy of it elsewhere just in case.
After confirming you don’t need data from these folders, you can use the following methods to safely delete the old Windows folders. If you encounter certain issues when following a method, try the other one.
Delete Windows.old using Disk Cleanup
The easiest and first method to try is to use the Disk Cleanup tool in Windows 10/11. Here’s how to do it:
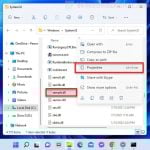
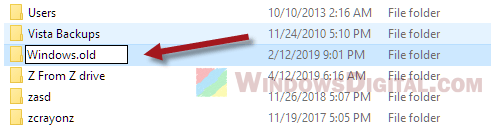
- On the drive where the Windows folder you want to delete resides, right-click on the folder and rename it to “Windows.old“. This step is important as it is required for the Disk Cleanup tool to detect that there is an old Windows folder that can be removed.
- After renaming the folder, go to the start menu or Cortana and search for the “Disk Cleanup” tool. Right-click it and select “Run as administrator“.
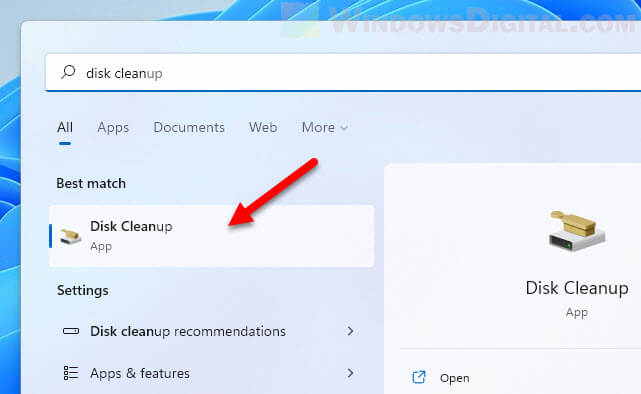
Windows 11
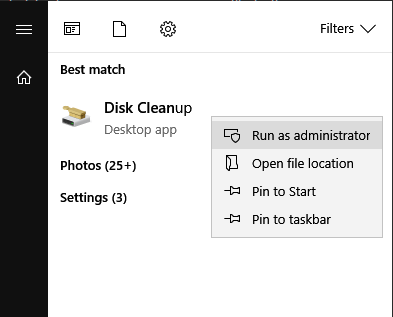
Windows 10
- Select the drive where your Windows.old folder is located, then click “OK“.

- Under the “Files to delete” section, select the option for “Previous Windows Installation(s)“. Then, click “OK” to begin the cleanup. It may take a couple of minutes to complete the removal. After the process is completed, the Windows folder should be gone.

Related concern: How to Delete System 32 in Windows 11
Delete Windows.old using Storage in Settings app
If the Disk Cleanup tool in Windows doesn’t work to remove the Windows.old folder (stuck or crashes during calculating or cleaning process), you can use the Storage sense in the Windows 11/10 Settings app to remove the folder. Similar to the method above, you will have to first rename the Windows folder that you want to remove to “Windows.old.”
Here’s how to do it:
- Rename the Windows folder that you want to remove to “Windows.old.”
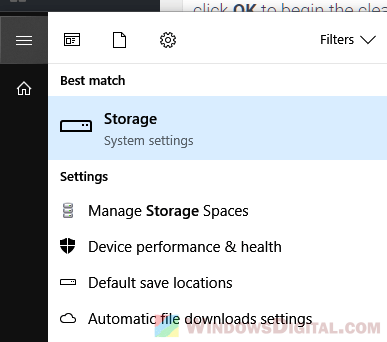
- Head over to the start menu and search for “Storage.” Select “Storage” (system settings) from the search result.
- In the right panel, select the drive where the Windows.old folder is located.
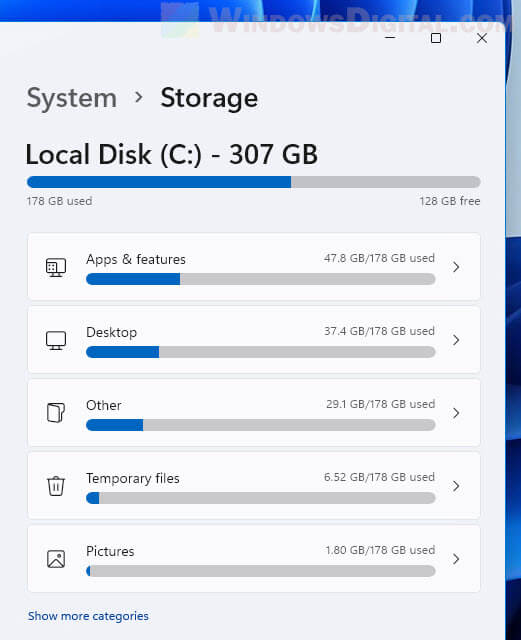
Windows 11
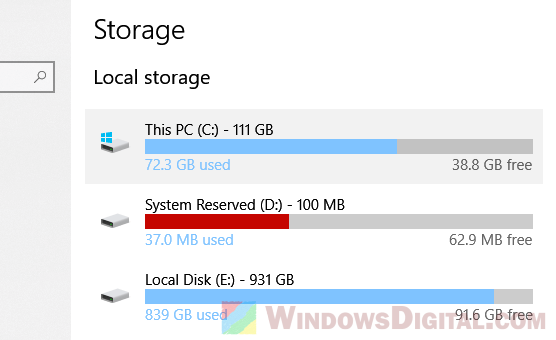
Windows 10
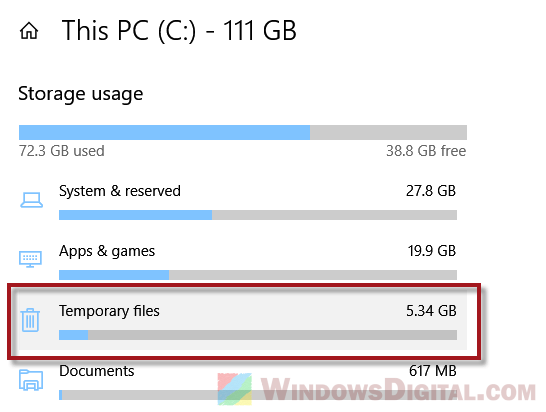
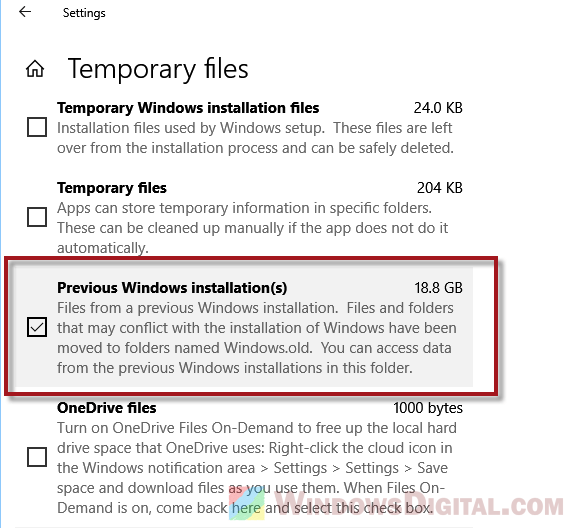
- Within the list of storage usage, select “Temporary files.”
- Scroll down to look for an option called “Previous Windows Installation(s).” Select it and, alternatively, select other temporary files that you may want to remove together. Then, scroll back up and click on the “Remove files” button. Upon completion of the removal process, the Windows.old folder should be deleted.
Suggested read: How to Delete a Ghost File or Folder in Windows 11/10
Manually deleting old Windows folder with CMD
If both methods above fail to remove the Windows.old folder from your drive or the “Previous Windows Installation” option doesn’t show up in Disk Cleanup tool in Windows 11/10, you can remove the folder manually by using a series of commands in Command Prompt.
Here’s how to do it:
- Go to the start menu and search for CMD. Right-click Command Prompt and select “Run as administrator.”
- Enter the following commands one line at a time. Note: Replace “C:\Windows.old” with the actual path to the Windows.old folder you want to remove, if it’s not in the C: drive.
takeown /F "C:\Windows.old" /A /R /D Y
icacls "C:\Windows.old" /T /grant administrators:F
rmdir /s /q "C:\Windows.old"
The first and second lines of commands may take some time to run. The first command is to take ownership of the entire Windows.old folder file by file, whereas the second is to give full control permissions to the Administrator group. The third line is to remove the folder entirely after successfully getting the permission.