A cache is a collection of files or data stored on your computer so that future requests of the same files or data can be served much faster. Clearing cache on Windows 11 or Windows 10 can improve your computer’s performance and free up storage space. There are three types of caches on Windows:
- Temporary files cache
- Memory (RAM) cache
- Browser cache (e.g. Chrome, Edge, or Firefox)
In this tutorial, we will show you how to quickly clear three types of caches on your Windows 11 or 10 laptop or desktop PC.
Also see: How to Clear RAM Cache in Windows 11
Page Contents
Clearing temporary files cache on Windows 11/10
Windows creates temporary files when you create, modify or open a file or program on your computer or from the internet in a folder often known as the “Temp” folder. Most temporary files will be removed when they are no longer needed. However, some temp files tend to stay in the folder indefinitely due to improper handling of temp files in certain apps or programs. Thus, clearing the temp files may often save you a significant amount of disk space.
To clear the temporary files cache on Windows 11/10, follow the steps below:
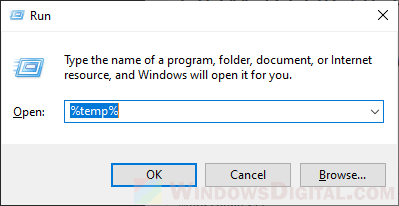
- Press Win + R keys on your keyboard to open the Run window.
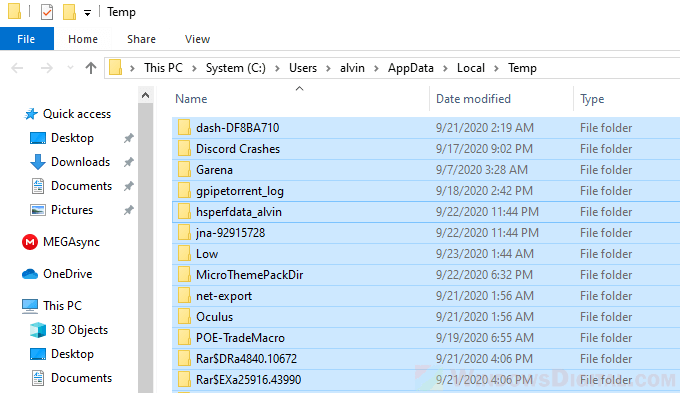
- Type %temp% in the “open” field and click OK. Doing so will open the “Temp” folder.
- To clear all the temporary files cache, press CTRL + A to select all the files and folder in the temp folder.
- Then, press Shift + Delete to permanently delete them.
Side note: You can also type %temp% directly on the start menu search box or Cortana to open the temp folder without going through the Run window.
Alternatively, you can clear the temporary files from the Disk Cleanup tool on Windows 10/11. By using the disk cleanup tool, you can also clear other cache that may have been clogging up such as recycle bin, thumbnails, Windows error reports and feedback, etc. To do so, follow the steps below:
- Open “This PC“.
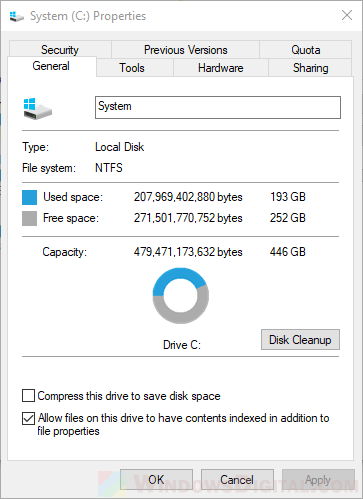
- Right-click on the main HDD where you store your Windows installation (usually the C: drive), then select Properties.
- Under General tab, click on the Disk Cleanup button.
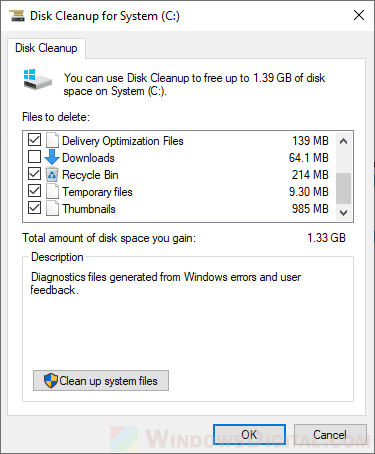
- In the Disk Cleanup window, under files to delete option, select Temporary files and whichever else cache files that you would like to delete, then click OK.
Clearing memory or RAM cache on Windows 11/10
If you notice an obvious slowdown on your computer because the RAM is being used up so much that it’s near to hitting its limit, it could be due to Windows using too much RAM as cache. It will even cause errors such as insufficient RAM or out of memory issue when you run a program.
When you run a program or a game, Windows will use part of your RAM as cache for faster and smoother access to that particular program or game. However, when you close the program, the RAM taken as cache often are not cleared. These cached memory will then become inactive memory or RAM in standby mode until the next time you open the program again.
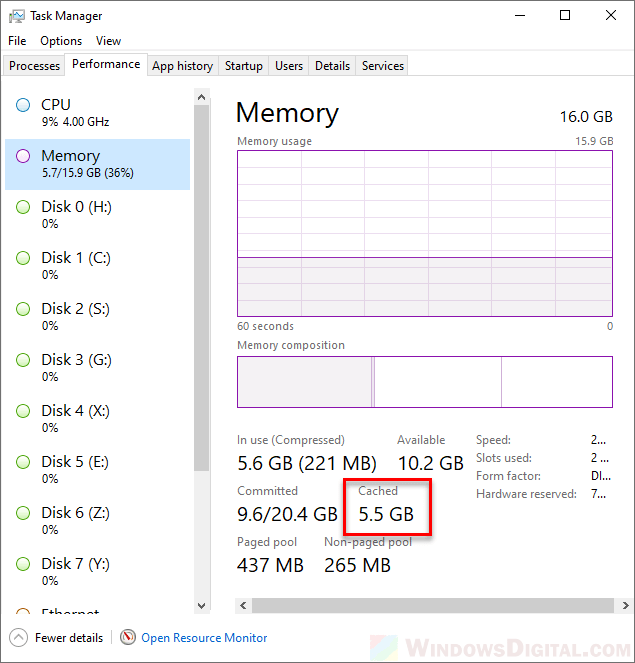
You can have a look at how much RAM are currently in cached from the Task Manager. Simply open Task Manager by pressing CTRL + SHIFT + ESC. Then, click on the Performance tab. You can see the total cached memory under Cached as shown in the screenshot below.
If you’re not happy with how RAM is being cached even after you’ve closed a program or a game, you can use a well-known program called EmptyStandbyList.exe to clear it. This simple program clears the standby lists and therefore clears the RAM cache on Windows 11/10.
However, it’s common to have doubts about downloading an unknown program and running it on your computer, especially when it’s an exe program. It’s important to be cautious when downloading, installing, and running anything on your computer. Although I can assure you that EmptyStandbyList.exe is a safe program as long as you download it from the suggested link below, I recommend doing some research on the program on Reddit or other forums to verify its legitimacy. Nonetheless, you should proceed at your own risk.
- Download EmptyStandbyList.exe from:
https://wj32.org/wp/software/empty-standby-list/
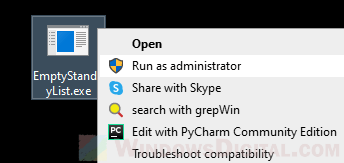
- Once downloaded, place it on your desktop for quick access in the future. To run it, right-click it and then select Run as administrator.
- As soon as it’s run, it will immediately clear all the RAM cache on Windows. Check on the cached RAM value on Task Manager to see how much RAM is cleared now.

- The executable only clear your RAM cache once. You will have to run it again when your RAM cache becomes too much again, or whenever you see fit.
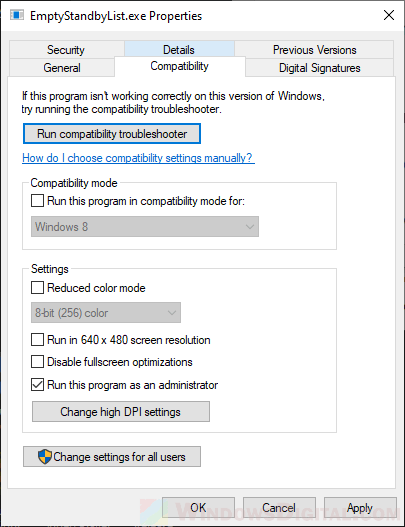
Note: EmptyStandbyList.exe can only work when you run it as administrator. To save you the hassle of having to right-click and select run as admin every time you want to run it, you can set it to run as administrator by default. To do so, right-click it and select Properties. Click on Compatibility tab and then check the checkbox that says “Run this program as an administrator“. Once set, the next time you double left-click to run the executable, it will automatically run as administrator.
 Clearing browser cache for Chrome, Edge or Firefox
When you visit a website, your browser automatically saves cache files such as images and other media you see on the website. The purpose of cache files on your local computer is to be able to serve the same images and media to you much quicker than having to download them again when you visit the same webpage again.
As time goes on, the cached internet files can be so big that it starts to become an issue to your limited hard disk space. It’s wise to clear your browser cache every once in a while. Here’s how to clear the browser cache in different browsers – mainly Google Chrome, Microsoft Edge, and Mozilla Firefox.
Clearing Chrome cache
- In Google Chrome, click on the triple-dotted button in the same row as the address bar at the top right corner of Chrome’s window.
- Then, click on Settings. In the settings page, search for “cache”.
- Next, click on Clear browsing data when it shows up as a result.
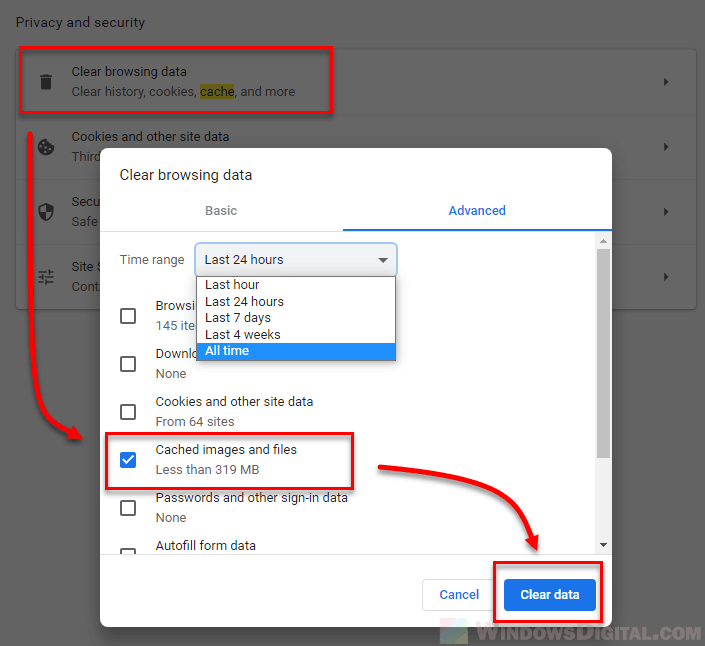
- For the “Time range“, select whichever time range you prefer. If you select “last 24 hours“, it will only clear cached files store in the last 24 hours. If you want to clear all cached files that have ever saved on your PC, select “All time“.
- Select Cached images and files, then click on Clear data to clear them.
Clearing Edge cache
- In Microsoft Edge, click on the three-dotted icon on the toolbar similar to where the address bar is at the top right corner of the window.
- Then, select Settings.
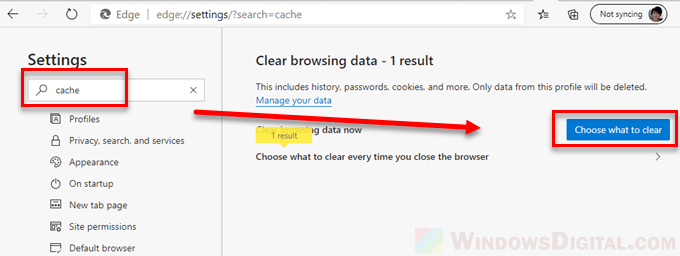
- In the settings page, search for “cache”.
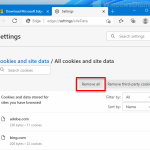
- When the search results show up, click on the Choose what to clear button besides Clear browsing data now.
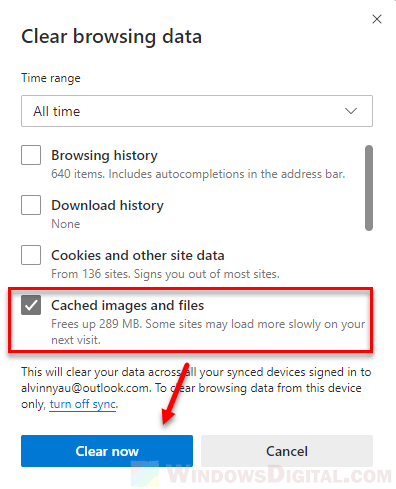
- Next, select your preferred “Time range” (usually All time if you want to clear all cache Edge ever saved).
- Slect Cached images and files, then click on Clear now.
Clearing Firefox cache
- In Mozilla Firefox, click on the three-lines icon at the top right corner of the window to open Firefox’s menu.
- From the menu, select Options.
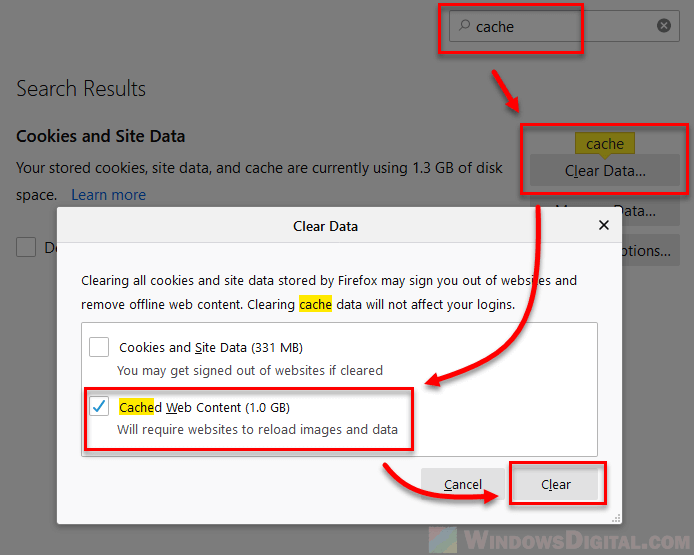
- Next, use the search box to search for “cache”.
- Click on Clear Data under Cookies and Site Data.
- Select Cached Web Content, then click on Clear to clear all cache on Firefox.