The C: drive is commonly the system drive and the primary drive for storage in most Windows laptop and desktop computers. As you use your computer, software you install, photos and videos you store, data the system gradually pile up, etc. can all contribute to reducing the storage space on your C: drive, especially if C: drive is the only drive for storage on your PC. This guide will show you several tips on how to clean up C: drive to free up as much storage space as possible in Windows 11.
Also see: What files can you safely delete from C: drive to free up space?
Page Contents
Clean C: drive in Windows 11 via Storage settings
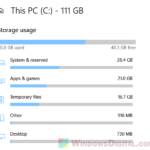
The storage settings in Windows 11, which can be accessed via Start > Settings > System > Storage, will show you how your storage is currently being used and allows you to manage the storage for each of your hard drives.
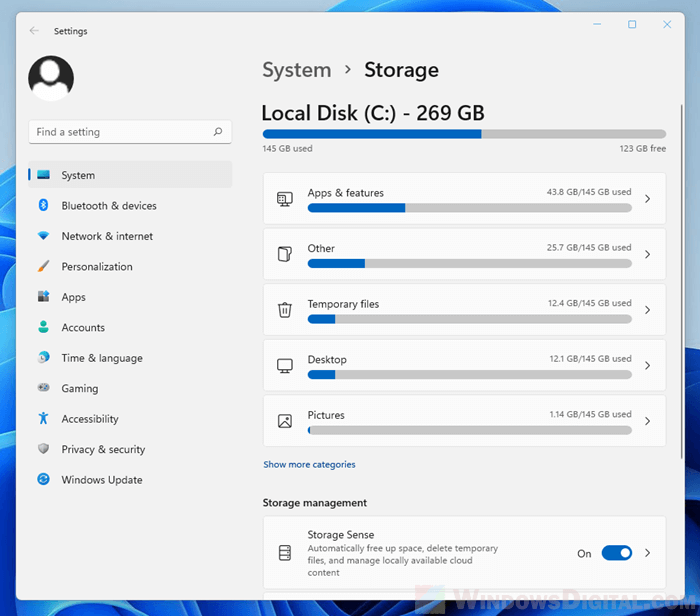
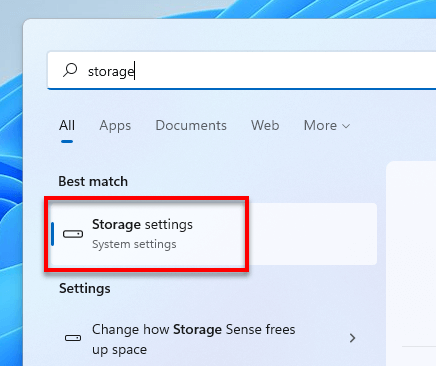
You can access the storage settings by pressing Win + i keys to open Settings and navigate to System > Storage. Alternatively, you can also search for “Storage settings” and open it directly from the Start.
Related guide: How to Clear Cookies in Windows 11
Cleaning up temporary files
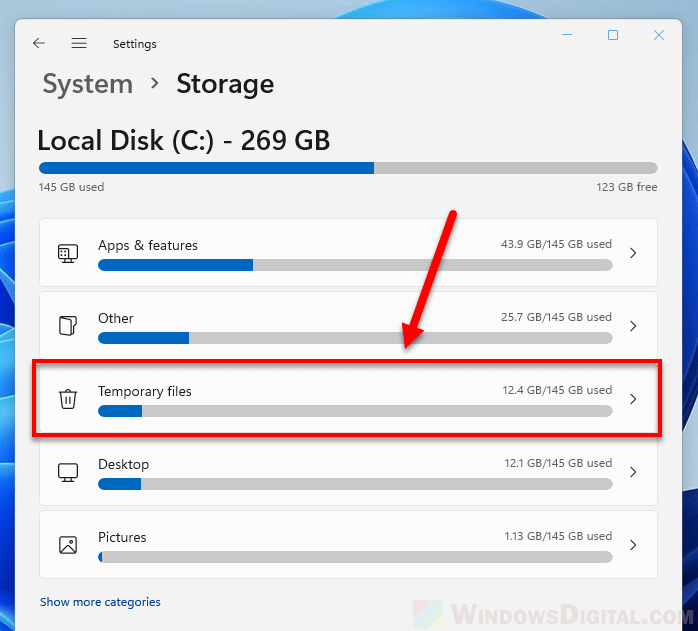
The first thing you should remove when you are low on disk space, especially for C: drive, is temporary files that you and your system may no longer need. The storage settings will show you a list of temporary files you can safely delete. In the Storage settings, select Temporary Files.
Files that are considered as temporary files in Windows are as follows.
- Files currently in the Recycle Bin (files that are not permanently deleted yet)
- Copies of installed updates from Windows Update
- Thumbnails cache
- Windows log files
- Windows error reports and feedback diagnostics
- Temporary files that store temporary information about programs that use them
- Temporary internet files
- Delivery Optimization Files
- DirectX Shader Cache
- Files in the Downloads folder
Pro tip: How to Delete Windows Update Files in Windows 11
Most of the temporary files listed above are safe to remove except the Downloads category. The Downloads option basically represents the Downloads folder (This PC > Downloads) that store files you download from the internet. We recommend you to manually review the Downloads folder to make sure there is no important files that you still need before deleting all the files in the folder.
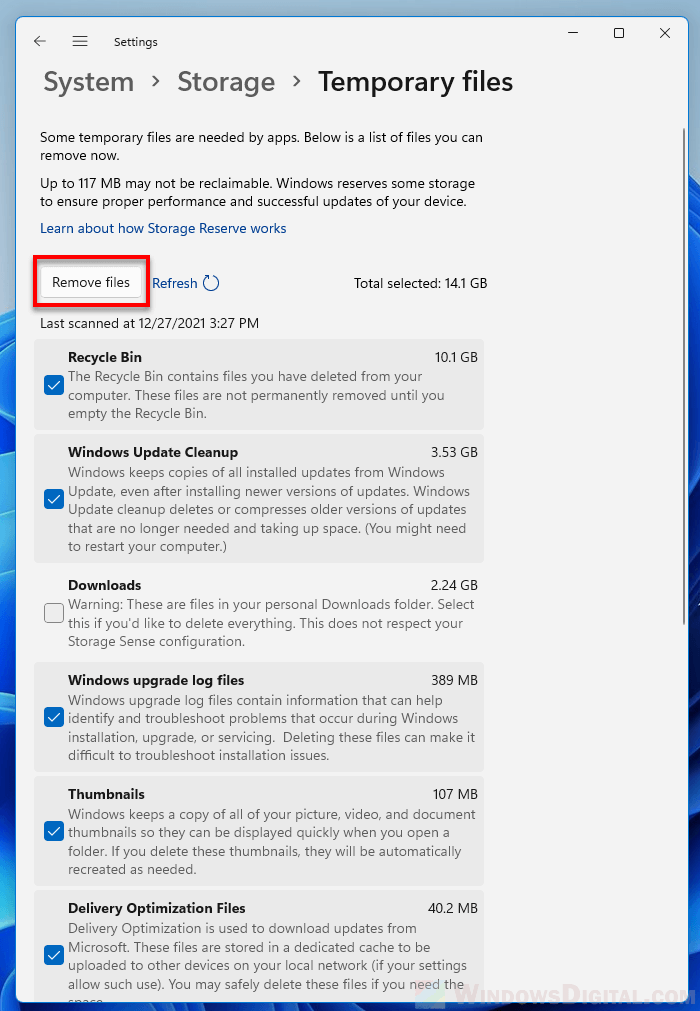
To clear the temporary files to free up your C: drive storage space, in the System > Storage > Temporary Files settings, select the types of temporary files you want to remove, then click Remove files to permanently remove them.
Related resource: Can I Delete Delivery Optimization Files in Windows 11?
Uninstall unused apps
Apps are usually one of the biggest drains on your drive’s storage space. If there is any app that you no longer use, it’s wise to remove it to free up storage space on your drive.
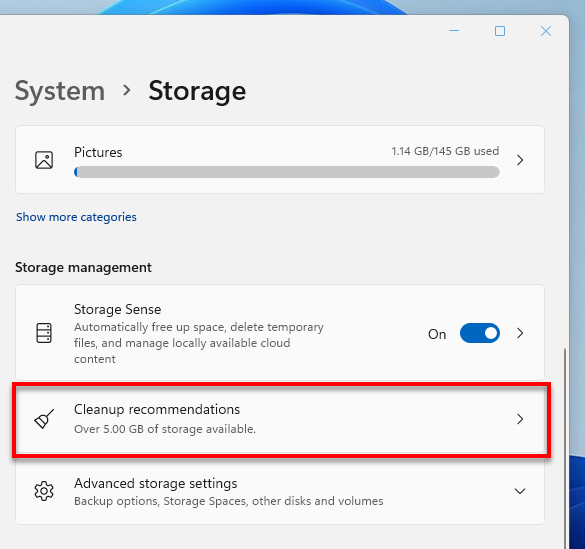
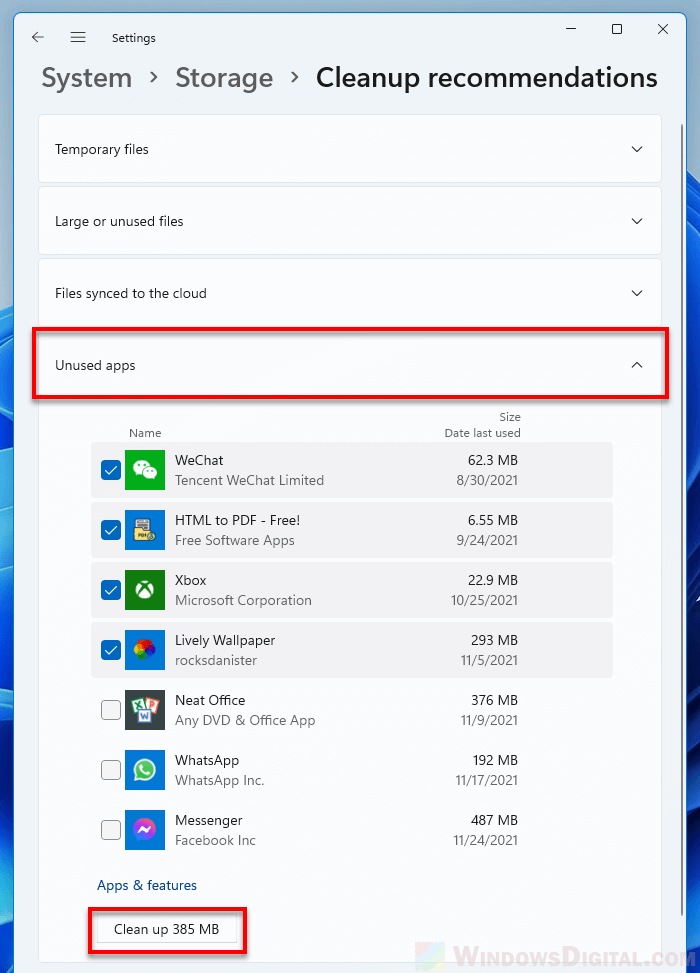
To view a list of unused apps (apps you have not used for a while), in the Storage settings page, click Cleanup recommendations.
Next, expand the “Unused apps” category. From here you can see a list of apps that you have not used for a long time. Select the apps you want to remove and click Clean up to completely uninstall them.
Alternatively, you can manually review all apps by going to System > Storage > Apps & features. From there you can view a list of all apps you have installed on your Windows system. A good way to spot apps that take up a significant amount of storage space is to sort the app list by size. To do so, click the sort by option and select Size.
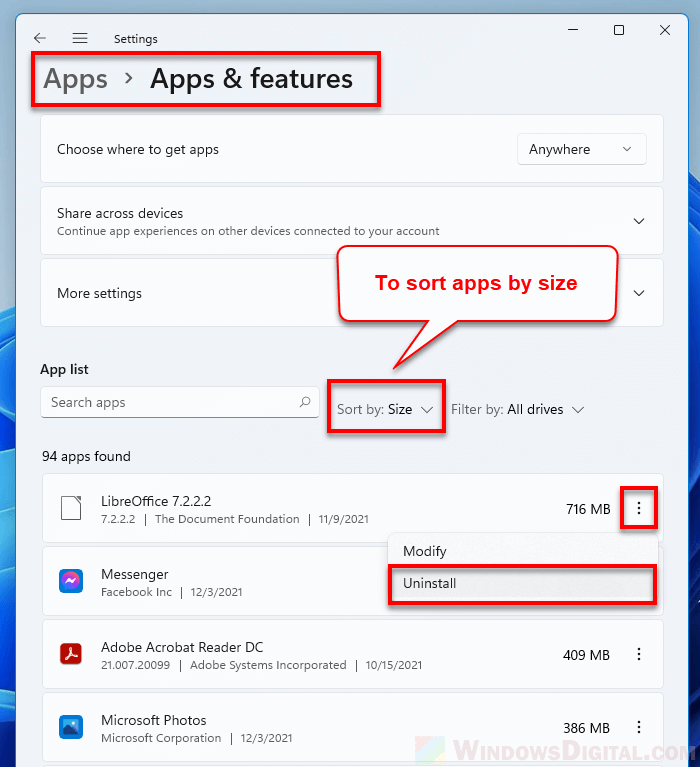
To remove or uninstall an app, click the option button next to the app and select Uninstall.
Suggested read: How to Know Which App is Using The Internet in Windows 11
Delete large and unused files
The most efficient way to free up storage space for a drive is to remove the very large files that take up a significant amount of storage space or move them to another drive to free up your C: drive.
To inspect a list of such files via storage settings, in the System > Storage settings page, click Cleanup recommendations. Next, expand the “Large or unused files” category. From here you can see a list of older files – files that you have not opened in a while and is considerably large, and a list of recent files that are also considerably large in size.
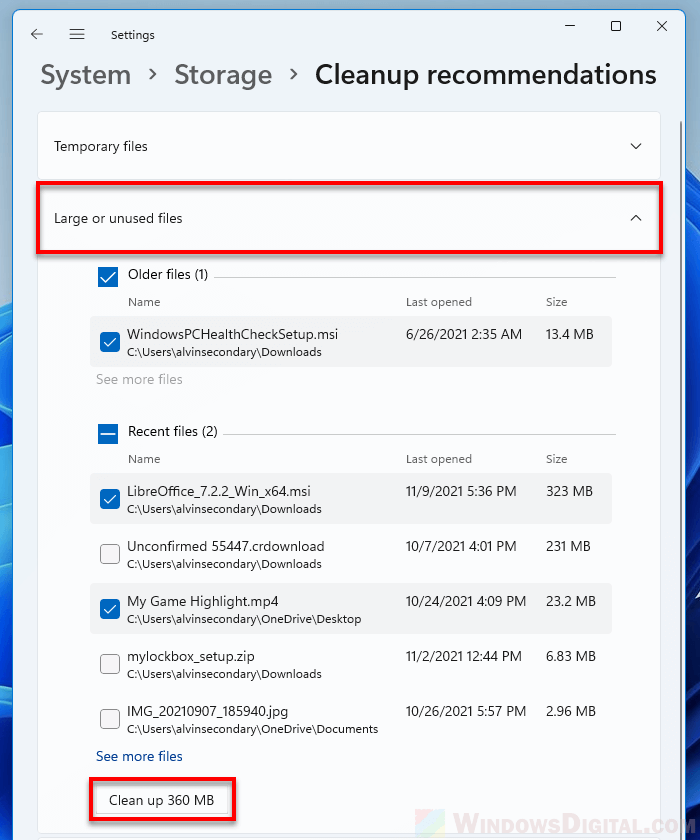
To view more files, click the “See more files” under the last file in the Recent files section. To remove any of the files, select it from the list and click Clean up to permanently remove the selected files.
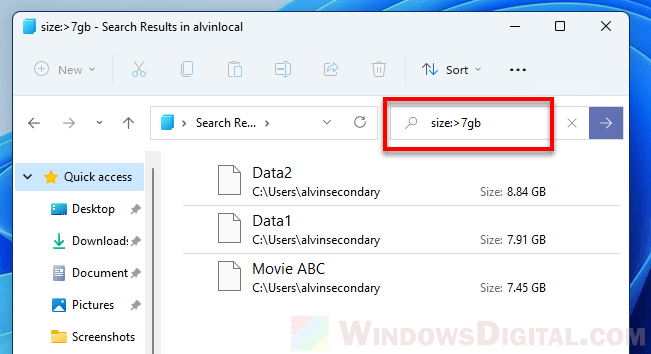
The cleanup recommendation in the storage settings shows only a limited number of large files on your drive. To learn how to manually search for all the huge files on any drive in Windows 11 so that you can review them and decide if you want to delete any of them, read: How to Find Huge Files in Windows 11.
Other clean up recommendations
Manually check the files on your Desktop to see if there is any large file you can delete to free up more storage space on your C: drive. The files on the desktop are usually stored in your user profile folder which usually located in the C: drive (the system drive).
In Windows 11, you can turn on Storage Sense to allow Windows to automatically clear your temporary files when your C: drive is low on storage space. To turn on Storage sense and manage how it frees up space, go to Settings > System > Storage > Storage Sense.
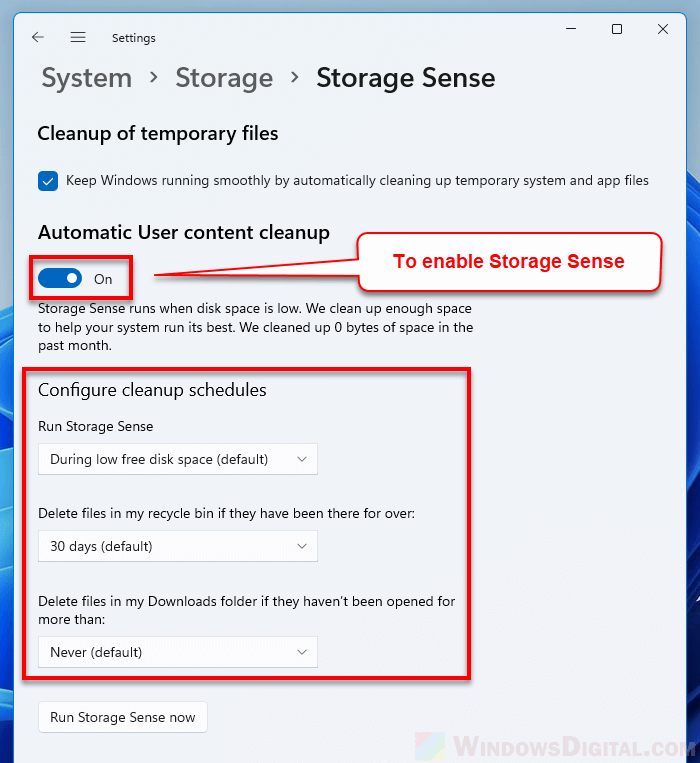
Click the toggle under “Automatic User content cleanup” to turn on Storage sense. From there you can configure the cleanup schedules such as when should storage sense run and how long should Windows keep the files in the recycle bin before permanently deleting them. You can also run Storage Sense right away by simply clicking the “Run Storage Sense now” button.