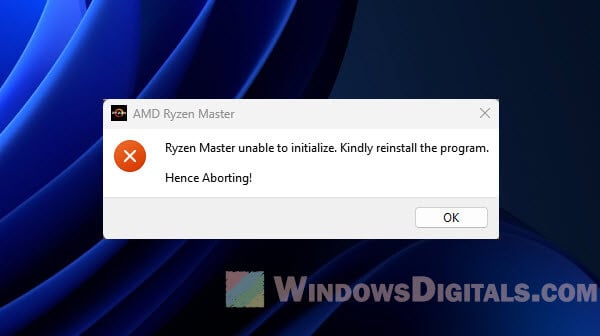
There is a quite widely known issue regarding AMD Ryzen Master unable to start itself up and ended up showing the “Ryzen Master unable to initialize. Kindly reinstall the program. Hence Aborting” error message. This specific issue may pop up right after a BIOS update, a CPU (hardware) upgrade on an AM4 motherboard, or, in some rare cases, after updating your GPU drivers. In this post, we’ll explain the issue and show you what you can do to fix it.
Also see: Why is my CPU Overheating and How to Fix it
Page Contents
What is actually the issue?
Ryzen Master is one of AMD’s popular tools for tweaking and keeping an eye on Ryzen processors. You can overclock, adjust memory settings, and much more. But some users get stuck with an error message that stops them from starting and using the utility. This could be due to a messy installation or conflicts with chipset or GPU drivers.

How to fix the “Ryzen Master unable to initialize, hence aborting” error
Before we get into the complicated steps, it’s important to know that we’ll be uninstalling some software and make changes to the Windows Registry. Make sure to follow each step carefully to avoid any further problems. If you’re feeling unsure, it might be a good idea to get help from someone who knows their way around these things or reach out to AMD support.
Related resource: How to Clear CMOS without Removing Battery or Jumper Cap
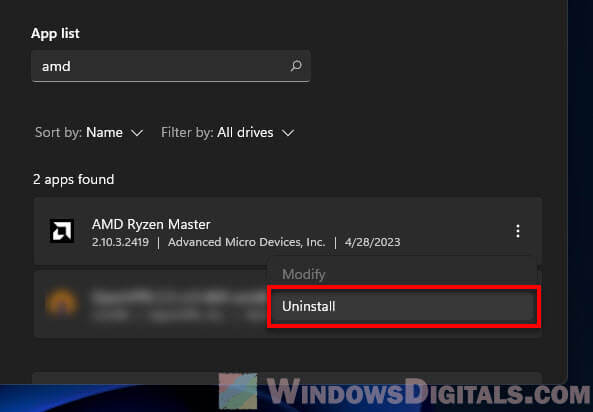
Step 1: Uninstall Ryzen Master and chipset drivers
Start by getting rid of both the Ryzen Master utility and your chipset drivers. Head over to the Control Panel and select Uninstall a program, or find them in the Apps & features in the Settings app in Windows 11. Look for Ryzen Master and the chipset drivers, and hit Uninstall. This will uninstall the software.
Learn more: How to Uninstall Drivers in Windows 11
Step 2: Delete the relevant registry entries
Editing the Windows Registry can be very risky and if not done right, it can mess up your computer badly to a point where you can’t even get into Windows. So, make sure to create a System Restore Point first before you start editing anything. This way, if things don’t go as planned, you can go back to how things were.
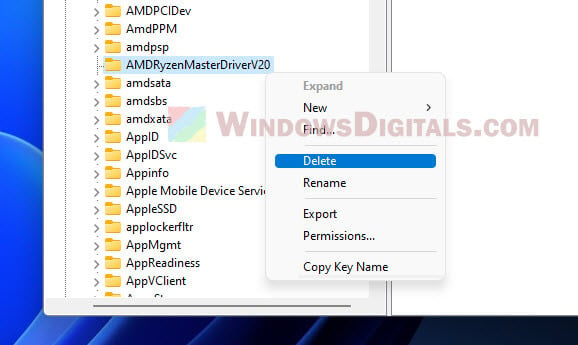
Open the Registry Editor by typing regedit in the Windows search bar and hitting Enter.
Go to the following path:
Computer\HKEY_LOCAL_MACHINE\SYSTEM\ControlSet001\Services
Look for folders named AMDRyzenMasterDriverV## (the “##” is your version number, like V13, V19, or V20). Right-click these folders and choose Delete. This clears out any old settings that might be causing problems.
Step 3: Reinstall chipset drivers and reboot
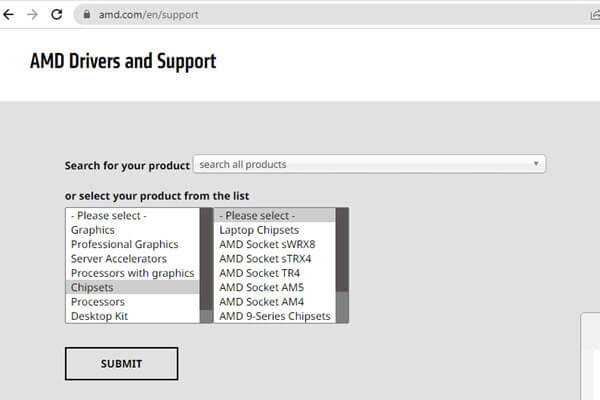
Next, reinstall the chipset drivers on your PC. These drivers are key for your hardware to work correctly. Download the latest drivers from AMD’s website:
https://www.amd.com/en/support
Find the drivers that match your motherboard or processor, download and install them, then restart your computer. This makes sure all changes take effect properly.
Step 4: Reinstall Ryzen Master
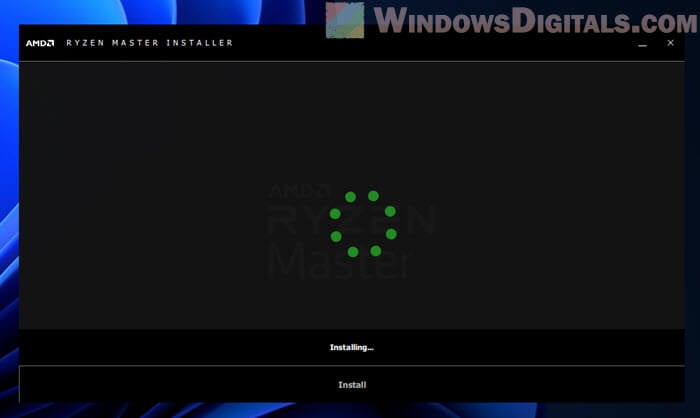
Now, get the latest Ryzen Master from AMD’s site:
https://www.amd.com/en/technologies/ryzen-master
Find the download link at the bottom of the page, install Ryzen Master, and restart your computer again.
Useful tip: How to Force App or Game to Use Dedicated GPU or Integrated Graphics
Other things to consider
Following this guide should sort out the “Ryzen Master unable to initialize” error in most cases. Yet, there are a few more things to think about that can help keep Ryzen Master running smoothly on Windows 11 or 10.
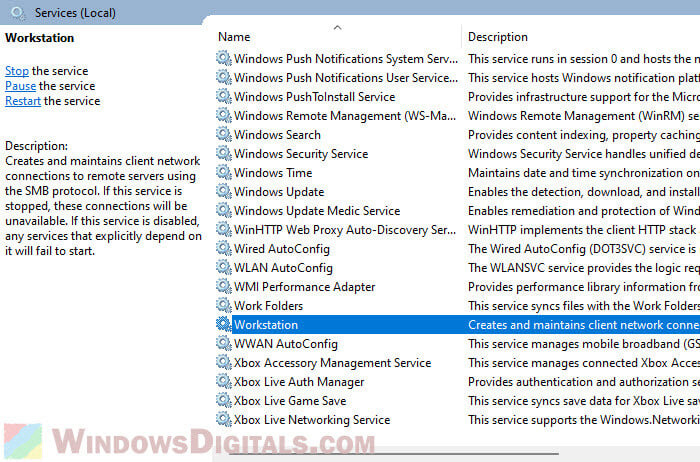
Workstation service
If you’ve tweaked any Windows services before, make sure the Workstation service is on Automatic. This service helps your computer communicate with other computers on the network. If it’s off, you might run into problems with Ryzen Master.
Driver installation order and handling future updates
Always install chipset and GPU drivers before you reinstall Ryzen Master. If you update these drivers and don’t reinstall Ryzen Master, you might get the same error again. Whether we like it or not, for some users, getting the driver order right is important to get things work correctly.
To prevent this issue from happening again, do this whenever you update your chipset or GPU drivers:
- Uninstall Ryzen Master.
- Update your chipset and GPU drivers.
- Reinstall Ryzen Master again.
This helps avoid any mix-ups between drivers and Ryzen Master.
Handy hint: How to See What Drivers Are Installed in Windows 11
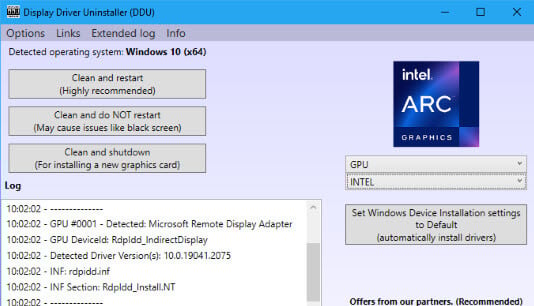
Using DDU for a clean driver installation
If you’re still running into problems, consider using DDU (Display Driver Uninstaller) for a fresh install of your GPU drivers. DDU gets rid of all traces of your old GPU drivers to avoid any leftover issues.
- Download DDU from its official site:
https://www.wagnardsoft.com/ - Start your computer in Safe Mode.
- Open DDU, pick your GPU from the list, and hit Clean and restart.
- Reinstall your chipset and Radeon drivers.
- Then, reinstall Ryzen Master as described earlier.
DDU makes sure there’s nothing left that could mess up your setup.
Just one last advice
The error message “Ryzen Master unable to initialize” doesn’t usually show up a lot when nothing has changed. But when you see it, it’s often because there’s a clash with the drivers on your Windows system or a change of hardware.
Therefore, a good practice is to reinstall Ryzen Master every time you update your chipset or GPU drivers, or replace your CPU or graphics card. This is a common workaround to let the software recognize your new drivers or hardware changes.