If you need to uninstall a driver for a specific hardware (e.g. keyboard, mouse, speaker, headphone, audio driver, printer driver, Bluetooth device, etc.) in Windows 11, this guide will show you how to do so.
Please be warned that uninstalling a driver will cause the hardware associated with it to stop working. A driver is a computer program that tells Windows how to work with a particular hardware that is attached to your computer. The only reason a user would want to uninstall a driver is the hardware the driver is used for doesn’t work as expected, an incorrect driver was installed, or if you no longer need the driver.
See also: Can’t Completely Uninstall a Driver in Windows 11 (Fix)
Uninstalling a driver for a device is usually a common solution to fix certain issues relevant to the device. This is because by uninstalling a driver, you allow Windows to automatically find the best matched driver for the device again and install it on the next Windows startup (or restart) or when you run Windows Update.
Please also note that although rare, there are devices that Windows couldn’t automatically detect and find the drivers for if the hardware is an exotic one. If that’s the case, it’s best to make sure you have a driver installation disc such as a driver CD ready or if you know where you can download the driver for that particular device.
Useful tip: Windows 11: How to install or update driver for network adapter, printer, etc
How to uninstall a driver in Windows 11 via Device Manager
In Windows 11 and most of its predecessors, users can manage devices’ drivers via a built-in tool called Device Manager. This tool allows you to install, uninstall, update or disable driver for any device Windows detects on your PC. If a device or hardware is plugged and connected to your computer and if Windows (or you) has successfully installed a driver for that particular device, it will appear in the device manager and you can uninstall its driver from there.
To uninstall a driver for a specific device, follow the steps below.
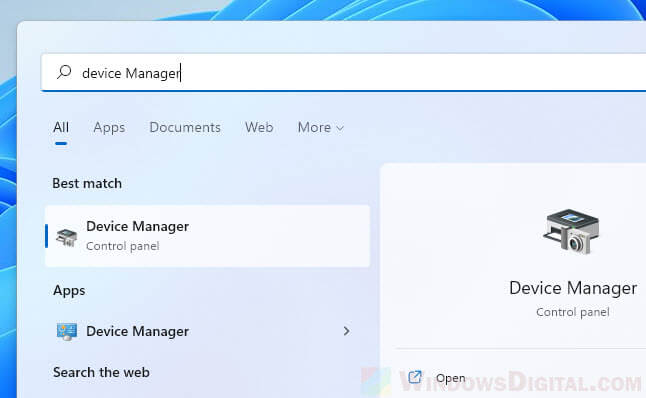
1. Search for “Device Manager” via Start and open it.
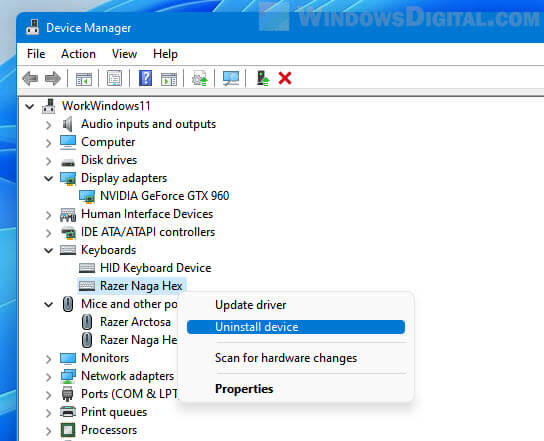
2. In Device Manager window, look for the device’s driver you want to uninstall by first expand the category of the device, then right-click the device whose driver you want to delete, and select Uninstall device. In the screenshot below, as an example, I was uninstalling the driver for one of my keyboards.
Related: Bluetooth Not Detecting Devices in Windows 11
What’s next
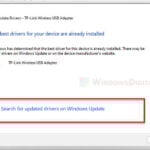
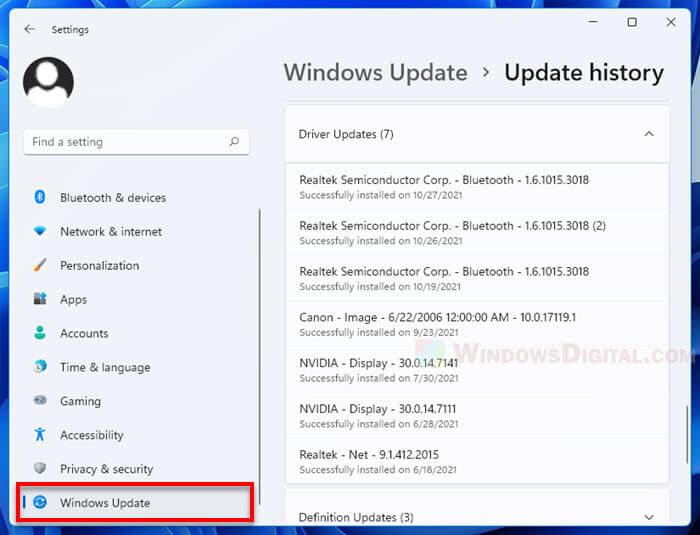
If your original intention is to attempt to fix a particular hardware or device by uninstalling its driver, you should now try to restart your computer and see if Windows can automatically detect and install the correct driver for your device or hardware on next startup. If Windows does not install the driver automatically on next restart, try to run Windows Update to allow Windows to scan for the hardware and find the driver for it.
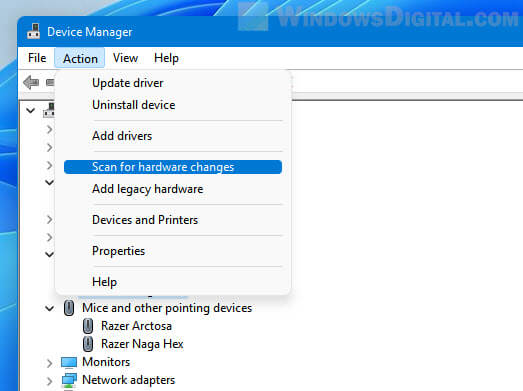
Alternatively, you can open Device Manager, and click Action > Scan for hardware changes to allow Windows to scan for any newly attached hardware which driver hasn’t been installed yet.
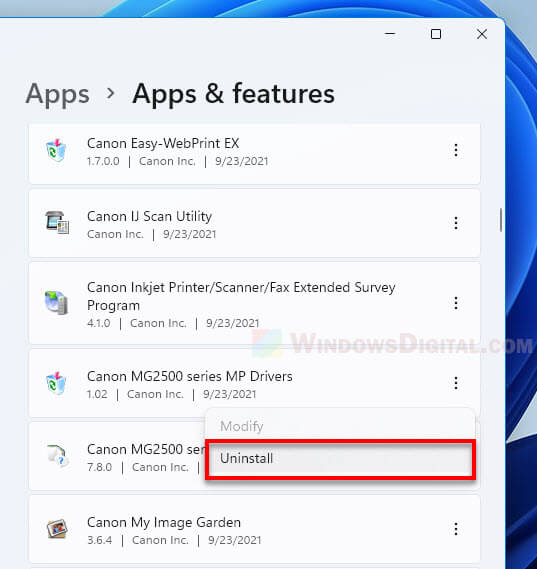
If the driver you want to uninstall came installed with a software such as an audio driver software (Realtek, etc.), printer driver software, or graphics card driver utility software, you can look for the driver software in Settings > Apps > Apps & features, and uninstall it from there.