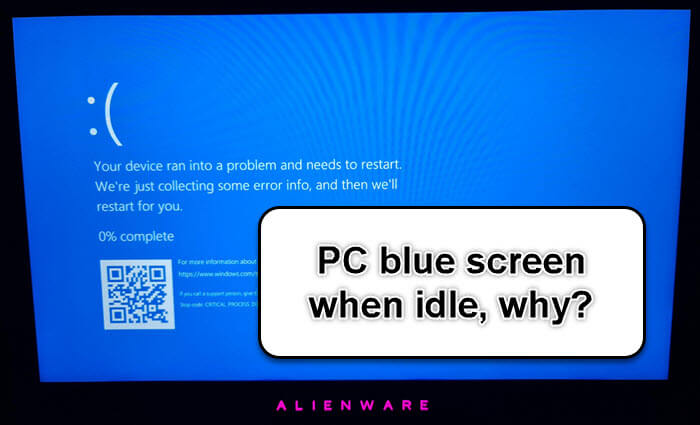
When you see a blue screen on your Windows computer suddenly, it’s normal to be frightened a little bit. This screen, often known as the “Blue Screen of Death” or “BSOD“, tells you that a serious error has happened, and the PC can’t run correctly anymore. BSOD errors can come from many different problems, like hardware failures or software conflicts.
Interestingly though, some users also find their PCs sometimes getting the BSOD when the computer is just sitting there not being used. This guide will talk about why this happens on Windows 11 or Windows 10, and how to fix these blue screen errors that pop up when your computer is just idling.
Also see: How to Fix Blue Screen With Sad Face on Windows 10/11
Page Contents
What could cause Windows to BSOD when idle?
While many things can cause a blue screen of death, some reasons are more common when the computer isn’t being used. Below are some usual suspects:
- Modern PCs try to save power when not in use, but sometimes these power-saving features mess with the drivers or hardware, causing a blue screen.
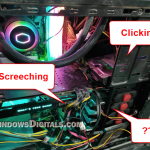
- Components that are failing or not properly connected can cause random blue screens, especially when the system tries to use them while idle.
- Some drivers might not manage idle states well, which can lead to crashes.
- Certain programs or processes might try to use system resources when the computer is idle, causing clashes and a BSOD.
- It might sound weird, but some computer parts can actually get hotter when the computer is idle because the fans slow down, reducing airflow.
- If your system tries to access a bad sector or a corrupted file on your hard drive during idle, it can trigger a BSOD.
The following is a list of the most common BSOD STOP code errors in Windows (along with their solutions as well):
- Driver_IRQL_NOT_LESS_OR_EQUAL on Windows 11/10
- Stop Code Kernel_Data_Inpage_Error BSOD in Windows 11/10
- Memory_Management ntoskrnl.exe BSOD on Windows 11 or 10
- Page_Fault_In_Nonpaged_Area BSOD on Windows 11/10
- CRITICAL_PROCESS_DIED BSOD on Windows 11/10
- Windows 11/10 “Whea_Uncorrectable_Error” BSOD
- Kmode_Exception_Not_Handled on Windows 11 or 10 (Fix)
- Windows 11/10 “Bad System Config Info” Blue Screen Error
How to fix PC blue screen when idle in Windows 11 or 10
Fixing a blue screen when your computer is idle needs a bit of detective work to figure out and fix what’s wrong.
Resolve power management issues
Power-saving features are important in modern PCs to help them last longer and use less energy. However, these features can sometimes clash with other system parts can causing a BSOD.
- Old drivers, especially graphics or chipset drivers, can conflict with power management settings.
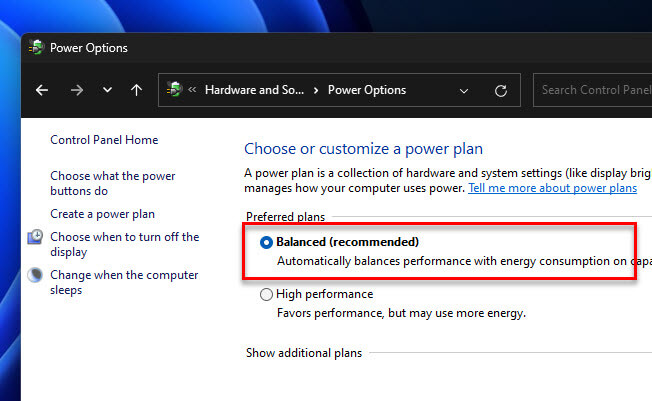
- Sometimes, just going back to the default power plan or tweaking certain settings can fix these issues. Try the “Balanced” power plan if you’re using something else. You can also change how long before your computer sleeps or turns off the screen, among other settings.
- This feature can cause trouble by shutting off USB devices to save power, which could lead to a BSOD if there’s a conflict. Check the “Change advanced power settings” and turn off the “USB selective suspend setting” for both “On battery” and “Plugged in” (for laptops).

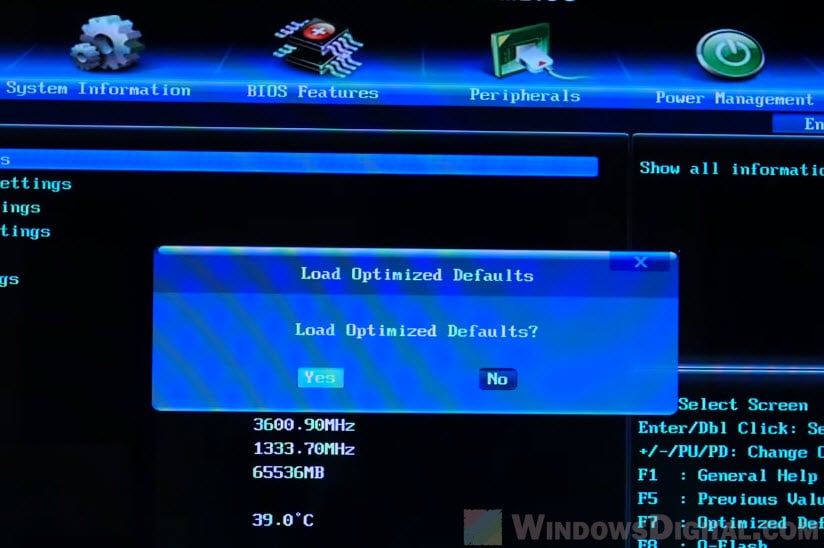
- Sometimes, power management problems come from your computer’s BIOS or UEFI settings. How you get into the BIOS/UEFI and what to do once you’re there varies by manufacturer, so check your computer or motherboard’s manual for guidance. Once you’re in, look for power management, sleep states, or ACPI settings and consider resetting them to default or tweaking as needed.
Linked issue: Computer Restarts Randomly in Windows 11 (Fix)
Maybe faulty hardware
Faulty or not properly connected hardware parts can be big problem and can certainly cause a BSOD, even when the system is idle. Computers might try to use a specific part or check itself during these times, which can lead to a crash if something’s wrong.
- Over time, parts might slightly move out of their slots because of moving the computer, temperature changes, or just normal use.
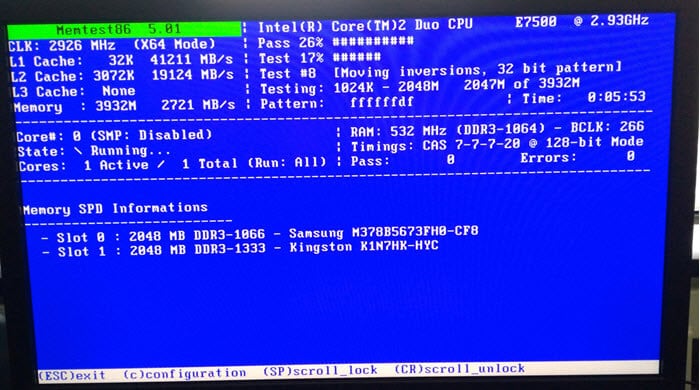
- Faulty RAM can cause random BSODs. MemTest86 is a trusted tool to check this.
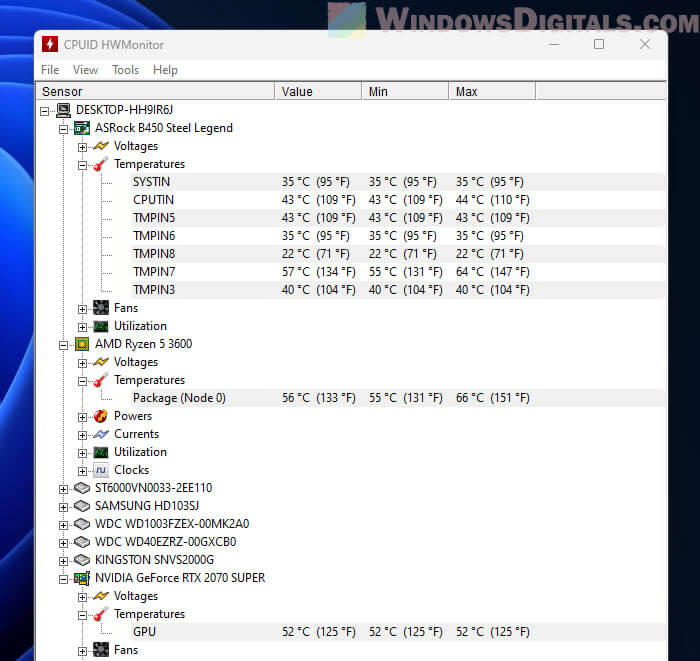
- An overheating part can make your system unstable and cause BSODs. Use HWMonitor to check the temperature of your hardware parts. High temperatures (90°C or higher for CPUs, or close to the maximum limit for GPUs) can mean your computer is overheating.
- A failing hard drive can cause lots of problems, including BSODs. To quickly check your hard drive for errors and bad sectors, open the command prompt, type
chkdsk C: /f /r, and press Enter. (ChangeC:to your drive’s letter if it’s different.)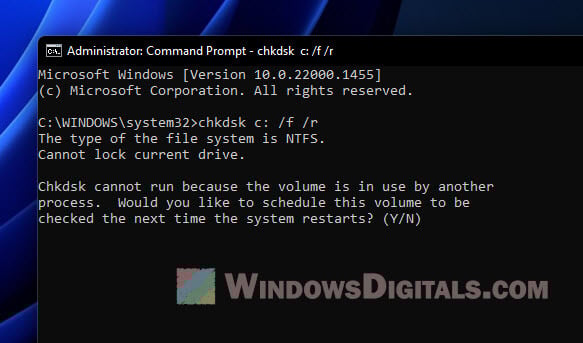
Recommended read: Why is my CPU Overheating and How to Fix it
Fix driver conflicts
Drivers are crucial software that lets your operating system talk to and manage hardware parts. But outdated, broken, or unfit drivers can cause your system to be unstable and BSODs, especially when your computer is checking or saving power on certain parts.
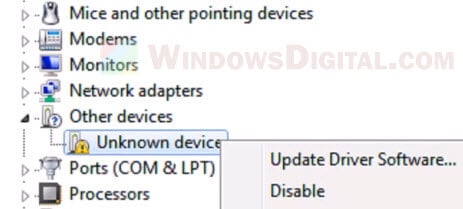
- Keeping all your drivers up-to-date is a basic step in fixing any driver issues. Use the “Device Manager” to look for any devices with yellow warning signs. These usually mean there’s a problem with the drivers. Right-click on any troublesome device and choose “Update driver”.
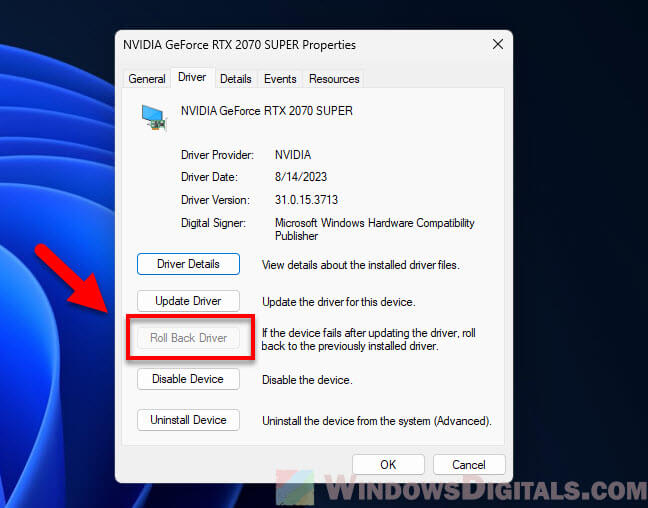
- Sometimes, a recent driver update might be the problem. If you notice the BSODs started after updating a certain driver, you can go back to the old version. In the “Device Manager,” right-click on the recently updated device and choose “Properties.” Go to the “Driver” tab and click “Roll Back Driver” if you can.
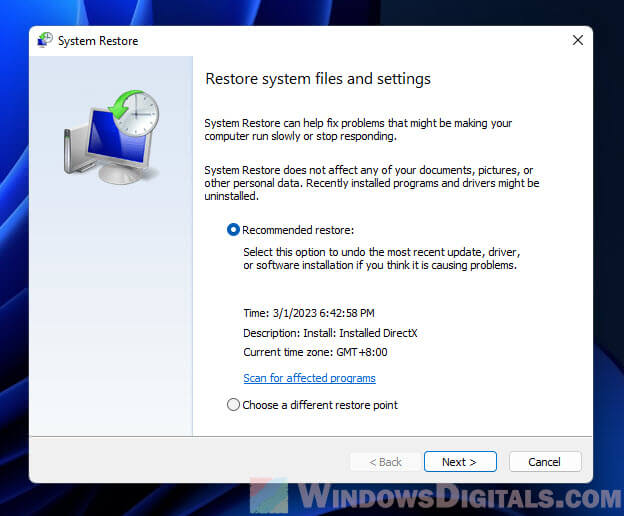
- If you know when the BSOD issues started and it was not long ago, using System Restore might take back the changes that caused the problem.
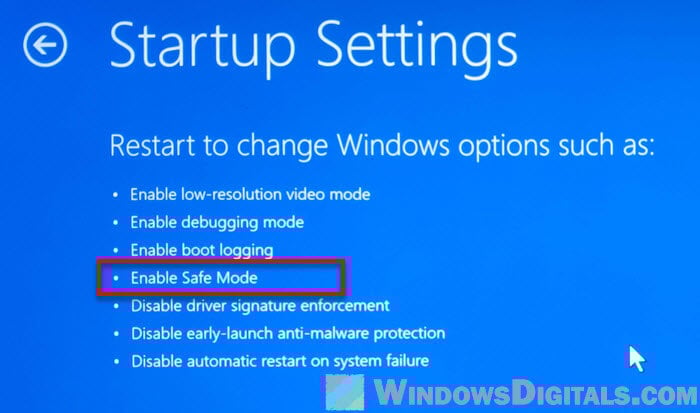
- Safe Mode loads just a few basic drivers, which can help you see if the BSOD is caused by a driver or software that isn’t essential.
Check if there are any software conflicts
Software clashes, especially those from background apps and processes, can cause a BSOD when your computer is idle.
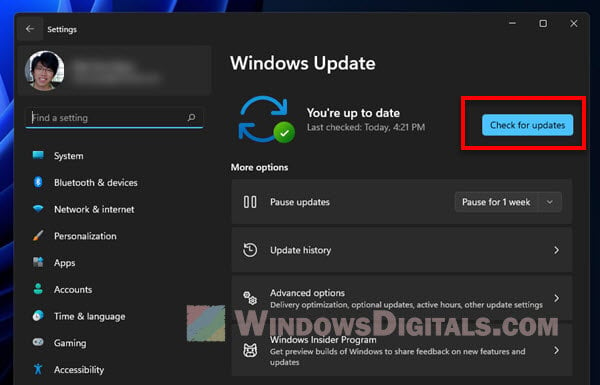
- Keeping Windows updated makes sure you have the newest fixes, security updates, and compatibility improvements.
- If you installed a new app recently and then started seeing BSODs, that app might be the problem.
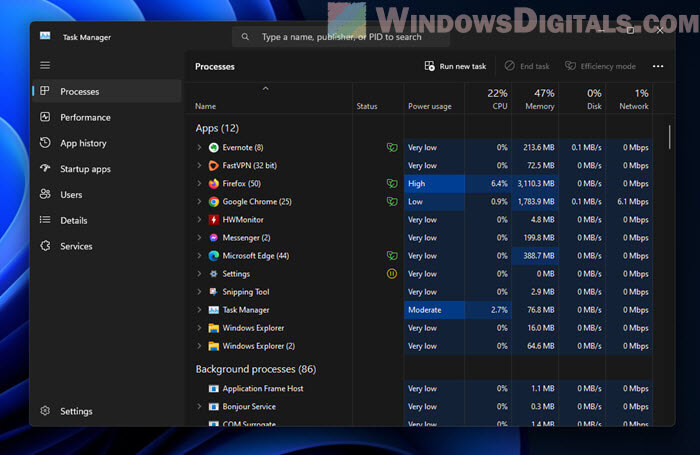
- Some processes might be running without you knowing and eating up a lot of resources or causing clashes. Open Task Manager, look through the processes list, and check for any you don’t recognize or that are using lots of resources. If you find any, right-click and choose “End Task.” (Be careful not to stop important system processes.)
- A clean boot makes sure your system starts with just the basic drivers and startup programs. This can help find any software causing the clash:
- Press Windows + R, type “
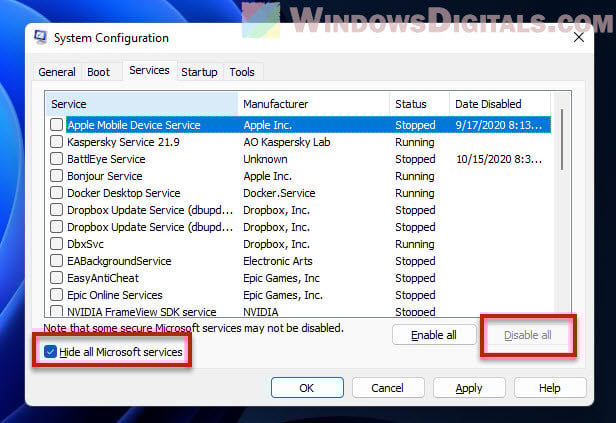
msconfig” and press Enter. - In the System Configuration window, click on the “Services” tab.
- Tick the “Hide all Microsoft services” box, then click “Disable all.”
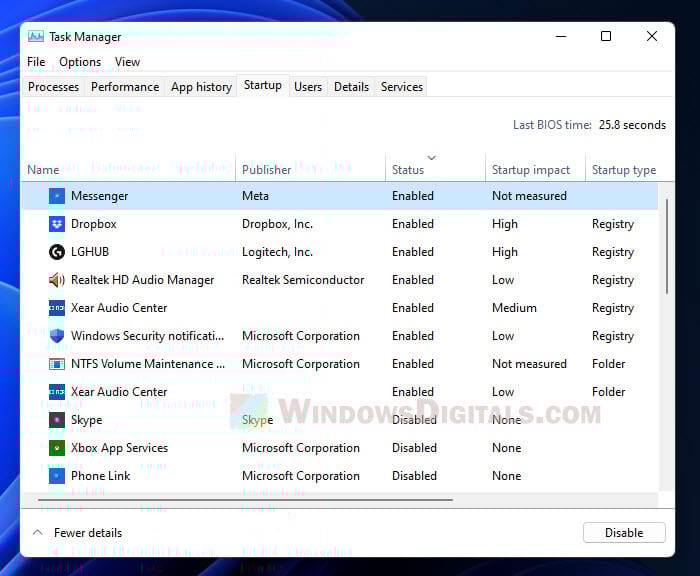
- Now, go to the “Startup” tab and click “Open Task Manager.”
- In Task Manager, turn off all startup items.
- Close Task Manager and click “OK” in the System Configuration window.
- Restart your computer.
If the BSOD doesn’t show up during a clean boot, it’s likely a third-party software or service causing the problem. You can then turn services and startup items back on one by one to find the troublemaker.
- Press Windows + R, type “
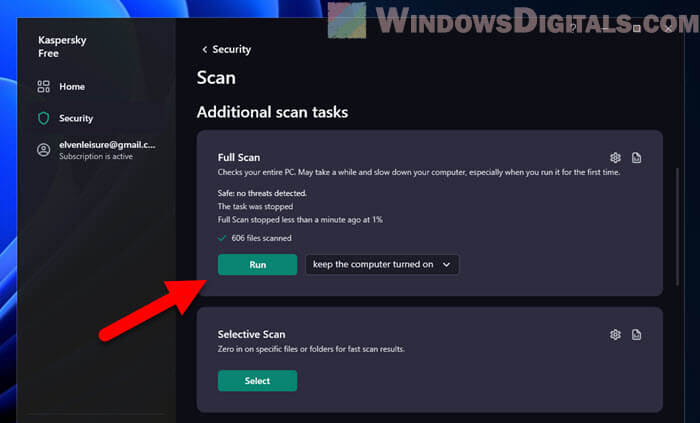
- Bad software can sometimes be the root of unexpected BSODs. Run a full system scan with your preferred antivirus.
Check for overheating issues
Overheating is a common reason for BSODs, especially in laptops or desktops in tight spaces. When parts like the CPU or GPU get too hot, the computer can become very unstable, which might end up with blue screens or even sudden shutdowns (usually to prevent further damaging your hardware components because of overheating detected).
- Know your components’ temperatures to see if overheating is the issue. Use trusted tools like HWMonitor or Core Temp.
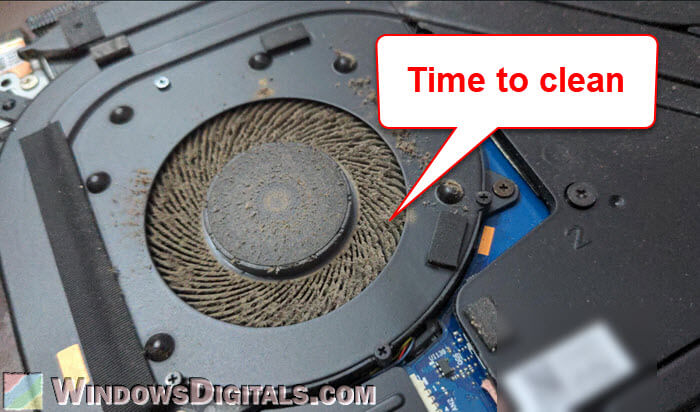
- Dust can block air vents and coat parts, keeping in the heat. Use compressed air to blow out dust from fans, heatsinks, and the inside of your computer. Hold the fans still to stop them from spinning while you clean. Make sure all parts are dust-free and nothing’s blocking the airflow.
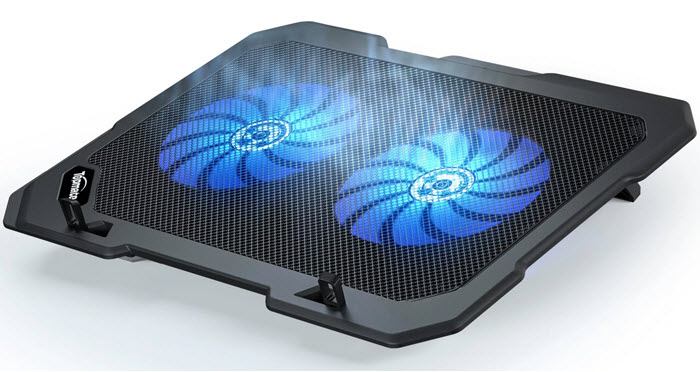
- Good airflow inside your computer case can really help with overheating. If you’re using a desktop, you might rearrange your parts or cables to let air move more freely from the intake to the exhaust. If you have a laptop, think about getting a cooling pad for extra fans and better air movement.
- Sometimes, the coolers that come with your parts aren’t good enough, especially if you’re pushing your computer hard. Think about getting a better air cooler or even a liquid cooling system for your CPU. Also, check if the thermal paste between your CPU and its cooler is still good. If it’s dried out, clean off the old paste with isopropyl alcohol and put on a new layer.
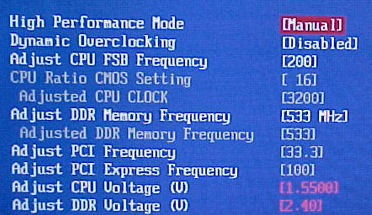
- Changing some system settings can help too. Go into BIOS and look for settings related to “CPU Clock” or “Voltage” and set them to default or lower them if they’ve been changed (Don’t touch anything in the BIOS if you don’t know what you’re doing). Overclocking can make parts hotter.
Useful tip: How to Test CPU Throttling in Windows 11
Get some clues from the system logs and minidumps
When you get a BSOD, Windows often saves a “minidump” file and logs the event. Looking at these can give you specific details about what caused the BSOD. While this is a bit technical, it gives you direct insight into the problem.
Step 1: Access the event viewer
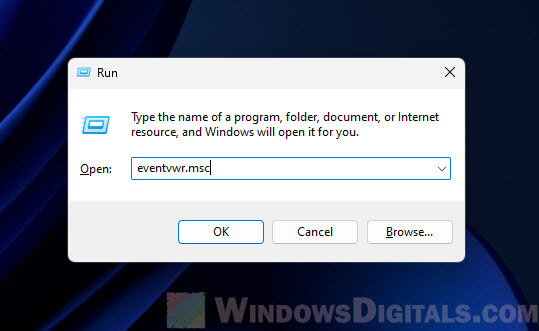
- Press Windows + R, type “eventvwr.msc” and press Enter.
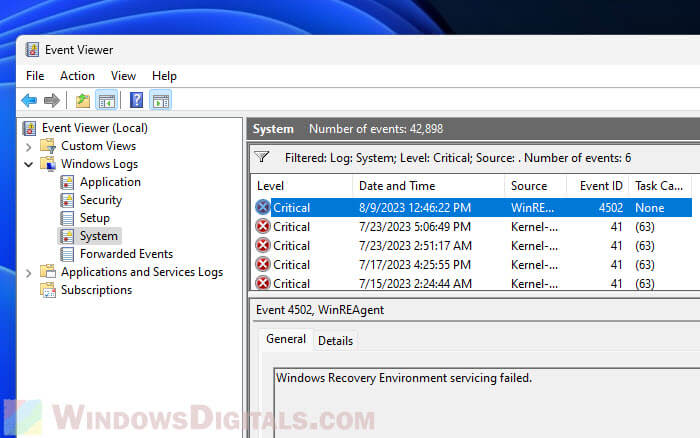
- In the Event Viewer, go to “Windows Logs” then “System.”
- Look for any critical errors or warnings that happened around the time of the BSOD. The details might give you clues about the exact cause or the part that’s causing trouble.
Step 2: Setting up minidump
If you haven’t set up your system to create minidump files after a BSOD:
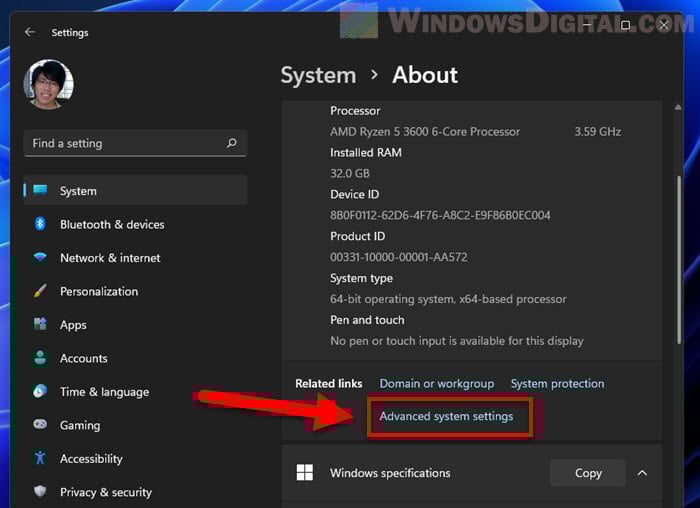
- Right-click on “This PC” or “Computer” on the desktop or in File Explorer, then click “Properties.”
- Click on “Advanced system settings.”
- In the “Startup and Recovery” section, click “Settings.”
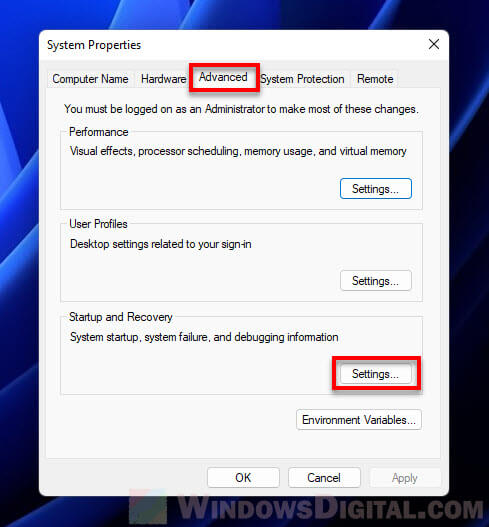
- Make sure “Small memory dump (256 KB)” is chosen under the “Write debugging information” dropdown menu. Note where the dump files are saved (usually
C:\Windows\Minidump).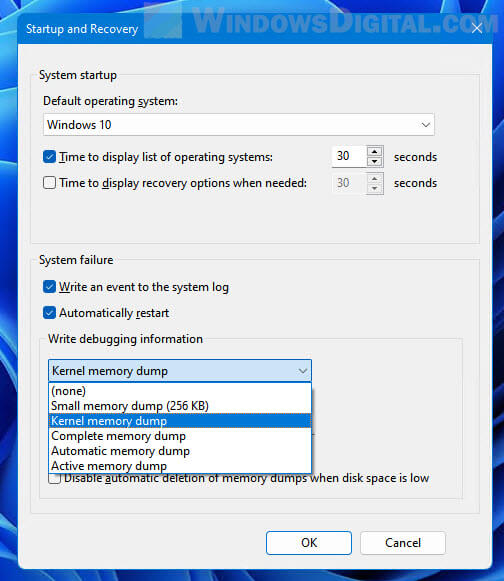
Step 3: Analyzing the minidump
- After you get a minidump file from a recent BSOD, download BlueScreenView or WhoCrashed, which are tools made to look at these files.
- Open the minidump file with the software. It will show details about the BSOD, including any specific drivers or software that might have caused it.
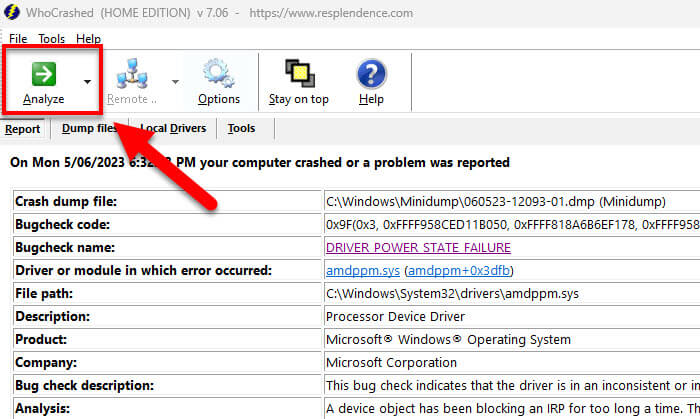
- The “Bug Check String” and “Caused By Driver” sections are really helpful for figuring out exactly what went wrong.