The Blue Screen of Death (BSOD) is a term used to describe a common error message with a (scary) blue screen that can appear on Windows PCs. This kind of error messages is usually considered one of the scariest things that can happen to your PC. It can happen without warning and at any time and you usually have no time window to save your ongoing work or game.
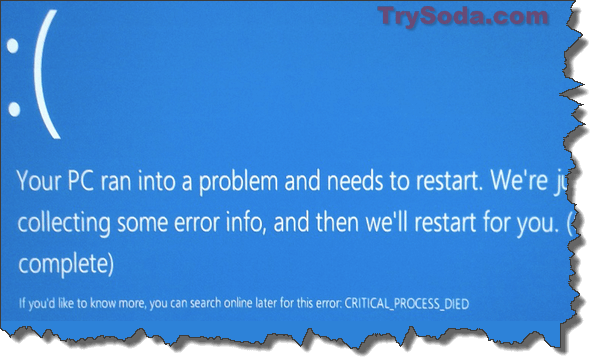
The CRITICAL_PROCESS_DIED error is one specific type of BSOD that can occur on Windows 11 and Windows 10, sometimes after a Windows update. This error message can be quite alarming, as it can occur when you’re simply clicking any built-in Windows app, and there’s nothing you can do except to restart your computer. In this article, we will show you some solutions you can try to resolve the issue.
Page Contents
Why the CRITICAL_PROCESS_DIED error happens
The CRITICAL_PROCESS_DIED blue screen with a sad face error often comes up because there’s a problem with Windows drivers. It usually pops up when a critical Windows component finds something it doesn’t recognize in its data. It often indicates that there might be a clash between a specific driver and the operating system.
This error can also pop up after a Windows update. When that happens, it’s usually due to one or more drivers are not getting along with the update. This is because Windows updates can sometimes change how drivers talk to the operating system, which can cause clashes.
Update all your drivers
Updating your drivers should be the first big step to fixing the CRITICAL_PROCESS_DIED error. Outdated or broken drivers can cause all sorts of issues, including blue screen errors.
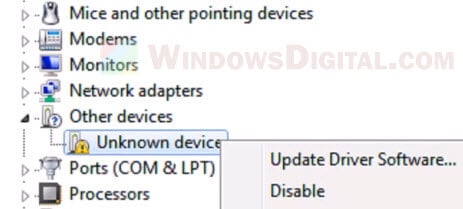
If it’s been a while since you ran Windows Update, give it another go to automatically get the latest drivers for your computer. Windows Update will automatically look for any missing or outdated drivers and install them for you.
But, if the update was just installed and then the BSOD started showing up, you’ll need to visit your manufacturer’s website for the newest drivers. This is because some drivers might not be included in the Windows Update process, or they might not get updated as often as Windows does.
Clean boot your computer
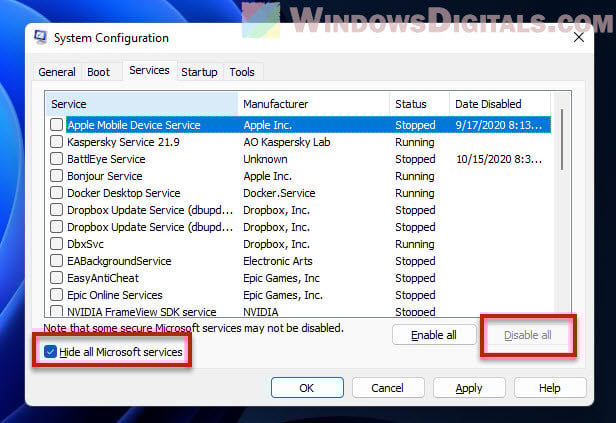
A clean boot is a way to start your PC with just the basic drivers and startup programs. This can help you find what could be causing the CRITICAL_PROCESS_DIED error.
To perform a clean boot, follow these steps:
- Go to Start and search for “msconfig.”
- Go to the Services tab.
- Check the checkbox that reads “Hide all Microsoft Services.”
- Click on the “Disable all” button. This will turn off all other services except Microsoft services.
- Go to the Startup tab.
- Click on “Open Task Manager.”
- Sort the status and turn off all the enabled startup programs.
- Restart your computer.
- Your computer should now start up cleanly, and the blue screen should be gone for now.
Or, you can turn these startup programs back on one at a time to find out which one is causing trouble.
Go back to an earlier version of Windows
Going back to an earlier Windows build means you return your PC to a version of the operating system from before. This can help fix problems caused by a recent Windows update.
When you go back to an earlier build, you undo any changes made by the latest update. This can help you get rid of any clashes causing the CRITICAL_PROCESS_DIED error.
To go back to an earlier version of Windows 10/11, follow these steps:
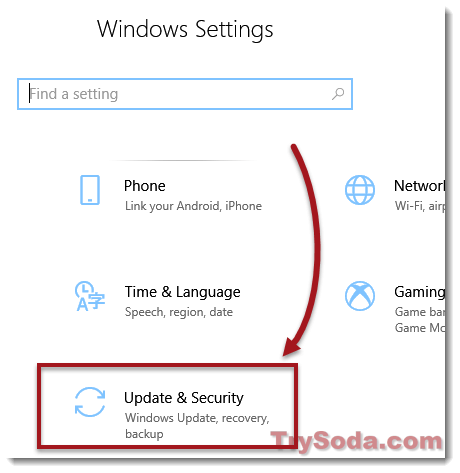
- Press the Windows + i keys to open the Settings app.
- Click on Update & security.
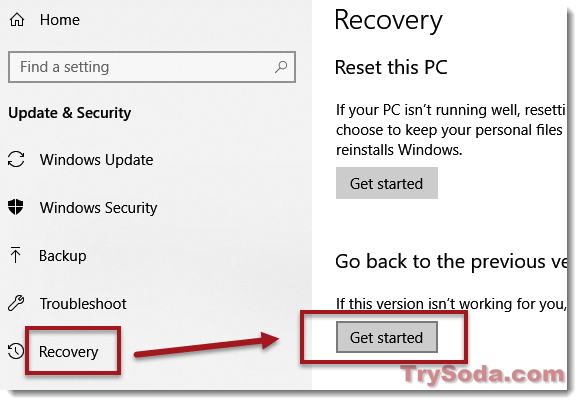
- From the left pane, click on Recovery.
- Under Go back to the previous version of Windows, click on the Get started button.
- Pick a reason for going back, then click Next.
- Click No thanks when asked to download the latest updates.
- Click Next a couple more times, then choose Go back to earlier build.
Rolling back might take from 30 minutes to a few hours. Don’t turn off your PC during this process, or it could mess up your Windows. It will restart on its own, and once it boots back into Windows, you’ll be in the version before the update that caused the trouble.
Use the System File Checker tool to fix BSOD
The System File Checker (SFC) is a built-in tool in Windows that lets you check and fix any corrupted or missing system files automatically. Corrupted system files can easily cause many kinds of problems, including (especially) blue screen errors.
Running the SFC tool would help sort out any issues that might be causing the CRITICAL_PROCESS_DIED BSOD error. After all, it’s an easy and underrated procedure that you can run with just a few steps and often have the potential to quickly resolve many unexpected Windows issues. Here’s how to run SFC in Windows 11/10:
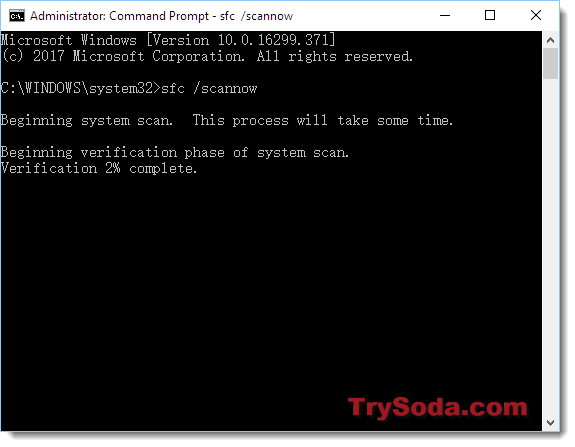
- Go to Start and type “cmd.”
- Right-click “Command Prompt” and choose “Run as administrator.” This step is crucial because SFC needs admin rights to work.
- In the command prompt, type “sfc /scannow.” SFC will start scanning. It might take some time.
- Restart your computer when it’s done.
What to do when nothing seems to work
If you’re still facing the CRITICAL_PROCESS_DIED error after trying everything above, there are a few more things you can try.
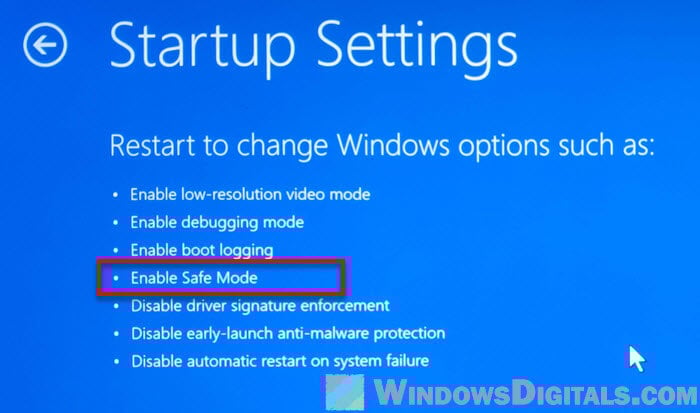
First, if you can’t even start Windows to try these fixes, you can try to start in safe mode. Safe mode starts Windows with just the basic drivers and system services, which can help you find the issue that might be causing the CRITICAL_PROCESS_DIED error.
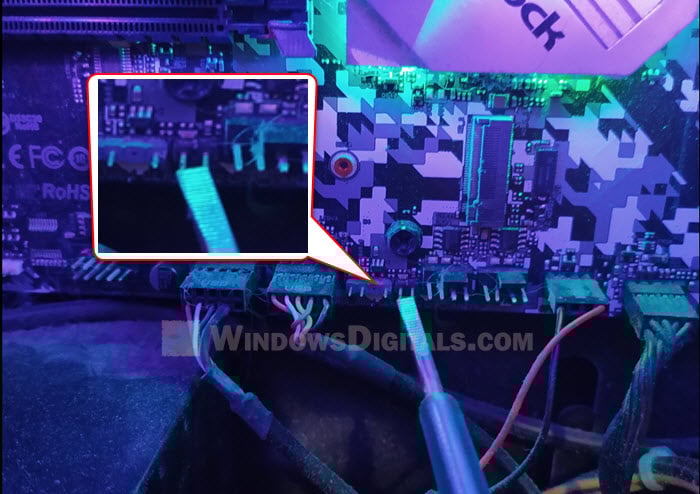
If safe mode doesn’t work, you might need to clear your CMOS, but only if you’re comfortable messing with your computer’s hardware. Clearing the CMOS means you’ll be touching parts on your motherboard, like shorting the CMOS jumper or reinsert the battery. If you decide to try this, look up a guide on YouTube and follow the instructions carefully.
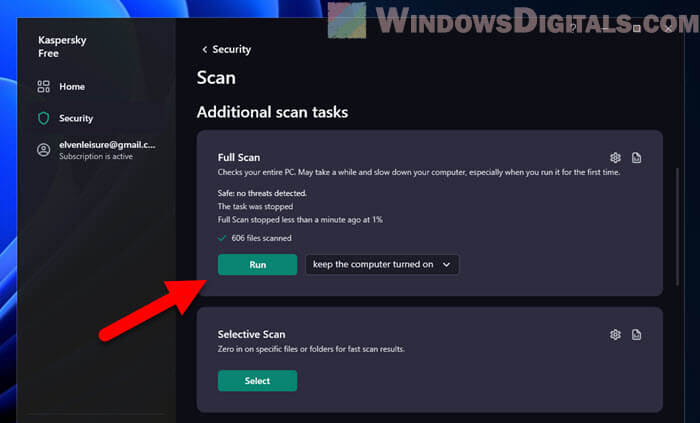
Another possible culprit could be malware or viruses (although rare). They can mess with your system files and drivers can cause blue screen errors. If you have an antivirus software, run a scan to check for any malicious software causing trouble. If you don’t, just use Windows Defender to run a full scan.
Also, if you have just updated Windows, it might take a while for the hardware manufacturers to release new drivers that can work with the update (if there is any known compatibility issues). In this case, it might be best to go back to an earlier version of Windows, only as a last resort, and wait a week or two until new compatible drivers are out. And sometimes, we will need to wait for Microsoft to release hotfixes for known issues if they did affect many users.