When you start your Lenovo laptop, you might suddenly see “Windows Boot Manager has been blocked by the current security policy” instead of Windows, usually right after a BIOS update or after you turned on Secure Boot for a game like Valorant. It often ends at “Default Boot Device Missing or Boot Failed”, yet Windows starts fine as soon as Secure Boot is off. This guide will explain what’s blocking Windows and how to make it start with Secure Boot on again.
Also see: Secure Boot “Failed Signature Verification” After Resetting Keys
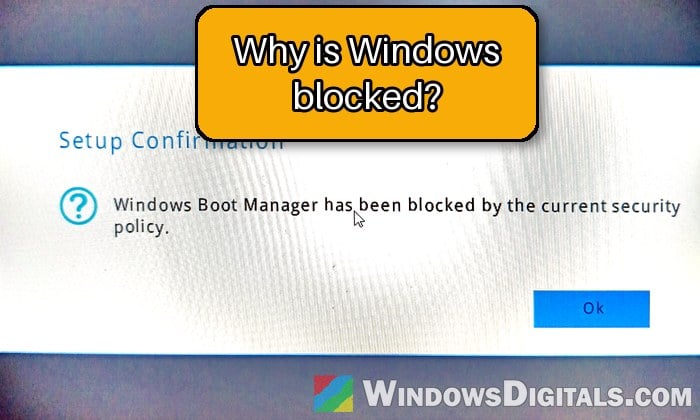
Why is Windows Boot Manager blocked by Secure Boot?
Secure Boot checks the signature of the Windows Boot Manager, the small file that starts Windows, against certificates stored in your laptop’s firmware. If the firmware no longer trusts the certificate it was signed with, it refuses to run it.
This has become common because Microsoft’s original Secure Boot certificates from 2011 expire in 2026. Windows Update has been moving PCs to newer 2023 certificates, and the boot manager gets signed with the new one. When the firmware and the boot manager on your drive don’t match, Secure Boot blocks it. This usually happens in one of two ways:
- A Lenovo BIOS update, from Lenovo Vantage or as a “Lenovo Ltd. Firmware” item in Windows Update, can change the firmware’s lists of trusted and forbidden signatures.
- You turned on Secure Boot or chose “Restore Factory Keys” because a game’s anti-cheat (Valorant’s VAN 9003 error, FACEIT) asked for it, and the keys that went in don’t trust your current boot manager.
The good news is that your laptop and your Windows install are fine. With Secure Boot off, nothing checks the signature, which is why Windows still starts.
Linked issue: Recovery Error 0xc0430001 and Windows 11 Won’t Boot
Turn off Secure Boot to get back into Windows
The fixes below need Windows running, so switch Secure Boot off for now. Don’t leave it off for good, since games like Valorant need it.
Here’s what you should do:
- Turn the laptop on and repeatedly press F2 as soon as it starts to open the BIOS setup. On some IdeaPad models it’s Fn + F2, and on ThinkPads it’s F1.
- Go to the Security tab and select Secure Boot. Newer Lenovo models have a graphical BIOS that usually uses the same names.
- Set Secure Boot to Disabled.
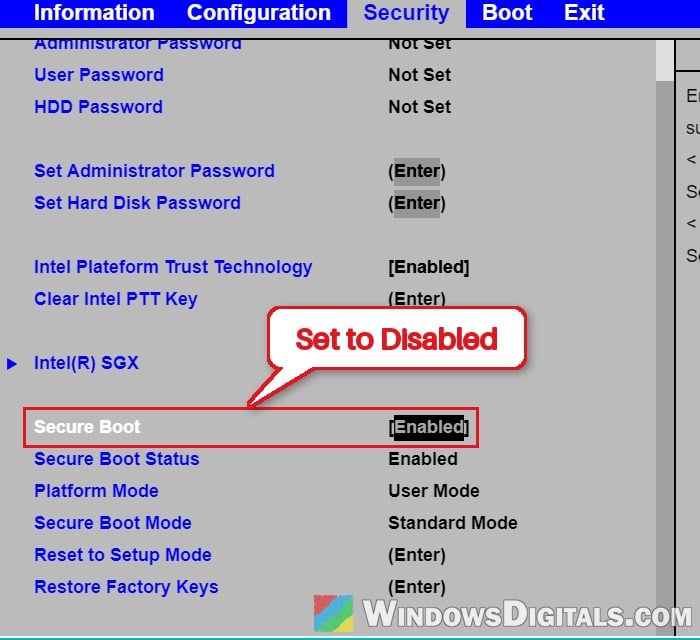
- Press F10 to save and exit.
If Windows asks for the BitLocker recovery key, look it up at aka.ms/myrecoverykey from another device.
Related concern: BitLocker Recovery Key Not in Your Microsoft Account
Rebuild the boot files
This fix clears the boot files on the hidden EFI partition and creates them again from your current Windows install. It’s quick, needs no USB stick, and it’s the fix that has worked for the most Lenovo owners on Reddit and Microsoft’s forums.
Warning: The second command deletes everything on the EFI partition first. That’s fine on a laptop with only Windows, but if you also boot Linux or another system from this drive, skip this fix.
With Secure Boot still off, here’s how to do it:
- Search for “cmd” in the Start menu, right-click Command Prompt and select Run as administrator. Use Command Prompt, not PowerShell, since these commands don’t work the same way there.
- Type the following commands one by one, and press Enter after each:
mountvol s: /s
del s:\*.* /f /s /q
bcdboot %systemroot% /s S:
- Wait until you see “Boot files successfully created“.
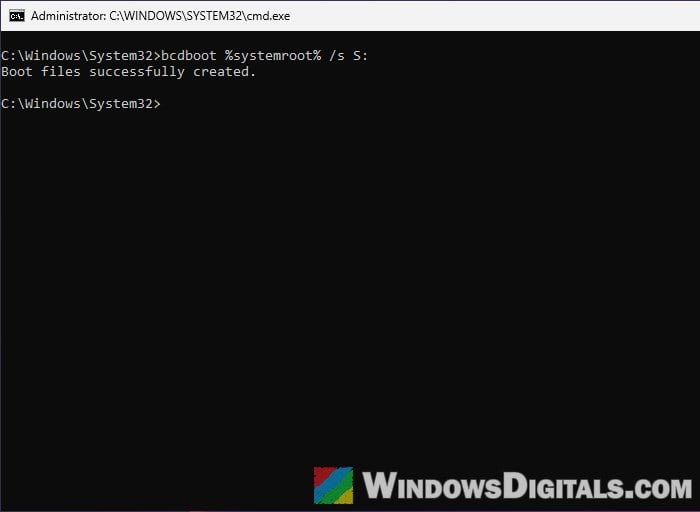
- Restart and press F2 to enter the BIOS again.
- Make sure Windows Boot Manager is first in the boot order.
- Set Secure Boot back to Enabled, then press F10 to save and exit.
If the blocked message comes back, turn Secure Boot off again and try the next fix.
Run Microsoft’s Secure Boot Recovery tool from a USB stick
When rebuilding the boot files isn’t enough, the firmware is most likely missing the new certificate. Microsoft already puts a small tool on your PC called SecureBootRecovery.efi that writes the “Windows UEFI CA 2023” certificate into the firmware when you start the laptop from it. It has fixed this error on IdeaPad and LOQ laptops where restoring the keys and rebuilding the boot files didn’t help.
You’ll need a USB stick you can wipe. With Secure Boot off, follow the steps below:
- Open File Explorer and go to
C:\Windows\Boot\EFI. You should see SecureBootRecovery.efi there.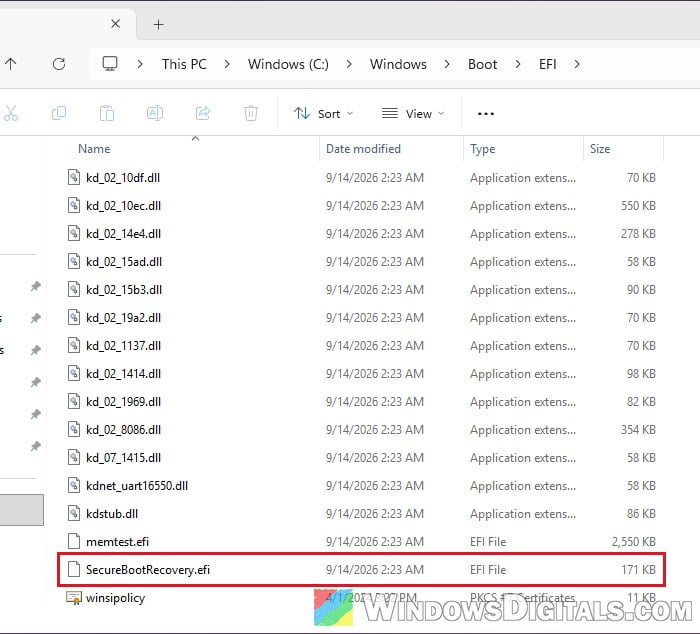
- Format the USB stick as FAT32 (this deletes everything on it).
- On the USB stick, create a folder named
EFI, and inside it a folder namedBOOT, both in upper case. - Copy SecureBootRecovery.efi into the
BOOTfolder and rename the copy toBOOTX64.EFI. - Restart the laptop and press F12 to open the boot menu, then choose the USB stick.
- Let the tool finish. It restarts the laptop by itself.
- Enter the BIOS with F2, set Secure Boot to Enabled, and press F10 to save and exit.
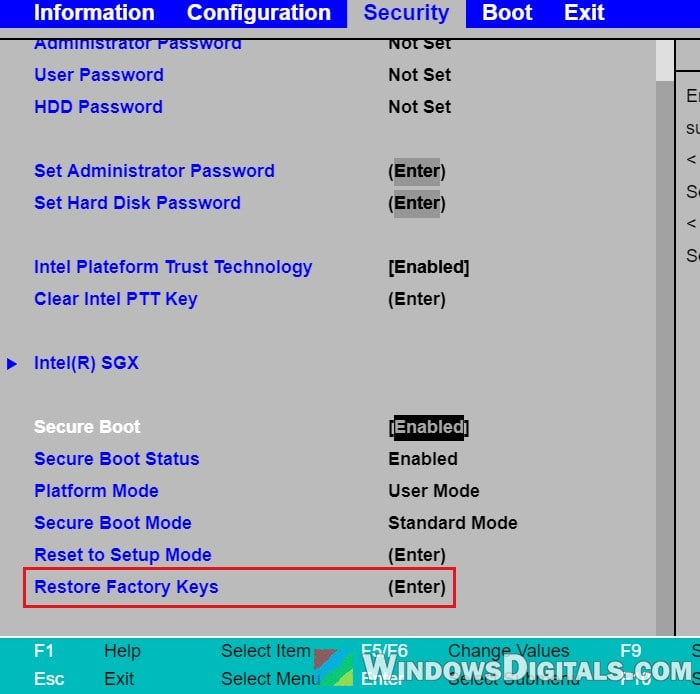
If that doesn’t fix it, try the other order: select Restore Factory Keys under Security, turn Secure Boot on, save, then boot the stick with F12.
Might be useful: TPM-WMI Event ID 1801 Secure Boot Error in Windows 11 or 10
Update the BIOS, then restore the factory keys
Lenovo says it has released firmware with the 2023 certificates. The new BIOS often adds them to the factory set of keys rather than the ones in use, so Restore Factory Keys is what puts them to work. On its own, restoring the keys often isn’t enough, so it works best together with the recovery tool.
Be warned: A BIOS update can brick your laptop if it’s interrupted. Keep it plugged in, use only Lenovo’s BIOS for your exact model, and if you’re not sure what you’re doing, get someone to help you instead.
Here’s what to do:
- Keep Secure Boot off for now and back up your BitLocker recovery key.
- Install the latest BIOS for your model from Lenovo Vantage or Lenovo’s support site, and let the laptop restart.
- Enter the BIOS with F2 and go to the Security tab.
- Select Restore Factory Keys and confirm.
- Set Secure Boot to Enabled and press F10 to save and exit.
If the blocked message is still there, turn Secure Boot off and run the recovery tool above again with the new BIOS.
Let Windows finish the Secure Boot certificate update
Once Windows starts with Secure Boot on, make sure it has finished moving to the 2023 certificates. Windows Update does this by itself over time, but a registry value from Microsoft’s own guide (Lenovo uses the same one) starts it right away.
Changing the registry incorrectly can cause serious problems, so please at least create a system restore point first. To start the update yourself, follow the steps below:
- Open PowerShell as administrator.
- Type the following commands one by one, and press Enter after each:
reg add HKEY_LOCAL_MACHINE\SYSTEM\CurrentControlSet\Control\SecureBoot /v AvailableUpdates /t REG_DWORD /d 0x5944 /f
Start-ScheduledTask -TaskName '\Microsoft\Windows\PI\Secure-Boot-Update'
- Restart the laptop. It may need a second restart.
- Open Registry Editor, then copy and paste the following path to the address bar. UEFICA2023Status should say Updated once it’s finished.
HKEY_LOCAL_MACHINE\SYSTEM\CurrentControlSet\Control\SecureBoot\Servicing
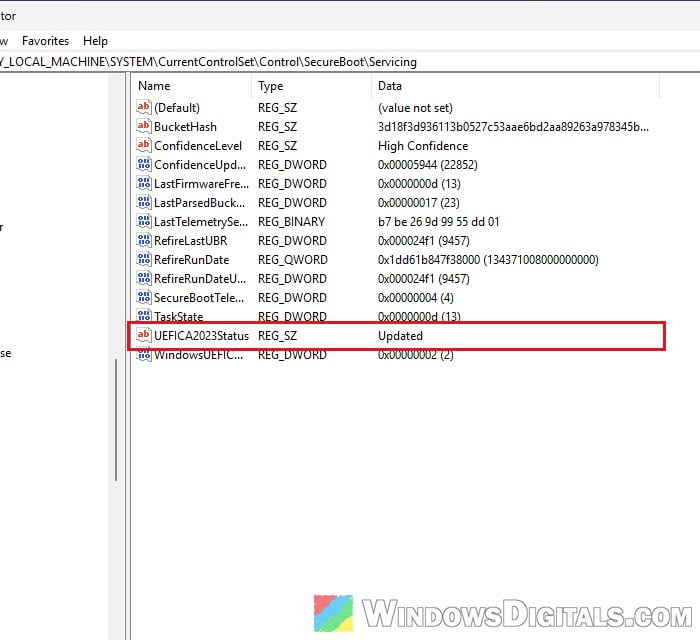
Windows Security > Device security > Secure boot also shows whether the updates are applied.
Reinstall Windows as a last resort
If nothing above works, a clean install of Windows with Secure Boot already enabled is what finally fixed it for several Lenovo owners, and Lenovo support reportedly suggested the same. Back up your files first, since it wipes the drive.
Make a fresh installation USB with Microsoft’s Media Creation Tool rather than using an old one, since Lenovo warns that media made before the switch to the 2023 certificates may fail to boot on updated firmware.