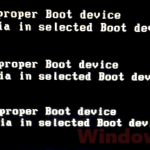
If you reset the Secure Boot keys to factory default in your BIOS (often while trying to get Valorant or Call of Duty to stop asking for TPM and Secure Boot), and now the PC refuses to start with “failed signature verification“, “Secure Boot Violation” or “Selected boot image did not authenticate“, but Windows boots just fine with Secure Boot off, the key reset most likely removed a certificate your PC now needs. This guide will explain what happened and how to get Secure Boot working again without reinstalling Windows.
Also see: Can’t find TPM 2.0 and Secure Boot options in BIOS
Page Contents
Why does Secure Boot fail after resetting the keys?
The short answer is that resetting the keys took away the certificate your PC’s boot files are checked against. Microsoft’s original Secure Boot certificates from 2011 start expiring in 2026, so Microsoft has been moving PCs to newer 2023 certificates (such as “Windows UEFI CA 2023“) through Windows Update.
The catch is that those new certificates were added to the keys your PC was actually using, not to the factory set stored inside the BIOS. When you reset the keys to default, the BIOS throws away what Windows Update added and puts back its own factory set. If your BIOS version is old, that factory set only has the 2011 certificates, and Secure Boot then blocks the boot. ASUS and Dell both warn about exactly this in their own support pages.
When Secure Boot is off, nothing checks the signatures, which is why Windows still starts normally. So the good news is that your hardware and your Windows install are fine.
To check whether the new certificate is there, run this in PowerShell as administrator:
[System.Text.Encoding]::ASCII.GetString((Get-SecureBootUEFI db).bytes) -match 'Windows UEFI CA 2023'
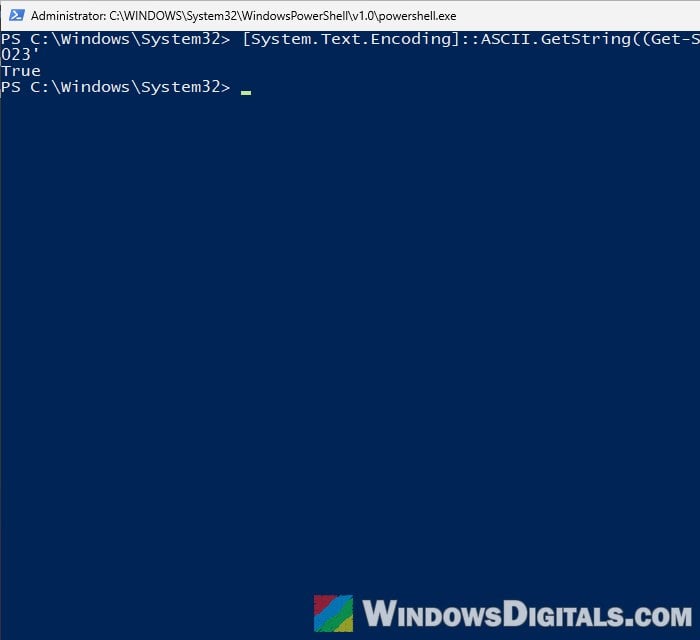
A PC that has the new certificate returns True, like the one above. If yours returns False, the certificate is missing, and the fixes below should sort it out. If it shows an error instead, skip this check and go straight to the fixes.
Linked issue: Windows 11 PC Won’t Boot Past the BIOS, Why?
Run Microsoft’s Secure Boot Recovery tool from a USB stick
The fix that has worked for the most people is a small recovery tool that Microsoft already puts on your PC. It’s called SecureBootRecovery.efi, and when you start the PC from it, it writes the missing “Windows UEFI CA 2023” certificate back into the firmware’s trusted list. It’s the accepted answer on Microsoft’s Q&A forum for this problem, and several users there (and on Reddit) confirmed it worked. ASUS even uses the same tool in its own support guide.
Note: If BitLocker is on, back up your BitLocker recovery key before you change any Secure Boot settings.
Here’s what you should do (with Secure Boot still off):
- Open File Explorer and go to
C:\Windows\Boot\EFI. You should see a file named SecureBootRecovery.efi there.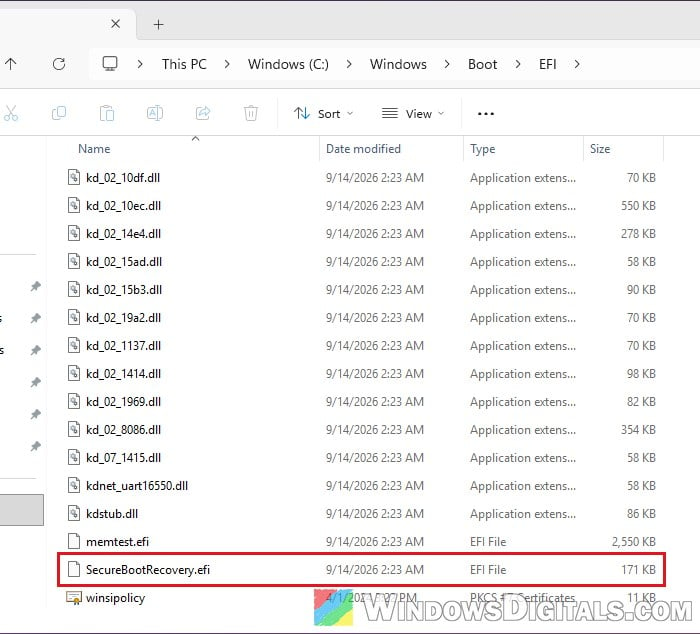
- Plug in a USB stick and format it as FAT32 (this wipes everything on it).
- On the USB stick, create a folder named
EFI, and inside it a folder namedBOOT. Both names must be in upper case. - Copy SecureBootRecovery.efi into the
BOOTfolder and rename the copy tobootx64.efi. - Restart the PC and open its one-time boot menu (on ASUS PCs, for example, hold Esc as the PC starts). Choose the USB stick.
- Wait for the “Microsoft Secure Boot Recovery” message. It says the system will reboot in 10 seconds. Let it restart and boot into Windows.
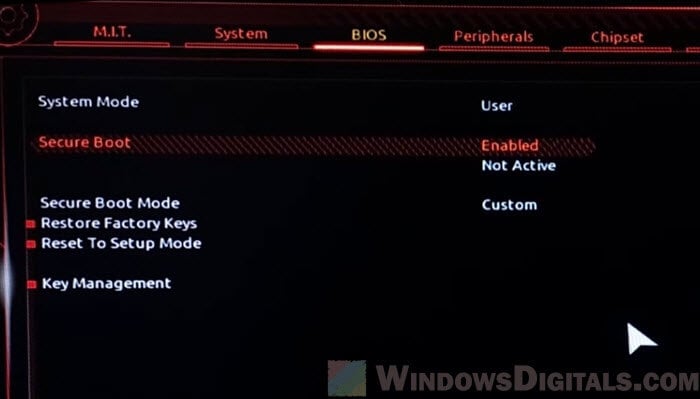
- Restart again, go into the BIOS, turn Secure Boot back on, then save and exit (here’s how it looks on a Gigabyte board, for example).
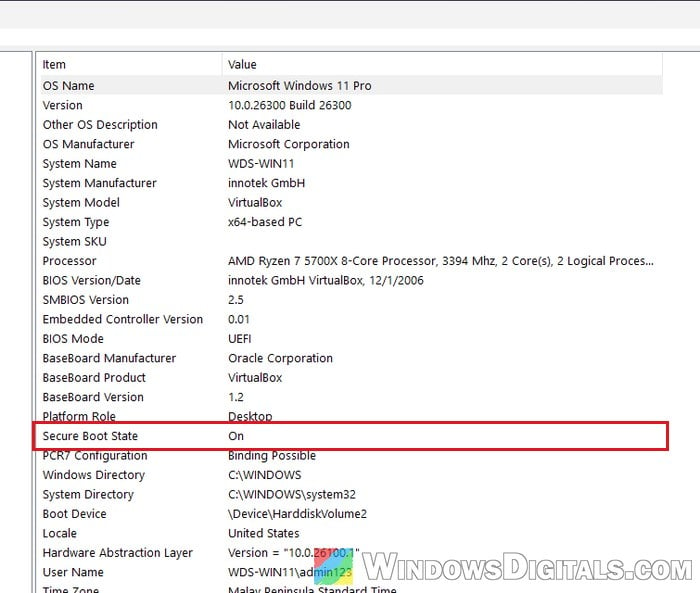
If Windows starts with Secure Boot on, open System Information (msinfo32) and check that Secure Boot State now says On.
Might be useful: Windows 11 USB Not Booting (How to Fix)
Update the BIOS, then restore the factory keys again
PC makers have been releasing BIOS updates that put the 2023 certificates into the factory key set itself. Once your BIOS has them, resetting the keys to default no longer removes them. That’s also what a top comment in one Reddit thread about this problem suggested: keep Secure Boot off, update the BIOS and Windows first, and only then turn Secure Boot back on.
Be warned: A BIOS update can brick your motherboard if the power is cut or the wrong file is used. If it’s a laptop, keep it plugged in. Only use the file from your PC or motherboard maker’s support page, and if you’re not sure what you’re doing, it’s better to get someone to help you instead.
Here’s what you should do:
- Keep Secure Boot off for now and boot into Windows.
- Back up your BitLocker recovery key (or suspend BitLocker) if it’s on.
- Go to your PC or motherboard maker’s support page and find your model.
- Download and install the latest BIOS version.
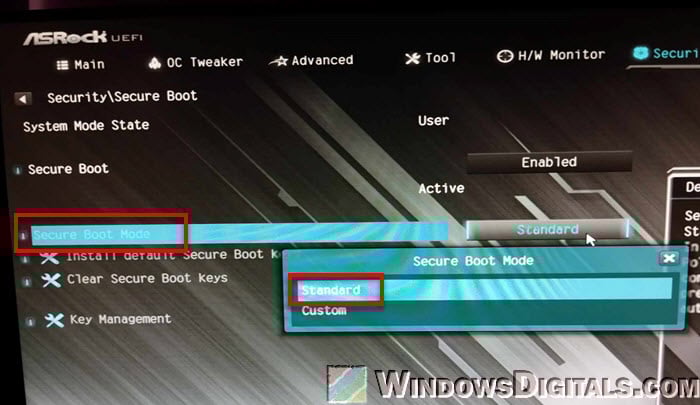
- Enter the BIOS and go to the Secure Boot section. On some boards you first have to set Secure Boot Mode to Custom to see the key options.
- Restore the factory keys. The option is usually called Restore Factory Keys or Install Default Secure Boot Keys. If there’s a separate Clear option, don’t use it on its own.
- Turn Secure Boot on, save and exit.
If Windows now starts with Secure Boot on, the new keys are in place, and the PowerShell check above should return True.
Not every PC gets this update, though. One Dell owner on Reddit was already on the newest BIOS and still couldn’t boot with Secure Boot on, so use the recovery tool above if your maker hasn’t released one.
Related concern: Windows 11 Not Activated After BIOS Update
Let Windows finish the certificate update
Once Secure Boot is back on, make sure Windows has finished adding all the 2023 certificates. Windows Update normally does this by itself over time, but you can make it start right away with a registry value from Microsoft’s own support page. The value 0x5944 tells Windows to deploy all the needed certificates and switch to the boot manager signed with the new certificate.
Changing the registry incorrectly can cause serious problems, so please at least create a system restore point first, and if in doubt, get someone who knows to help you instead.
Here’s how to do it:
- Open PowerShell as administrator.
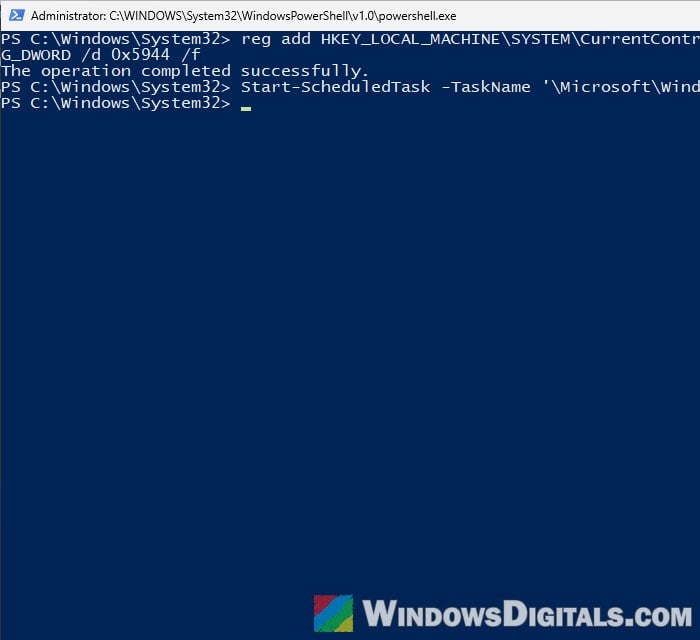
- Type the following commands one by one, and press Enter after each:
reg add HKEY_LOCAL_MACHINE\SYSTEM\CurrentControlSet\Control\SecureBoot /v AvailableUpdates /t REG_DWORD /d 0x5944 /f
Start-ScheduledTask -TaskName '\Microsoft\Windows\PI\Secure-Boot-Update'
- Restart the PC. Microsoft says a second restart may be needed.
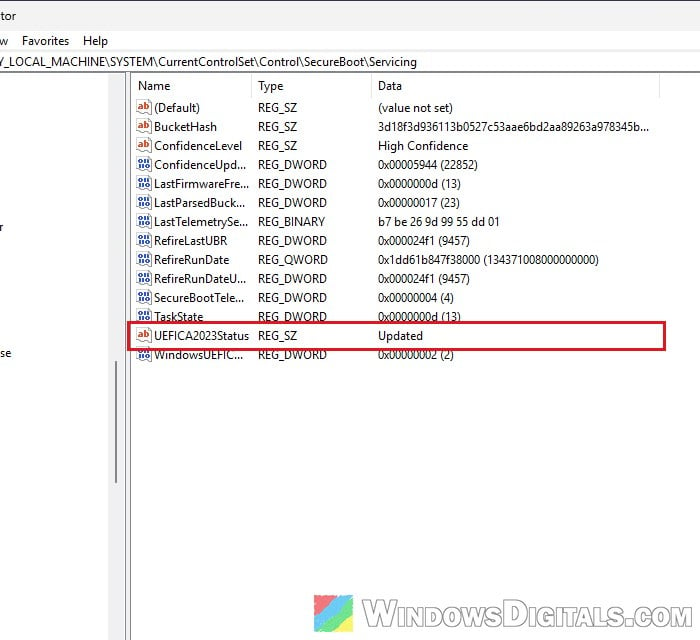
- To see how far it got, open Registry Editor, then copy and paste the following path to the address bar. UEFICA2023Status should end up as Updated.
HKEY_LOCAL_MACHINE\SYSTEM\CurrentControlSet\Control\SecureBoot\Servicing
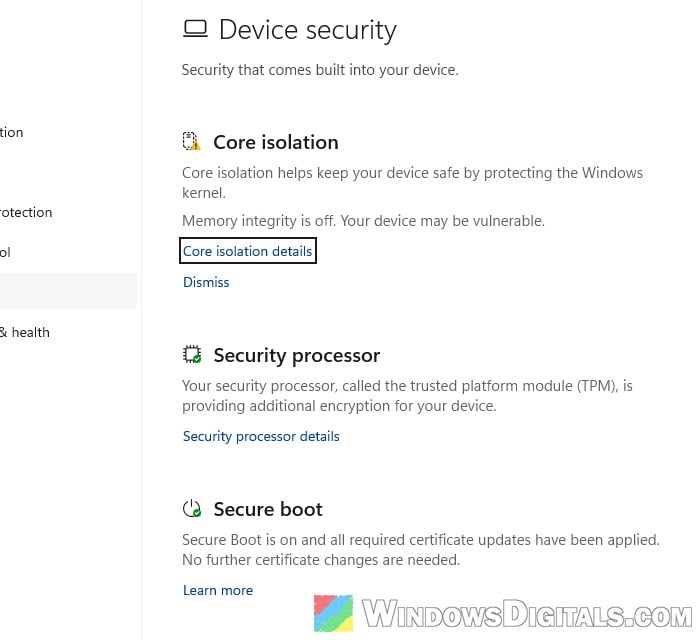
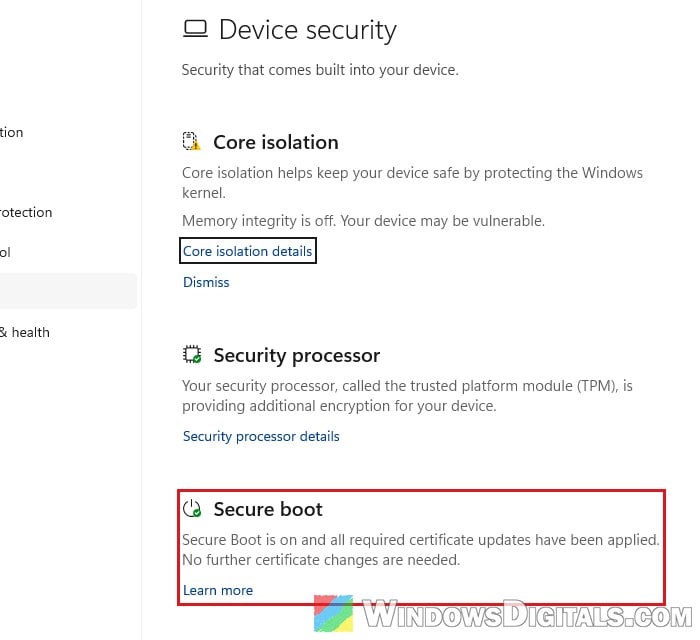
You can also check in Windows Security under Device security > Secure boot: “Secure Boot is on and all required certificate updates have been applied” means you’re done.
What if your PC never gets the new keys?
If nothing above works, your PC’s firmware may not be able to take the new certificates, and for that case Microsoft’s advice is to contact your device manufacturer. Until then, your PC keeps working with Secure Boot off, since Windows itself starts fine without it. Games like Valorant will keep asking you to turn it on, though, so it’s worth asking your PC maker whether a BIOS with the 2023 certificates is coming for your model.