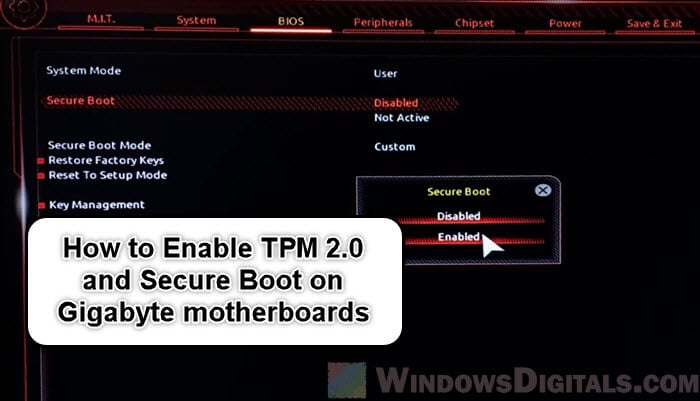
Turning on TPM 2.0 (Trusted Platform Module) and Secure Boot are sometimes needed for certain software or games (like Riot’s Valorant) to actually be able to launch and work. They are generally some security features that slowly becoming the norm for most computers. However, these options are not enabled by default. In this guide, we’ll show you how to enable TPM 2.0 and Secure Boot on your Gigabyte motherboard.
Also see: How to Enable TPM 2.0 and Secure Boot on ASRock
Page Contents
What actually are TPM 2.0 and Secure Boot?
Trusted Platform Module (TPM) 2.0 is a hardware-based security feature that protects your data and makes sure your computer only starts up with trusted hardware.
Secure Boot is another feature in your computer’s UEFI that checks each piece of software before allowing it to run when you start your computer. This helps stop harmful software, like viruses or ransomware, from getting in during the boot process.
Many modern apps, especially games from Riot like Valorant, need these security settings to work or even launch. They help ensure the game operates in a safe environment, free from cheats or hacks that could spoil the game for others.
Learn more: Can’t find TPM 2.0 and Secure Boot options in BIOS?
Open the UEFI Settings on a Gigabyte motherboard
The first step to enable TPM 2.0 and Secure Boot on a Gigabyte motherboard is to access the UEFI settings. UEFI (Unified Extensible Firmware Interface) is the upgraded version of the old BIOS system, and is the place for your motherboard’s settings.
- Start by restarting your computer. You need to press a specific key during the initial boot phase to enter the UEFI settings.
- Keep an eye out for a message that tells you which key to press to enter the UEFI settings as your computer restarts. On most Gigabyte motherboards, this is usually the Del key. Press it repeatedly as soon as your computer starts up. If you miss the correct timing and your operating system begins to load, just restart and try again.
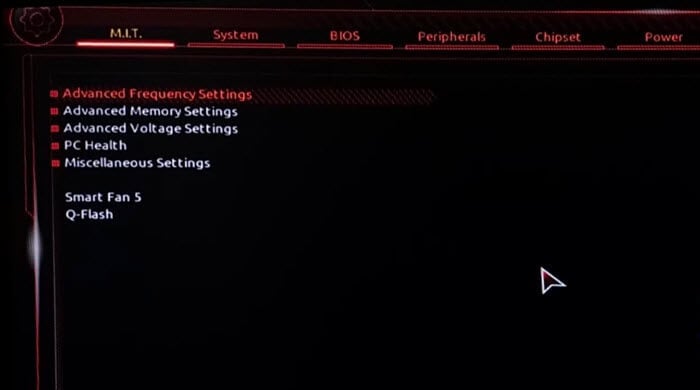
- Once you’ve successfully entered the UEFI settings, you’ll see a graphical interface that is much more user-friendly than the old BIOS interfaces. You’ll use your keyboard and possibly your mouse to navigate through various settings.
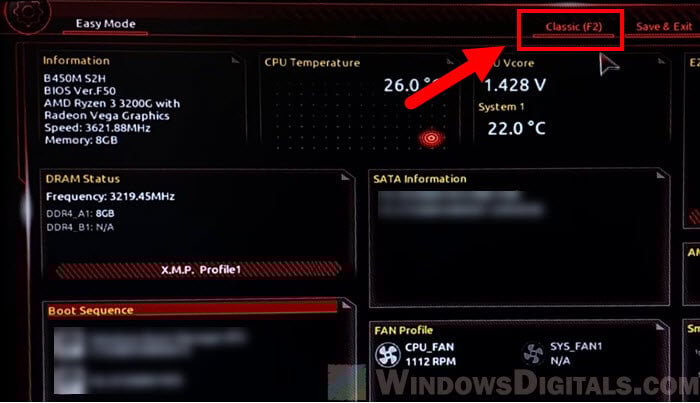
- If you’re not seeing the screen as shown in the screenshot above, and you’re on the screen called “Easy Mode”, click on “Classic” or press F2.
The UEFI interface can differ slightly depending on your specific Gigabyte motherboard model. If you find yourself unsure of where to go next, you should check your motherboard’s manual for specific guidance (you can download its soft copy manual from the manufacturer’s website).
Related resource: How to Uninstall & Disable Gigabyte App Center from BIOS
How to turn on TPM 2.0 on your Gigabyte motherboard
After getting into the UEFI settings, follow the steps below to enable TPM 2.0 on your Gigabyte motherboard.
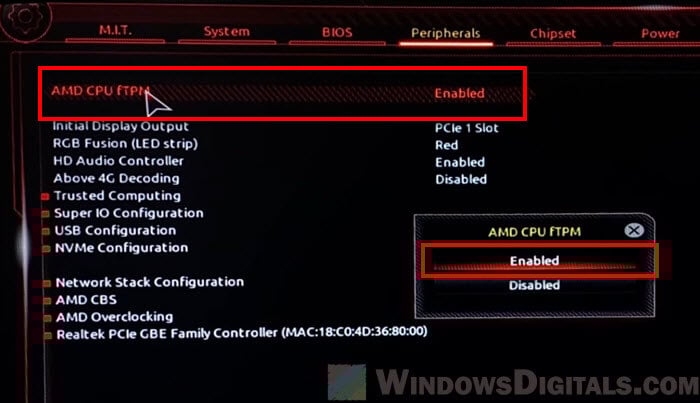
- In the UEFI interface, find a tab or option in the UEFI menu called “Peripherals.” It might also be called “Security,” “Advanced,” or something similar. This is where you’ll usually find the TPM settings. If you can’t find it, check your motherboard’s manual for help.
- Look for an option called “AMD CPU fTPM,” “TPM Device,” “TPM Security,” or “Intel PTT” if you have an Intel processor. Change this setting to “Enabled.”
- After turning on TPM, if you need to enable Secure Boot as well, go to the next step. If not, make sure to save your settings. You usually do this by pressing F10 or choosing “Save & Exit” from the UEFI menu. Your computer will restart with TPM 2.0 turned on.
If you’re using an older Gigabyte motherboard and can’t find TPM 2.0, you might need to update your BIOS/UEFI firmware. Check the Gigabyte website for updates if TPM 2.0 doesn’t appear in the settings but you’re sure it supports it.
Pro tip: In-place Upgrade of Windows 11 on Unsupported Hardware
How to enable Secure Boot on a Gigabyte motherboard
After turning on TPM 2.0, the next step is to enable Secure Boot on your Gigabyte motherboard. Secure Boot is a UEFI feature that makes sure your PC only boots software that the motherboard manufacturer trusts. This option is sometimes required for some apps or games like Valorant to work. The following steps will show you how to activate Secure Boot.
- In the UEFI settings, find the “BIOS” tab or a similar section.
- In the BIOS options, find the “CSM Support” setting and set it to “Disabled“.
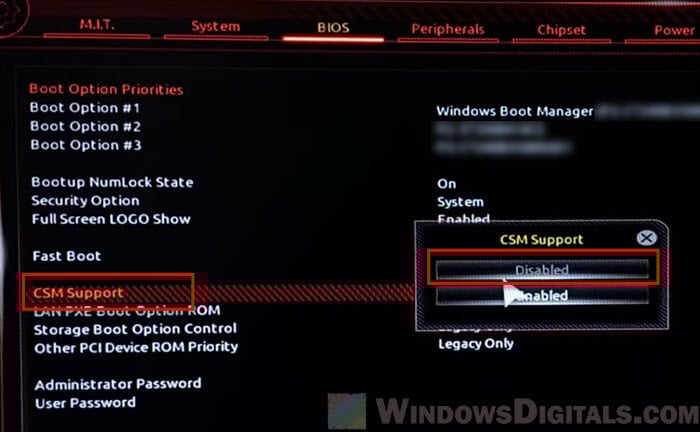
- This change is necessary to make the Secure Boot option available.
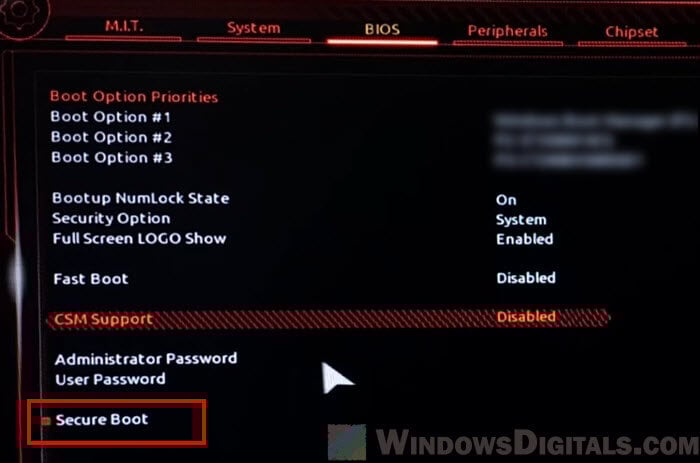
- Change the “Secure Boot” setting from “Disabled” to “Enabled“.
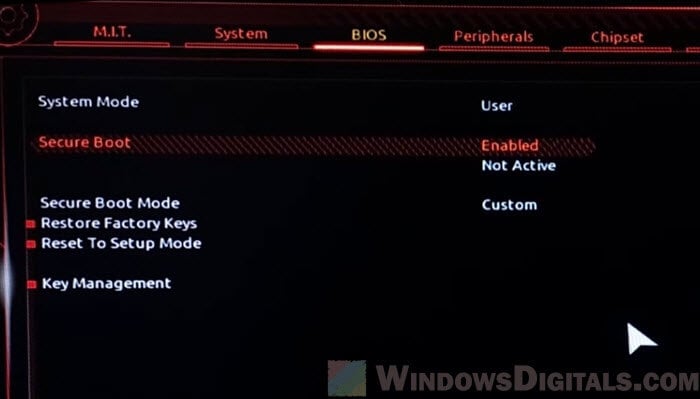
- If you can’t change the Secure Boot setting, save and exit, then restart your computer. Return to the same UEFI setting to activate it.

- Like with the TPM setting, remember to save your changes. This is usually done by pressing F10 or selecting “Save Changes and Exit” from the Exit menu. Your computer will reboot with Secure Boot turned on.

You should also know that, in some cases, turning on Secure Boot might cause issues with older operating systems or software that aren’t UEFI compliant. If you’re using a dual-boot system or older software, check that everything is compatible with Secure Boot before turning it on.
Linked issue: Virtualbox Windows 11: This PC doesn’t meet the requirements
Some final notes
One of the main reasons why you need to enable TPM 2.0 and Secure Boot on your Gigabyte motherboard is to make sure your PC is compatible with games and apps that require them. This is especially true for games that always try to reduce cheating and hacking, such as Valorant – a popular FPS genre game.
This requirement isn’t just limited to gaming, some modern software also relies on those security features to work. The purpose is just all about protecting data and being safe from hacking and other bad stuff.
Thus, even if you don’t play any of these games or use any app that requires them, turning on TPM and Secure Boot should generally help make your computer even safer.