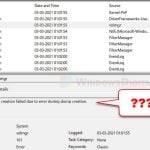
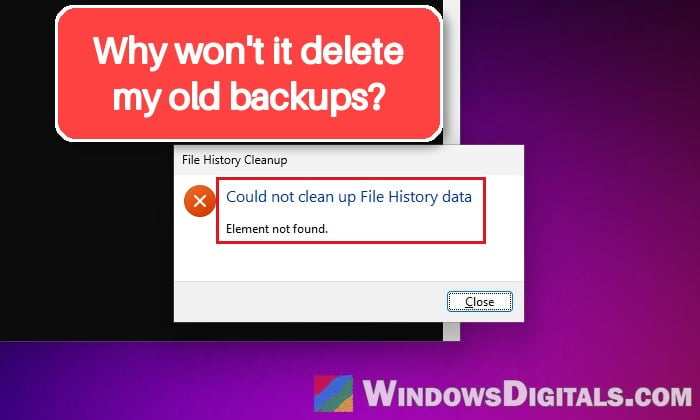
If you’re trying to delete old backups with Clean up versions in File History and Windows only says “Could not clean up File History data. Element not found“, with no error code and nothing else to go on, it’s a known problem that has been around since Windows 10 and still shows up on Windows 11. This guide will explain what’s going on and show you the ways around it, from a quick command to starting File History fresh.
Also see: How to Create System Restore Point in Windows 11/10
Page Contents
Why does File History say “Element not found”?
Microsoft hasn’t documented this error, and there’s no known fix from Microsoft for it. It has been reported since Windows 10 version 2004, on PCs with tiny backups and huge ones, on local and network drives alike, and it has been discussed on Microsoft’s forums for years.
The most likely reason is that File History’s own records of your backup no longer match what’s actually on the backup drive, so the cleanup can’t find something it expects to delete. A full backup drive is often blamed too, but the error also shows up on drives with plenty of free space, so it’s worth checking, but it’s probably not the cause.
Check the backup drive and run a backup first
The cleanup only works on the drive File History is currently using, so that drive has to be plugged in, and File History should have finished at least one backup to it.
Here’s what you should do:
- Make sure the backup drive is connected (or the network location is reachable) and that it has some free space left.
- Open Control Panel, go to System and Security > File History, and click Run now. Wait for the backup to finish.
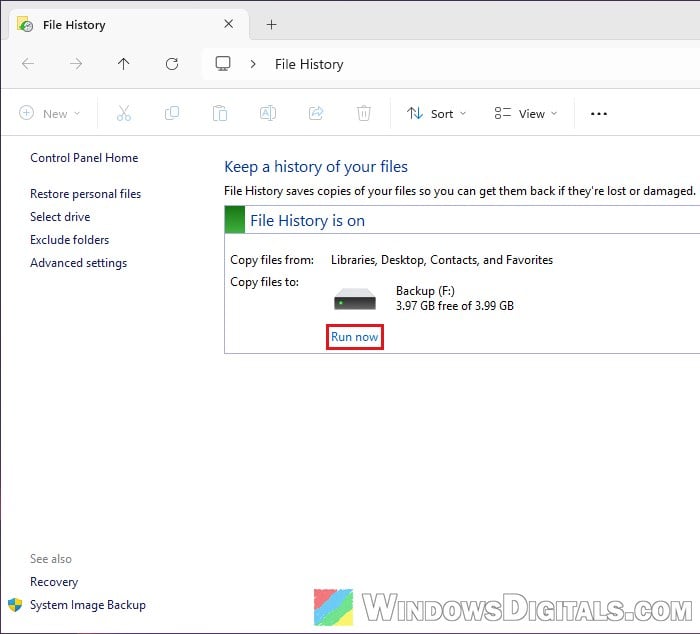
- Click Advanced settings in the left pane, then click Clean up versions and try again.
If there’s no Clean up versions link at all, File History most likely hasn’t finished a backup to that drive yet. When we tested this, the FhManagew.exe command in the next section showed this exact error on a PC where File History was turned on but had never finished a backup, so make sure the backup actually completes first.
If Clean up versions still fails after a finished backup, it’s sometimes worth clicking Select drive on the File History page, choosing the same drive again, clicking OK, and running a backup once more before another try.
Clean up from the command line with FhManagew.exe
Windows has a small built-in tool called FhManagew.exe that deletes old File History versions from the command line. It removes versions older than the number of days you give it, but only for files that have a newer version in the backup, or that you no longer back up. As long as a file is still being backed up, its latest copy is always kept.
Here’s how to use it:
- Search for “Command Prompt” in the Start menu, then click Run as administrator.
- Type the following command, changing 30 to the age you want in days, and press Enter:
FhManagew.exe -cleanup 30
FhManagew.exe -cleanup 360deletes versions older than a year.FhManagew.exe -cleanup 0keeps only the latest version of each file.
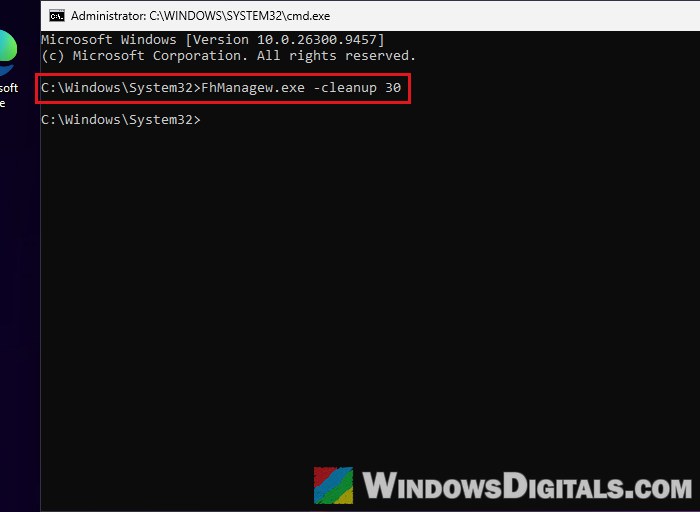
- A File History Cleanup window opens. If it says “Could not clean up File History data“, the tool hit the same error. If it doesn’t show an error, check the free space on the backup drive to see if old versions were removed.
Please note that this command isn’t known to get past the error. If you see it too, move on to the next section.
Reset File History and set it up again
When File History’s own settings are what’s broken, the way out is to make it forget them and set it up from scratch. Of all the fixes here, this is the one most likely to get File History working again. Your existing backups stay on the backup drive, but File History will lose your settings, like excluded folders, how often it saves copies, and how long it keeps them, so note those down first.
Here’s how to reset it:
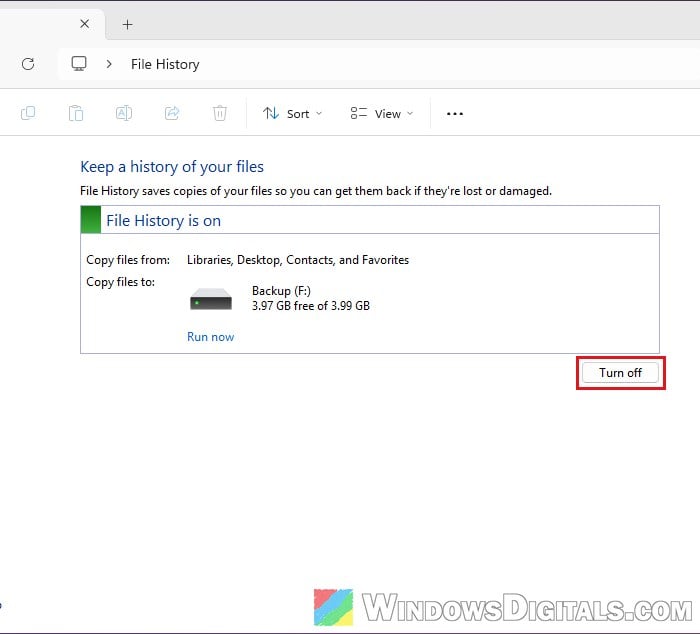
- On the File History page in Control Panel, click Turn off.
- Press Win + R, type the following and press Enter:
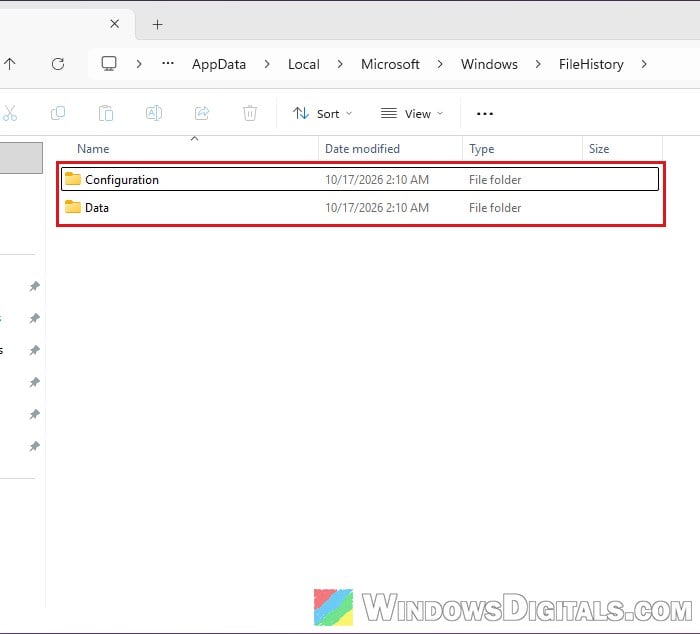
%LOCALAPPDATA%\Microsoft\Windows\FileHistory
- Delete everything inside this folder. This is where File History keeps its settings, not your backups.
- Go back to File History, click Select drive, choose your backup drive and click OK.
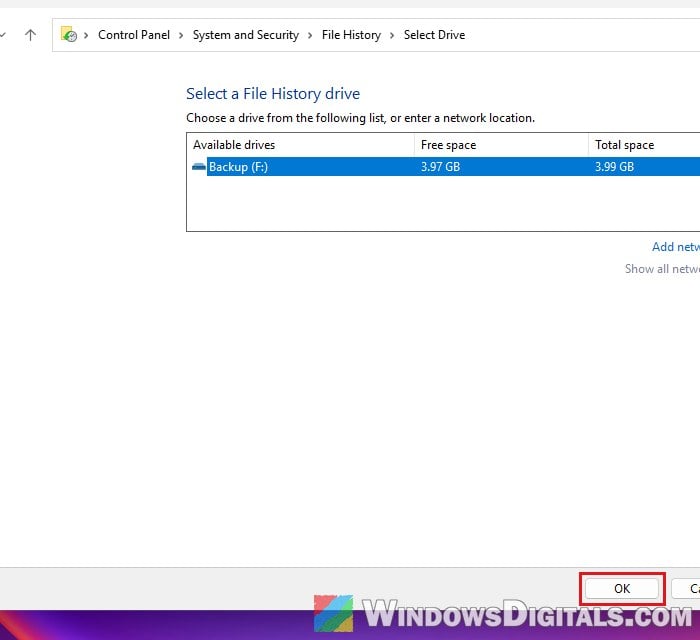
- Click Turn on, then set your options again under Advanced settings.
Once File History has finished its first backup, try Clean up versions again. File History may or may not pick up the old backups that are already on the drive, so don’t delete anything from the drive until you’ve checked that you can restore files.
Related guide: How to Clean Up AppData Folder in Windows 11
If you just want the space back, start fresh on the drive
If you mostly care about getting the space back and don’t need your oldest versions, you can start a new backup instead of fighting the cleanup. Deleting old folders on the backup drive by hand frees up space, but it isn’t known to make the error go away, and deleting single folders inside File History’s backup can confuse it even more. So it’s better to replace the whole thing.
Follow the steps below:
- Turn off File History as shown above.
- On the backup drive, find the folder called FileHistory and rename it (for example, to FileHistory-old). Don’t delete it yet, and don’t delete single folders inside it.
- Turn File History back on and let it make a new backup.
- Once the new backup is done and you’ve checked that you can restore a file from it, delete the renamed folder.
If you’d rather keep the old versions as an archive, use a different backup drive for the new File History instead, and put the old drive away.
Might be useful: How to Eject USB or External Hard Drive in Windows 11
Other things you can try
If none of the above helps, there isn’t much else that’s known to work. sfc /scannow and a repair install of Windows aren’t known to fix it either, but you can still try these:
- Check the backup drive for errors with CHKDSK.
- Consider a different backup tool. Since this has been broken for years, a disk image backup program, which backs up the whole drive instead of single files, may simply save you the trouble.