Internet browsers like Google Chrome keep track of where you’ve been and what parts of websites you’ve seen to make your browsing snappier when you visit those sites again. But, these records can eat up space on your computer or hold onto info you’d rather keep to yourself or removed.
Chrome lets you clear out this browsing history and cache files manually in its settings, but if you have to do this a lot, it can get kind of repetitive. That’s where the Command Prompt (CMD) comes in handy. You can create a batch script so that you can clear the history and cache files by just running the script.
This guide mainly talks about how to do this on Windows computers, like Windows 11 and Windows 10.
Page Contents
How to delete Chrome history and cache via CMD
Step 1: Open Command Prompt
Hit the Windows Start button and type “cmd”. In the search results, right-click on “Command Prompt” and pick “Run as administrator”. Hit Enter, and you’ll see the Command Prompt window pop up, ready to go.
Learn more: How to Run CMD or PowerShell as SYSTEM in Windows 11

Step 2: Identify the correct Chrome path
First up, you need to find where Chrome keeps its cache and history files. This is very important because you don’t want to mess up and delete the wrong stuff.
The usual location for these files is:
C:\Users\{Your Username}\AppData\Local\Google\Chrome\User Data\Default
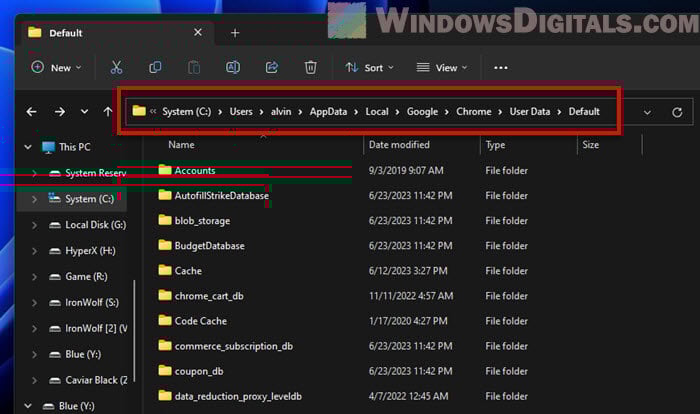
Remember to swap {Your Username} with your actual Windows username. If you’re not sure what your username is, just type whoami in the command prompt and press Enter. It’ll show your computer name and username.
Also see: How to Copy Chrome User Profile to Another Profile
Step 3: Close Google Chrome
Make sure Chrome is completely closed before you try deleting anything. Chrome being open can mess with the clean-up. You can close Chrome by right-clicking its icon on your taskbar and choosing “Close window” or “Exit”.
Step 4: Delete cache files and history
With Chrome closed and the right folder found, you’re ready to delete. In the Command Prompt window, type the commands below, putting in your real username where it says {Your Username}:
To delete cache files:
del /q /s /f "C:\Users\{Your Username}\AppData\Local\Google\Chrome\User Data\Default\Cache\*"
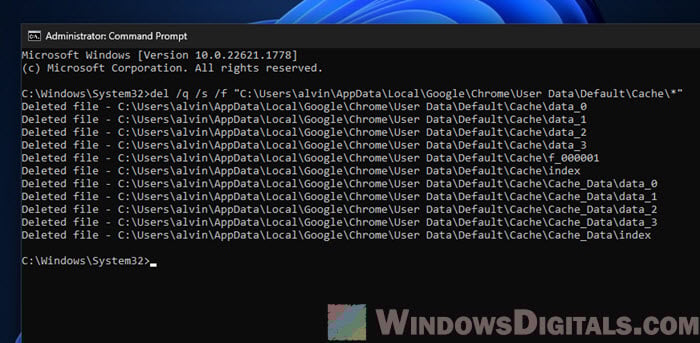
To delete browsing history:
del /q /s /f "C:\Users\{Your Username}\AppData\Local\Google\Chrome\User Data\Default\History"
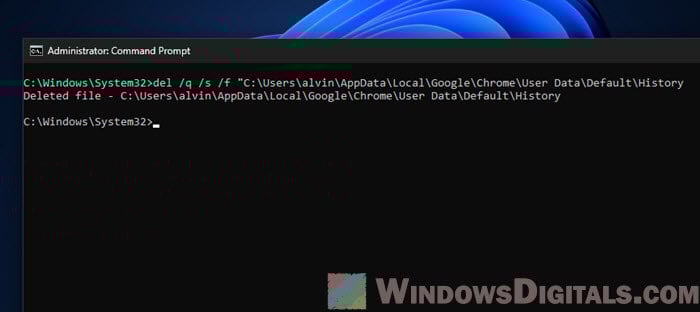
In these commands, /q makes the process quiet (no asking “are you sure?”), /s gets rid of files in all subdirectories, and /f forces the deletion of files that are read-only.
Don’t forget to hit Enter after typing each command.
Related resource: How to Force Delete a File in Use by Another Program on Windows 11/10
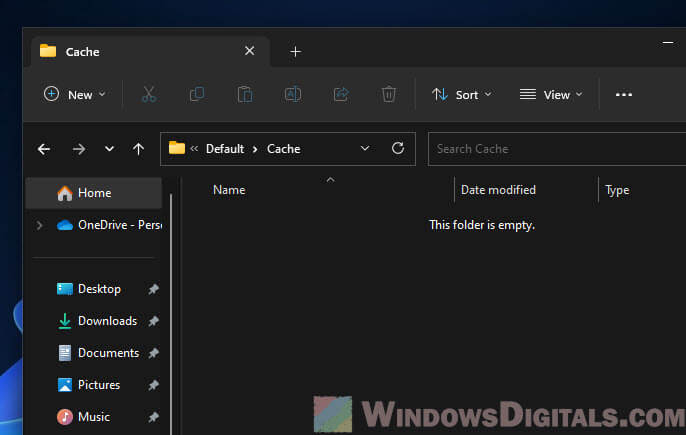
Step 5: Verify Deletion
After running those commands, it’s smart to check and make sure everything actually got deleted. Go back to the folder you were working in and see if the Cache folder is empty and the History file is no longer there. If they’re gone, you did it right!
Useful guide: How to Clear RAM Cache in Windows 11
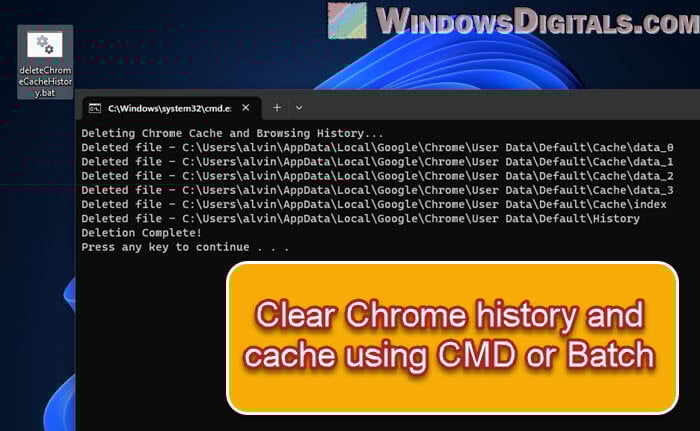
Creating a batch file to automatically clear Chrome cache and history
If you find yourself clearing Chrome’s cache and history a lot, you can make things even easier by creating a batch file. This is a simple text file with commands that the Command Prompt can run all at once, so you don’t have to type them every time.
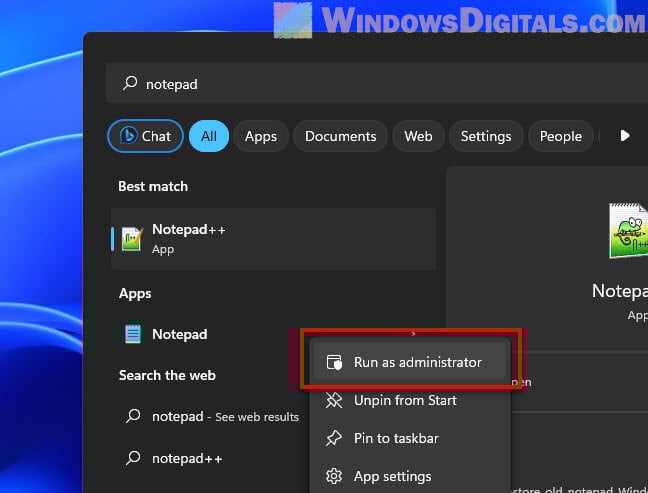
Step 1: Open Notepad
To start, you’ll need Notepad, which is a basic text editor that comes with Windows. Open Notepad by searching for it in the Start menu.
Step 2: Write your batch file
In Notepad, write down the commands for deleting Chrome’s cache and history, just like before. Here’s an example, and remember to use your actual username:
@echo off
echo Deleting Chrome Cache and Browsing History...
del /q /s /f "C:\Users\{Your Username}\AppData\Local\Google\Chrome\User Data\Default\Cache*"
del /q /s /f "C:\Users{Your Username}\AppData\Local\Google\Chrome\User Data\Default\History"
echo Deletion Complete!
pause
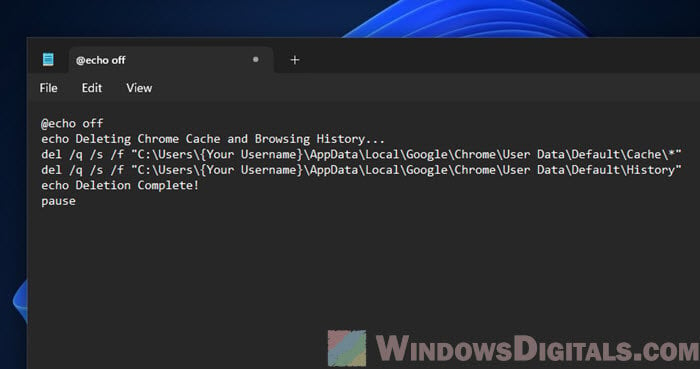
This batch file starts by turning off command echoing with @echo off, so you don’t see every command as it runs. The echo commands are there to let you know what’s happening, and pause waits for you to press a key before it closes, so you can see the message that everything’s done.
Pro tip: How to Run Batch File Without the CMD Window
Step 3: Save the batch file
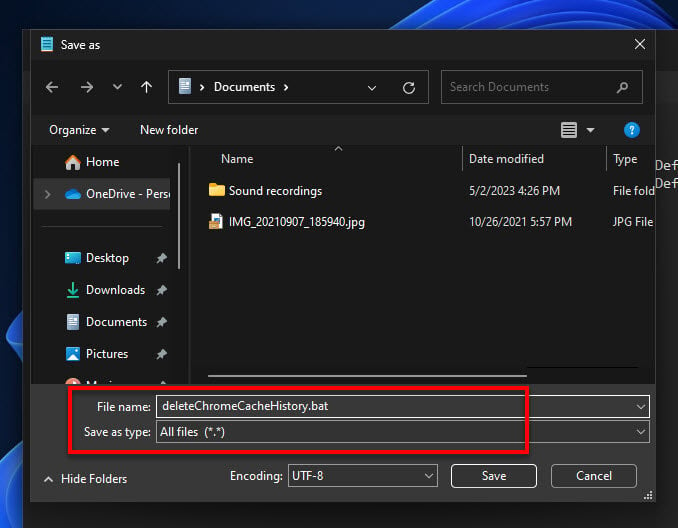
When your batch file is ready, save it anywhere you like (a lot of people just save it on their Desktop for easy access). Go to “File” > “Save As…”, pick where you want to save it, and name it something like deleteChromeCache.bat. Make sure you change the “Save as type” to “All Files” and then hit “Save”.
Linked issue: Batch (.BAT) Files Not Running in Windows 11/10
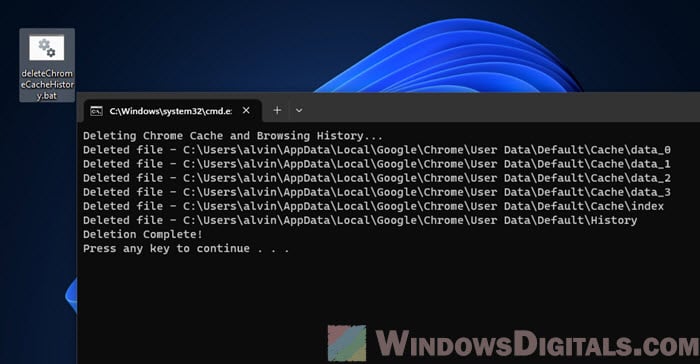
Step 4: Run the batch file
Now, your batch file is all set. Whenever you need to clear Chrome’s cache and history, just double-click this batch file, and it’ll do its thing. Just make sure Chrome is closed before you run it to make sure everything gets deleted properly.
By using a batch file, you’re making the whole process of cleaning out Chrome’s cache and browsing history way easier and faster!
One last thing
Regularly getting rid of Chrome’s history and cache files is always a smart thing to do. It keeps your browser running well and your private stuff is, well, gone. Using the Command Prompt for this task is quick and efficient, especially if you need to do it often. Just be careful to double-check that you’re deleting the right files, as you can’t undo it once they’re gone.