It’s usually pretty simple to turn on SafeSearch on Google, but making sure it stays on can be a bit more difficult (because it’s so easy to turn off as well). This is really important if you have children using the same device because SafeSearch helps protect them from seeing bad stuff. In this guide, we’ll show you different ways to lock SafeSearch settings permanently on Google in Chrome.
Also see: How to Block Adult Websites in Windows 11
Page Contents
Modify the “hosts” file to lock SafeSearch permanently
Locking SafeSearch across different browsers on a Windows computer can be done effectively by changing the hosts file. This method makes sure Google always uses SafeSearch by redirecting its DNS queries. It works on browsers like Chrome, Firefox, and Microsoft Edge.
What you’ll need
- Administrative access to the computer
- A text editor like Notepad
- Basic understanding of file directories in Windows
How to correctly to modify the “hosts” file
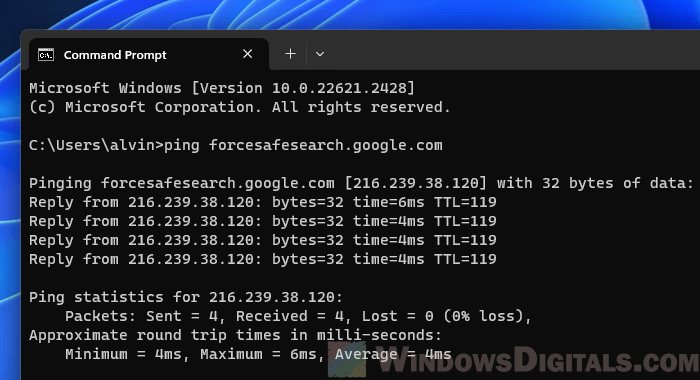
- Open Command Prompt and type
ping forcesafesearch.google.com. Write down the IP address that shows up. This is the IP Google uses to enforce SafeSearch and it might change based on where you are.ping forcesafesearch.google.com
- Find Notepad in the Start menu, right-click on it, and choose “Run as administrator.”

- In Notepad, go to File > Open, head to
C:\Windows\System32\drivers\etc, and then pick thehostsfile. If you can’t see the hosts file, click on the dropdown next to “File name” and select “All files.”

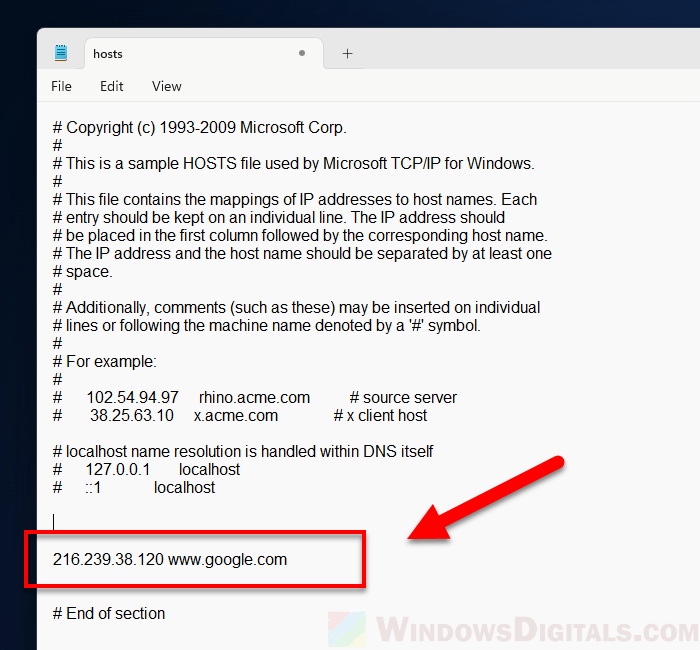
- Add these lines at the end of the document using the IP address you got earlier:
[SafeSearch IP address] www.google.com
For example, if the IP address is
216.239.38.120, you’d add:216.239.38.120 www.google.com
This makes Windows redirect any requests to www.google.com to 216.239.38.120, which forces Google to turn on SafeSearch.
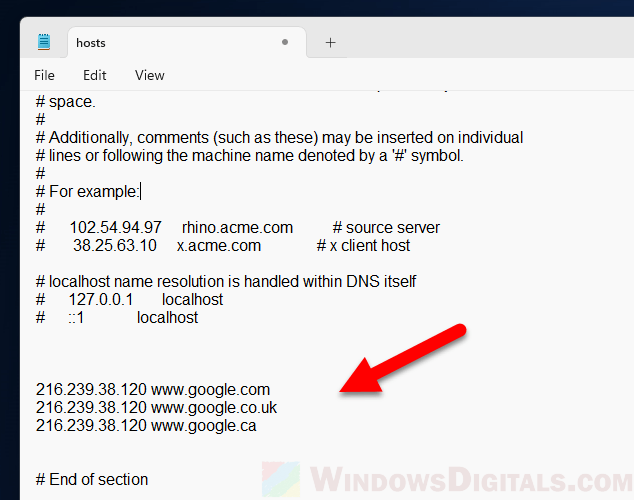
- If you or others might use Google from different countries, copy the lines you just added but replace
www.google.comwith the relevant domain, likewww.google.co.ukorwww.google.ca.216.239.38.120 www.google.co.uk 216.239.38.120 www.google.ca
- Save the file and close Notepad. If you run into problems while saving, check if you have administrative rights and try again.
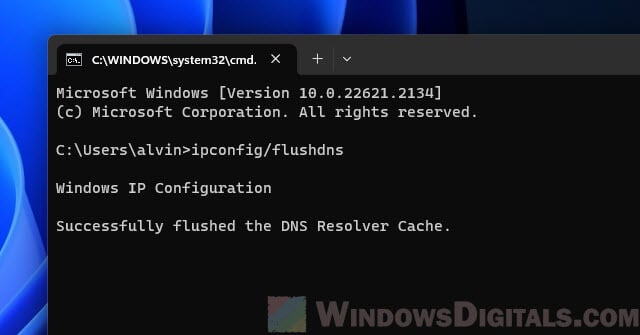
- Open Command Prompt as an administrator and type
ipconfig /flushdns, then hit Enter. This refreshes the DNS cache, making sure your changes work.
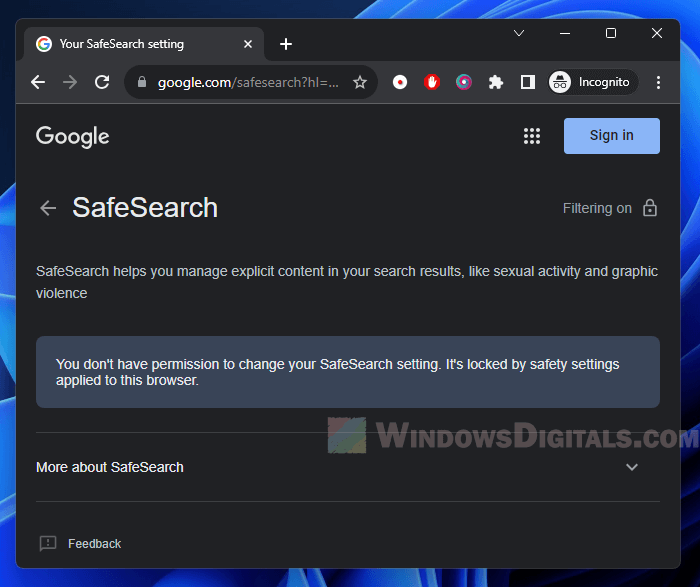
- To make sure SafeSearch filtering is actually on, go to
google.com/safesearch. Check that SafeSearch is set to “on” and that you can’t turn it off.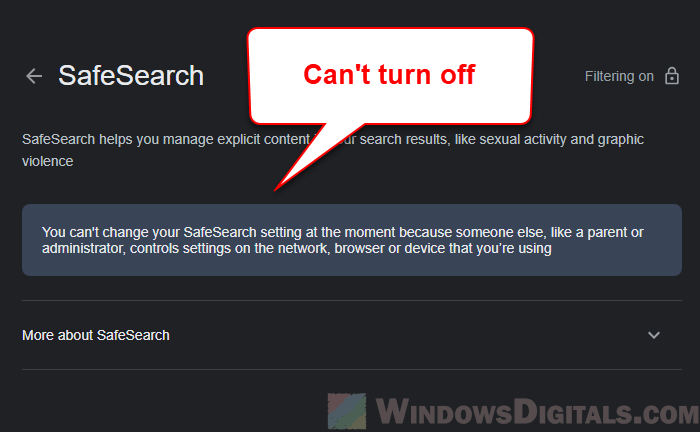
- Finally, open any browser and see if SafeSearch is locked. It should be on by default, and you shouldn’t be able to turn it off.
Note: Be careful when editing the
hostsfile because wrong changes can cause very serious network issues like not being able to open certain or all websites.
Learn more: How to Block Websites on Chrome Without Extension
Use the Web Filter for Chrome extension
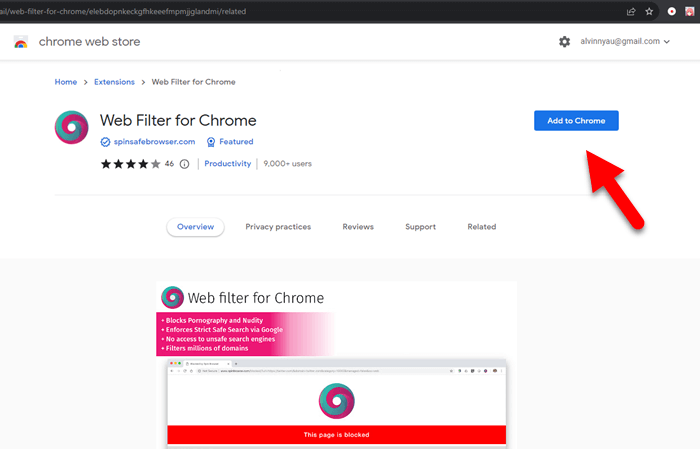
If Google Chrome is your main browser and you want a complete solution, the “Web Filter for Chrome” extension is a great choice. It automatically turns on SafeSearch for all Google searches, including images and videos. It also locks SafeSearch for other big search engines like Bing and Yahoo, and stops direct access to adult sites.
How to set up Web Filter for Chrome
- Open Google Chrome, go to the Chrome Web Store, search for “Web Filter for Chrome,” and click “Add to Chrome” to start the installation.
- After installing, restart Chrome to turn on the features.
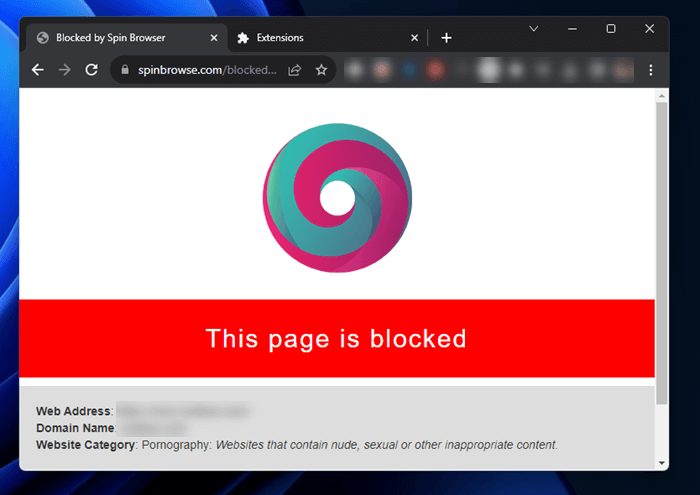
- To check if it’s working, try some searches on Google, Bing, and Yahoo to see if SafeSearch is on. Also, try going directly to adult sites to see if they’re blocked.
Note: Extensions can be easily turned off or removed via the browser’s settings, so this method may not be as effective as changing the
hostsfile. To make things better, you might want to consider setting up admin restrictions in Chrome to stop changes to these extensions that you don’t authorize.
Pro tip: How to Block a Website Such As YouTube in Windows 11
Use a parental control software instead
If you need a more complete way to keep SafeSearch on across different browsers and devices, third-party parental control software is a good option. These programs offer lots of features, like tracking browsing history and limiting screen time, in addition to turning on SafeSearch.
- Pick a parental control software that fits your needs. Popular choices include Qustodio, Norton Family, and Net Nanny.
- Follow the instructions to download and install the software on your device.
- You’ll probably need to create an account to manage settings and see reports.
- Find the SafeSearch or web filtering option in the settings and turn it on. This usually automatically makes SafeSearch work on big search engines like Google.
- Set up other features like app blocking, screen time management, and activity reports as you like.
- If you have more than one device to manage, you can usually install the software on all of them and control them from one place.
Note: Parental control software usually requires a subscription, so think about this when you’re deciding.
Using parental control software can make sure that whoever is browsing using the computer is safe, not just by turning on SafeSearch but also with many other features that give you more control and peace of mind, especially when you have children using the same computer.
Some final words
Your choice of which method to use to make sure SafeSearch is always on will depend on which browsers you use, how much control you want, and whether you’re okay with paying a bit extra. No matter which method you choose, the main goal is to make sure you have a safe browsing experience, especially if young people or many people use the same computer.