Google Chrome, like most other web browsers, stores a type of file we call the “cache files” to speed up how fast websites load the next time you visit the same sites. As you visit more websites and open more pictures and videos on them, these cache files can pile up on your system drive (usually the C: drive) and sometimes be one of the biggest reasons your drive is running out of space. But you can actually change where Chrome stores these cache files, like onto a different drive so your C: drive can be free of them. This guide will show you two ways to change the Google Chrome cache location on Windows 11 or Windows 10.
Also see: How to Change Windows Update Download Location
Page Contents
Why would you want to change the Chrome cache location?
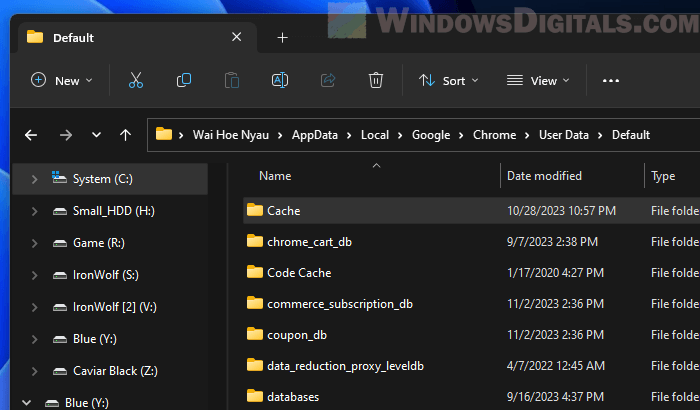
By default, Google Chrome keeps its cache files here on Windows 11 or 10:
C:\Users\username\AppData\Local\Google\Chrome\User Data\Default\Cache
Replace “username” with your Windows username. The cache has images, scripts, and other data that Chrome saves from the websites you visit. These files will get loaded when you visit the same sites again so that they can be pulled directly from your computer instead of re-downloading them from the websites again, thus resulting in faster load time.
You might be thinking of changing the location of Chrome’s cache files when you’re considering one of the following reasons:
- If you’re running out of space on the drive where Chrome stores its caches, moving the cache files to a different drive with more space can be a solution.
- If you have a faster disk, like an SSD, you can move the cache there to make Chrome load even faster.
- If Chrome stores cache files on an SSD, moving the cache to a conventional HDD can help prevent wear and tear on the SSD because the cache files are often written and deleted, which might unnecessarily reduce the lifespan of your SSD.
Recommended read: What Files Can You Delete from C: Drive to Free Up Space?
Change Chrome cache location using command line
The first method is about adding a specific command line to the “Target” field in the properties menu of your Google Chrome shortcut. You also need to put the same command line into the “Value data” of the “Default” key within the Chrome’s “Command” key in the registry editor.
Step 1: Add a command line to Chrome’s shortcut properties
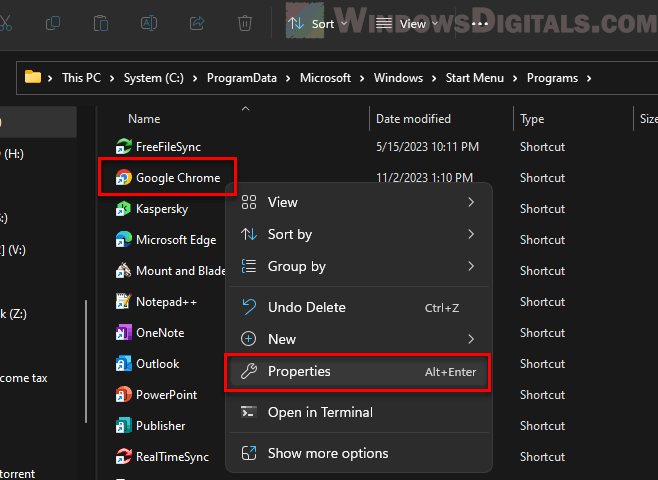
First, find the Chrome shortcut you use to open the browser. It could be on your desktop, taskbar, or Start menu.
Desktop shortcut:
- Right-click on the Chrome icon on your desktop.
- Select “Properties”.
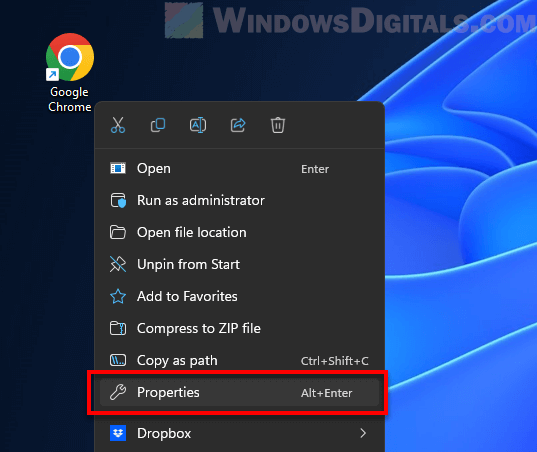
- In the “Target” field, add this command line at the end of the existing text:
--disk-cache-dir="E:\ChromeCache"

- It should look like this:
"C:\Program Files (x86)\Google\Chrome\Application\chrome.exe" --disk-cache-dir="E:\ChromeCache"
- Click “OK” to save the changes.
Taskbar shortcut:
- If you start Chrome from the taskbar, right-click on the Chrome icon there.
- Right-click on “Google Chrome” in the list and select “Properties”.
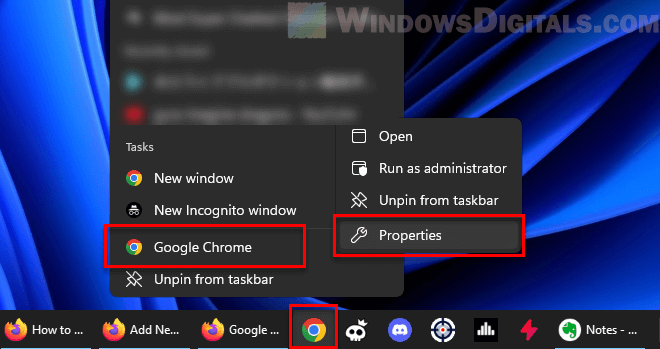
- Do the same as above to add the command line to the “Target” field.
Start menu shortcut:
- If you start Chrome from the Start menu, search for Chrome and right-click on it.
- Select “Open file location”.
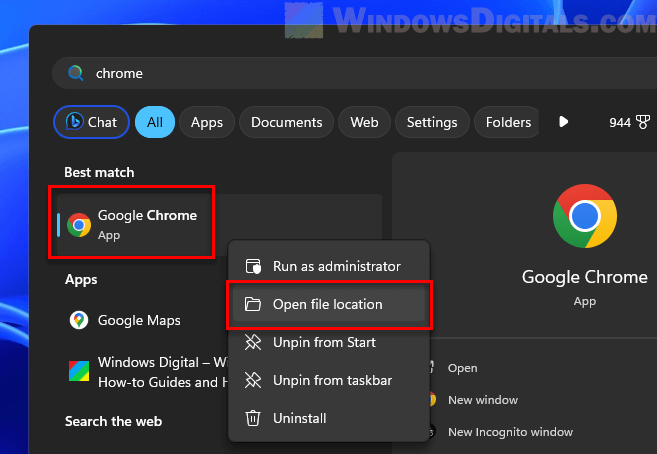
- Right-click on the Chrome shortcut and select “Properties”.
- Do the same as above to add the command line to the “Target” field.
Step 2: Append the same command line in Registry Editor
After updating the Chrome shortcut properties, the next step is to make sure Chrome uses the new cache location every time you open it, no matter how you start the browser. This is done by adding the command line to the Registry Editor as well. Make sure the directory location you use here matches the one from step 1. If they don’t match, Chrome might not be able to load pages from the new cache location.
To be on the safe side, you should create a system restore point before making any changes to the registry. This lets you go back to how things were if something goes wrong.
- Press Windows key + R to open the Run dialog box.
- Type “regedit” and press Enter to open the Windows Registry Editor.

- Go to this path:
Computer\HKEY_CLASSES_ROOT\ChromeHTML\shell\open\command
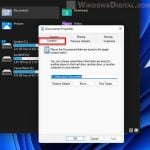
- Right-click on the “Default” key and select “Modify”.
- In the “Value data” field, add this command line at the end of the existing text:
--disk-cache-dir="E:\ChromeCache"
It should look like this:
"C:\Program Files (x86)\Google\Chrome\Application\chrome.exe" --disk-cache-dir="E:\ChromeCache" --single-argument %1
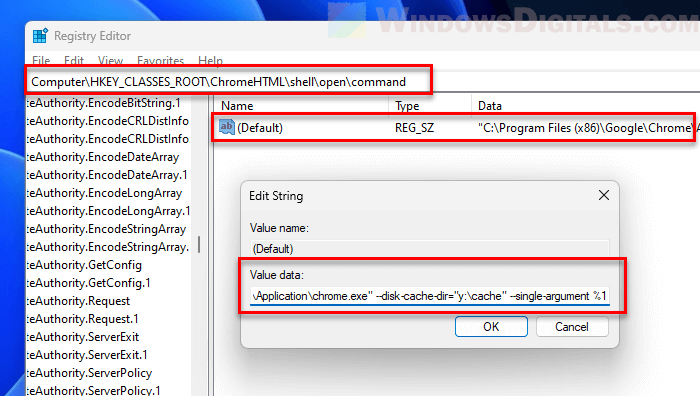
- Click “OK” to save the changes.
Pro tip: How to Copy Chrome User Profile to Another Profile
Step 3: Restart Google Chrome
- After making the changes, close all open Chrome windows.
- Wait a few seconds and then open Chrome again.
- Chrome should now start using the new cache location you set.
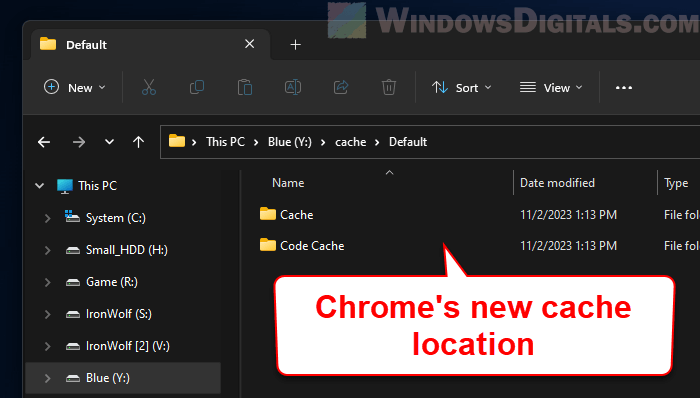
Note that these changes only apply to the Chrome shortcut you edited. If you start Chrome with a different shortcut or other way, it won’t use the new cache location.
Change Chrome cache location using symbolic link
Another method to change where Chrome saves its cache files is by using the symbolic link feature. The following steps will show you how to do it.
- Open Google Chrome.
- Type
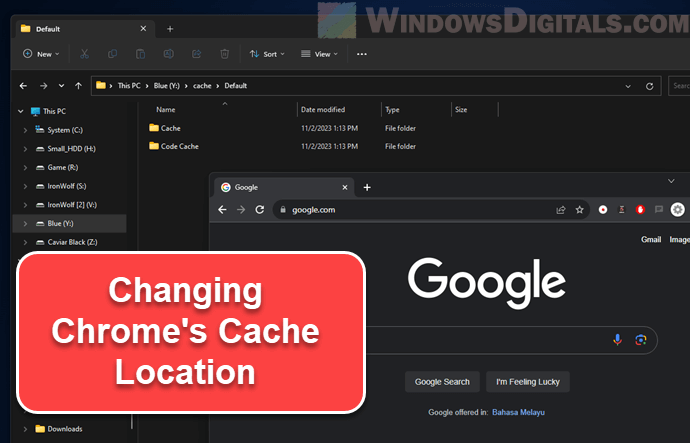
chrome://versionin the address bar and press “Enter”. - Note the “Profile Path” which shows where Chrome saves its files. It should look like this:
C:\Users\user\AppData\Local\Google\Chrome\User Data\Default

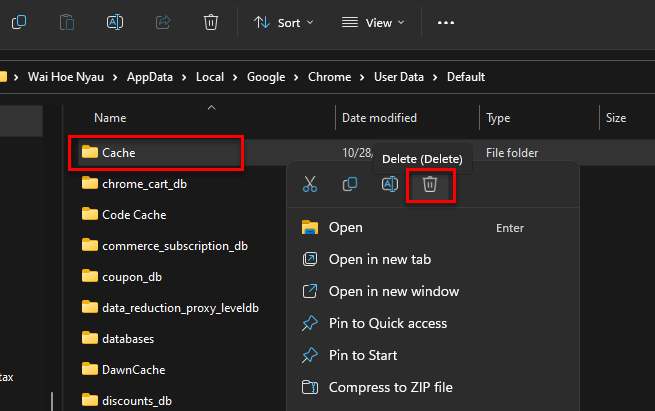
- Open “My PC” or “File Explorer”.
- Go to the profile path you noted before.
- In the “Default” folder, find the “Cache” folder.
- Right-click on the “Cache” folder and select “Delete”.
- Go to the disk where you want to keep the Chrome cache files.
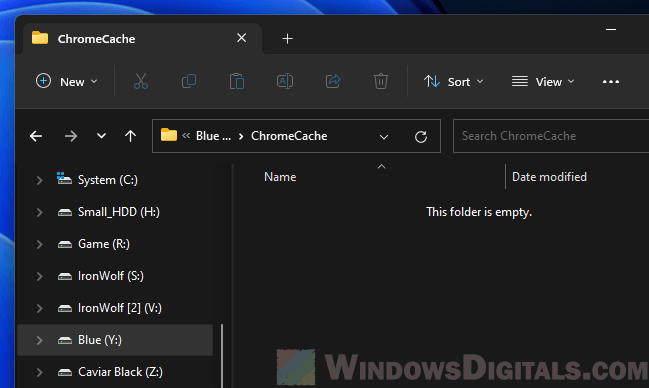
- Make a new folder for the cache. For instance, you might make a folder called “ChromeCache” on disk E, so the path would be:
E:\ChromeCache
- Type “cmd” in the Start menu.
- Right-click on “Command Prompt” and select “Run as administrator”.
- In the Command Prompt, type this command and press “Enter”:
mklink /D "C:\Users\user\AppData\Local\Google\Chrome\User Data\Default\Cache" "E:\ChromeCache"
Make sure to use the correct paths for your system.
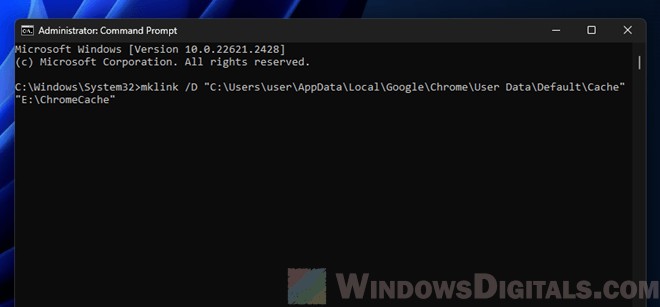
- A symbolic link called “Cache” will be made in the “Default” folder, pointing to the new cache folder on disk E.
Now, when you open Chrome, it will save its cache files in the new place you set.
To go back to how things were, just delete the symbolic link you created in the “Default” folder, and make a new “Cache” folder in the original place. This will bring back the usual cache location for Google Chrome.