Having a hard time updating your computer to Windows 10 or Windows 11 because you’re running out of space? Don’t worry, it’s a super common problem for users with low disk space on their computers. The update process needs room to download and store files, which can be a tight squeeze if your hard drive is nearly full. But there’s a workaround: changing where Windows Update files download can solve the space issue.
In this guide, we’ll show you how to change the Windows Update download location, possibly to another drive with more disk space, using a technique called Symlink. This way, you can update your PC without worrying about available empty space anymore. In addition, we’ll make sure all the screenshots and steps are applicable to Windows 11 too.
Also see: How to delete Windows Update files in Windows 11
Page Contents
Why change the download location for Windows Update?
When updating Windows 11 or 10, it first downloads files to your primary hard drive, usually the C:\ drive. But if this drive is full, especially during a big update, you might meet an issue because there’s no room for the installation files. To fix this, we’ll show you how to change the download location to a drive with more space, so the updates can continue.
Steps to change the Windows Update download location
Step 1: Stop the Windows Update service
Firstly, you need to stop the Windows Update service so that it will not interfere with the changes and can recognize it later when you restart the service.
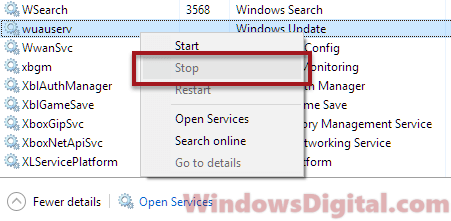
- Right-click on your taskbar and pick “Task Manager”.
- Head to the “Services” tab.
- Find the service named “wuauserv”.
- You might want to sort by name to find it easier.
- Right-click on “wuauserv” and choose “Stop”.
Step 2: Change the old path and create a new Windows update download location
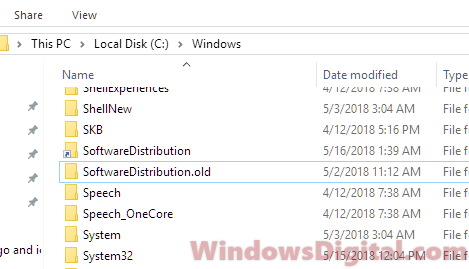
- Rename the place where Windows 11 or 10 keeps its update files from
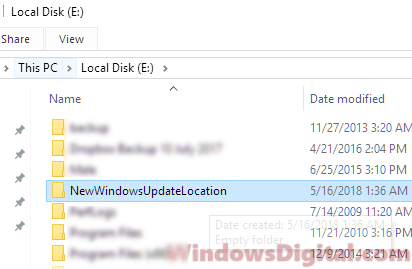
C:\Windows\SoftwareDistributiontoC:\Windows\SoftwareDistribution_old. - Make a new folder on a drive with more room for the updates, like
E:\NewWindowsUpdateLocation, or whatever you prefer.
Step 3: Create a symlink to connect the two paths
- Open Command Prompt as admin by searching for it and choosing “Run as administrator”.
- Type in this command:
mklink /j C:\Windows\SoftwareDistribution E:\NewWindowsUpdateLocation
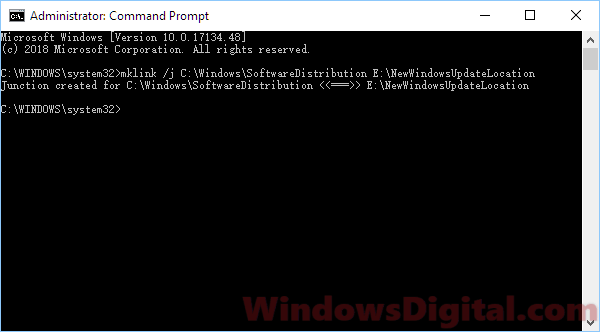
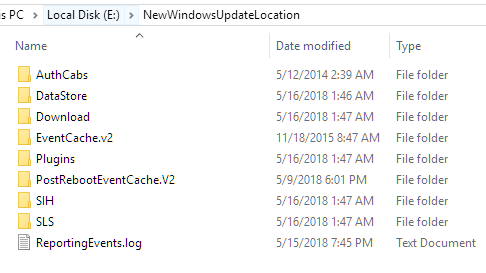
When you see “Junction created,” it means the new symlink is ready. It might look like updates still go to the old place, but they’re actually saving to the new location you created.
Optionally, you can move all the old update files to your new location so Windows doesn’t re-download them. Or, if you prefer, you can delete them from the old spot if they’re not needed anymore.
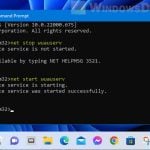
Step 4: Restart the Windows Update service
Follow the steps below to restart the WU service:
- Go back to Task Manager, click the “Services” tab.
- Find “wuauserv“, right-click it, and hit “Start”.
You can now try to run Windows Update again by going to Settings > Update and Security > Windows Update. Then, click on “Check for Updates.”
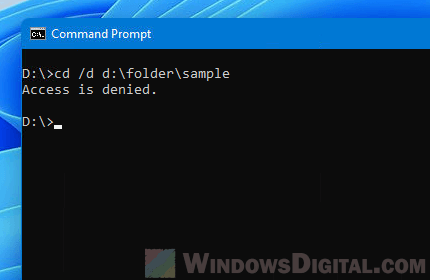
If you see an “Access is Denied” error when you enter the command in CMD, even if you run the Command Prompt as an administrator, or if you can’t rename the Software Distribution folder in C:\Windows, boot your Windows into safe mode and repeat the steps again. This should help if Windows Update can’t be stopped in the previous session or if you have a problem with your admin privileges in Windows 11 or 10.
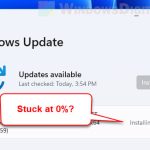
Common issue after changing the download location
After you change where Windows Update downloads stuff, you might hit a snag. Even if you think you’ve got it all set up perfectly, sometimes Windows Update acts like it doesn’t know about the new spot and won’t start downloading updates. It can be annoying, but this usually happens if the symlink wasn’t done right or Windows still thinks it should be looking at the old location.
To sort this out, go over the symlink command you used and check that it really points from the old update folder to the new one. Also, it’s smart to restart your computer after you set up the symlink. Doing this gives Windows a clean slate to notice the new update path.