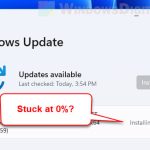
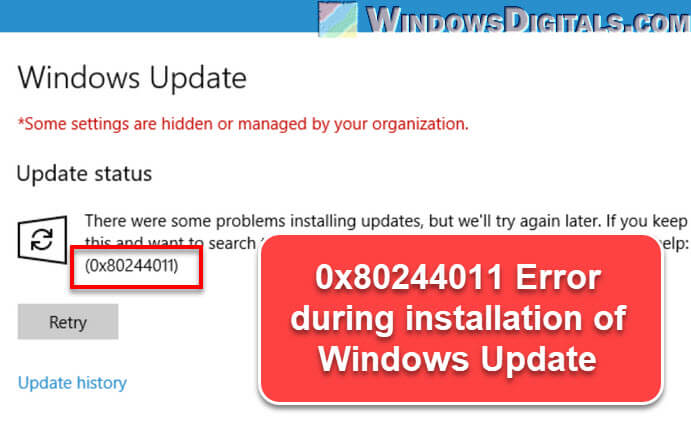
Letting Windows run its Windows Update is very important because it helps with security, speed, and how well your PC works overall. But sometimes, updating doesn’t always go as planned. You might see the 0x80244011 error code when you try to check for updates or during the update installation. In this guide, we’ll talk about what the error code actually means, why it occurs, and how you can fix it.
Also see: How to Restart Windows Update Service on Windows 11
Page Contents
Why you might see the 0x80244011 error code in Windows Update
The 0x80244011 Windows Update error code can come up for several reasons:
- Downloaded update files might be corrupted because of unexpected shutdowns, conflicts with other software, or malware attacks. Learn more: How to Delete Temporary Windows Update Files in Windows 11.
- If the parts of Windows that manage updates aren’t working right, you might see this error.
- Network problems, like bad internet connections, issues with a proxy server, or firewall restrictions, can also cause this error. These issues might mess up the update files if the download keeps stopping and starting.
- Not having enough space on your computer can stop Windows Update from working, causing this error. See also: Windows 11/10 Needs More Space for Windows Update.
- Sometimes, other software on your computer can get in the way of Windows Update.
How to fix the 0x80244011 Windows Update error
You might need to use more than one method to actually fix the problem.
Reset Windows Update components
Windows Update needs several services and folders to work right. If these parts have problems, you might see errors like 0x80244011. Resetting these parts can often help. Here’s how you can do it yourself:
- Press the Windows key, type “cmd” to look for Command Prompt. Right-click on it and choose “Run as administrator”.

- First, you need to stop the services that are related to Windows Update. Type these commands one by one into Command Prompt, hitting Enter after each:
net stop wuauserv
net stop cryptSvc
net stop bits
net stop msiserver
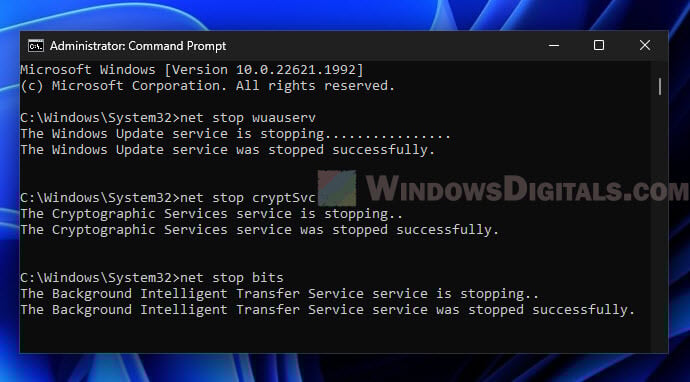 Wait for a message after each command that tells you the service has stopped.
 - Next, you need to change the names of two important folders that store update files. Type these commands:
ren C:\Windows\SoftwareDistribution SoftwareDistribution.old
ren C:\Windows\System32\catroot2 catroot2.old
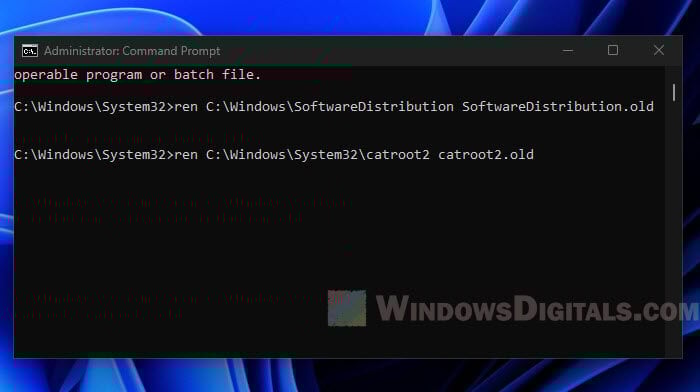 This adds “.old” to the end of the folder names. If Windows Update has trouble with the current folders, it will make new ones the next time it tries to update.
 - Now, you need to turn the services you stopped back on. Type these commands:
net start wuauserv
net start cryptSvc
net start bits
net start msiserver
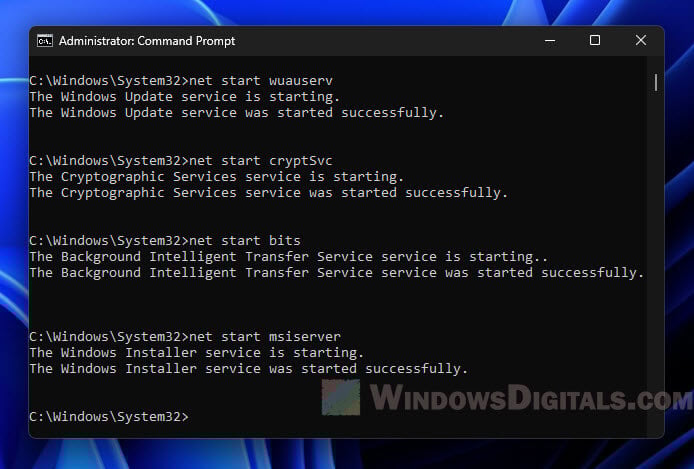 Wait for a message after each command that tells you the service has started again.
 - After you’ve done all the commands, close Command Prompt or PowerShell.
- Restart your computer to make the changes work.
Useful tip: How to Change Windows 11/10 Update Download Location
This method means you’re doing a manual reset, which is a bit more involved than other solutions. Make sure to follow each step closely.
After you rename the SoftwareDistribution and Catroot2 folders, Windows will make new ones when it tries to update again. If you don’t have any more problems with updates, you can delete the “.old” folders to save space.
After you do these steps and restart your computer, try Windows Update again. The 0x80244011 error should hopefully be gone.
Related issue: Windows 11 Update Stuck at 0% or 100% (How to Fix)
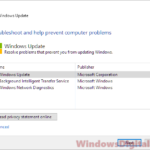
Run Windows Update Troubleshooter
Windows has some built-in tools that can automatically find and fix different problems, including Windows Update issues. The Windows Update Troubleshooter can be very helpful because it often finds what’s wrong and fixes it without you needing to do much.
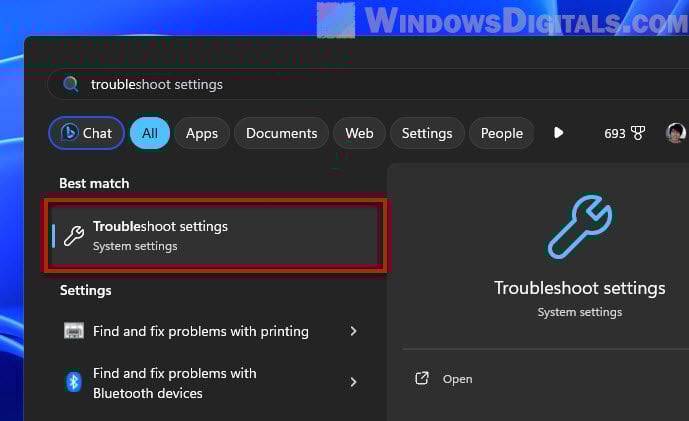
- Click “Start” and type “Troubleshoot” in the search bar.
- From the results, click “Troubleshoot settings”.
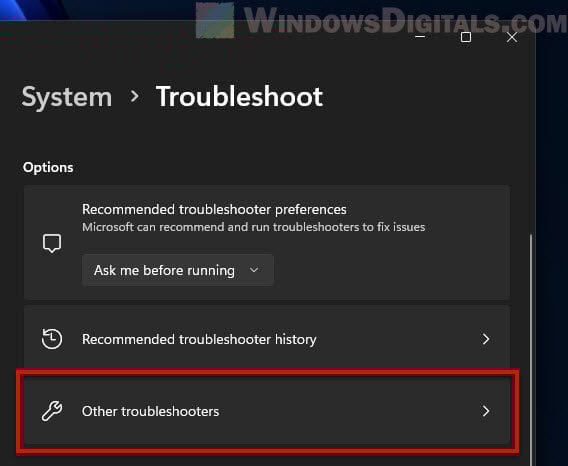
- In the right pane, select “Other troubleshooters”.
- Then, scroll down to “Windows Update” and click on “Run the troubleshooter”.
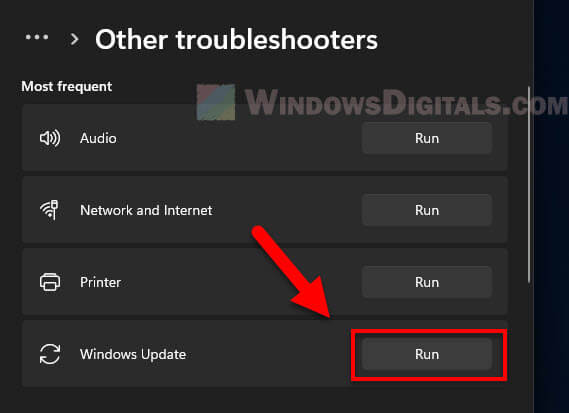
- Follow the on-screen instructions and let the troubleshooter detect and fix any issues related to Windows Update.
After the troubleshooter finishes, it’s a good idea to restart your computer. Then try to update Windows again to see if the 0x80244011 error is still there.
Linked issue: Windows Update Troubleshooter Not Working Windows 10/11
The Windows Update Troubleshooter is good at solving problems with corrupted system files, wrong update settings, or issues with update services. But if the error keeps happening, there might be more complex problems that need a different way to fix them.
Check your internet connection
A bad and unstable connection can slow down the update or mess up the update files (if it has too many pauses), and this can cause update errors like 0x80244011.
- First, try visiting a few websites to see if they load okay. You can also use online tools like Speedtest.net to check your internet speed and stability.

- If you’re on Wi-Fi and having trouble, try using an Ethernet cable to connect your computer directly to your router or modem. Wired connections are usually more reliable and faster.
- If you’re using a VPN or proxy server, it might be causing problems with Windows Update. Try turning it Sometimes, the problem is with your Internet Service Provider. Check if they’re having an outage or doing maintenance that could affect your connection.
- Turning off your modem and router for a minute and then turning them back on can fix many internet problems. Wait for all the lights to come back on and then try updating again.
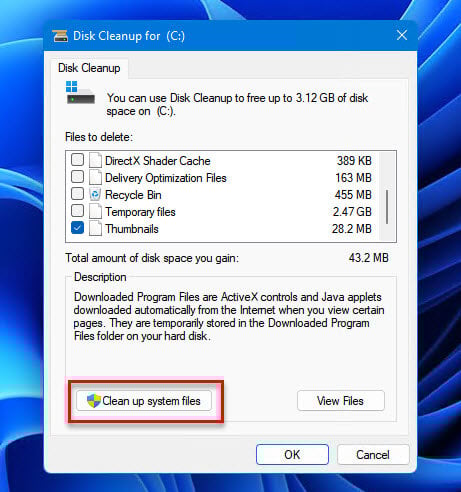
Free up some disk space
Windows updates need a lot of space to download and install. If your main drive (usually the C: drive) is full, it can stop the update and cause errors like 0x80244011.
Recommended read: How to Clean C: Drive in Windows 11
Do a System File Check (SFC)
Broken or missing system files can cause many different problems, including those with Windows Update. The System File Checker (SFC) is a tool in Windows that checks for and fixes these files. Try to run an SFC scan on your PC to see if it fixes the issue.
- Open “Command Prompt (Admin)”.
- Type
sfc /scannowand press Enter. - Let it finish and follow any instructions to fix corrupted files.
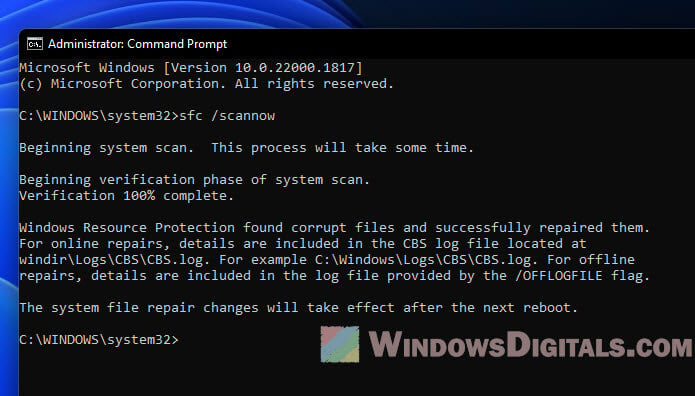
Restart your computer after the scan to make sure all changes are applied.
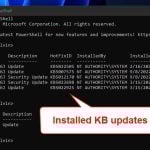
If SFC can’t fix some files, you should then run the DISM tool to repair the system image. To use DISM, type this command:
Dism /Online /Cleanup-Image /RestoreHealth
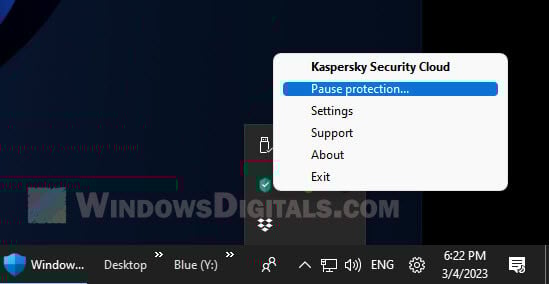
Temporarily disable third-party software
Software from other companies, especially antivirus and system optimization tools, might get in the way of Windows Update. This can cause errors like 0x80244011. Turning these programs off for a while can help you see if they’re actually causing the problem.