Uploading files online is something we all do a lot. It could be sending our resume to a job site or putting a document on cloud storage. Sometimes, when we try to upload a file, the first folder that pops up isn’t the one we want.
In this guide, we’re going to talk about how this default folder thing works, how to change it in Chrome on Windows 11/10, and throw in some extra tips to make uploading files easier.
Page Contents
How does the default upload folder work?
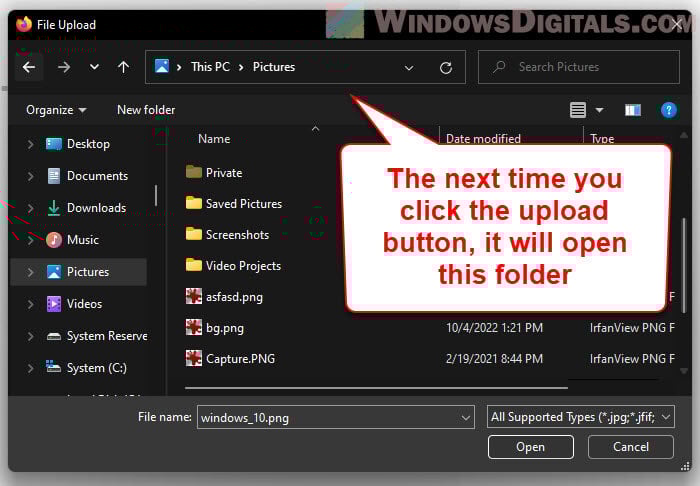
The default upload folder in Google Chrome is basically where you ended up the last time you uploaded something. Chrome remembers this location and brings it up every time you hit the browse button on a website to upload a file.
This is supposed to make things quicker for you, so you don’t have to click through a bunch of folders each time you want to upload something. But if you’re someone who uses lots of different folders or just prefers another folder to start in, this feature might not be super helpful.
Also see: Change Win + E Shortcut to Open a Different Folder or App
Knowing how websites manage file uploads can shed some light on why browsers like Chrome remember your last upload folder. Many sites use JavaScript or similar things to handle uploads, and these scripts lean on the browser’s file upload window. This is how the browser knows to go back to that last-used folder every time.
How to reset or change the default upload folder?
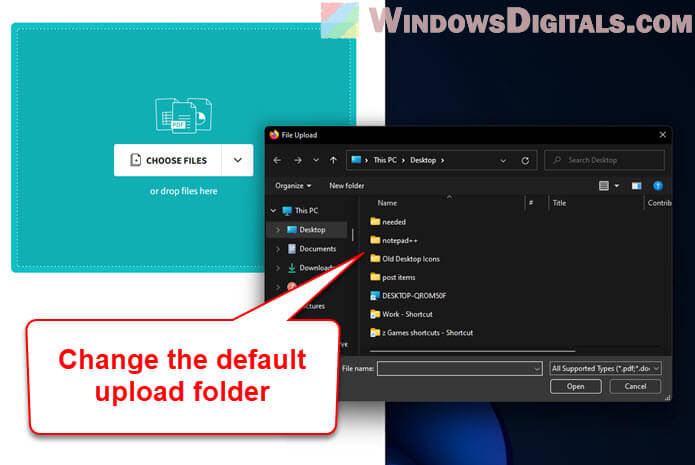
While there’s no straight-up way to pick a default upload folder in Chrome or Windows, you can kind of set one by choosing to upload a file from the folder you like. Here’s how to do it:
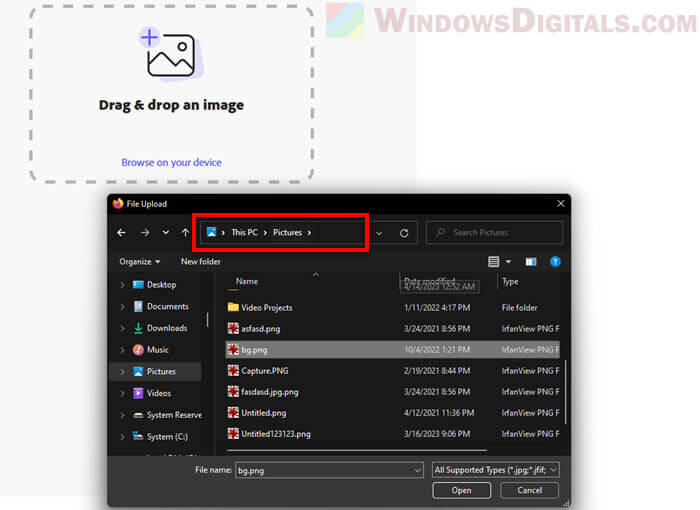
- Go to the website where you need to upload something.
- Hit the browse button to open the file upload window.
- Find and open the folder you want to use from now on.
- Pick a file from that folder and upload it.
By doing this, Chrome will catch on and start using that folder as the go-to spot next time you want to upload something on that site. Remember, this setting is per website, so you might have to do this trick for each site you use.
Useful tip: Create Website or Application Shortcut on Desktop using Chrome
Can I change the default upload folder in Windows?
Nope, you can’t pick a default upload folder directly in Windows or any web browser, like Chrome. Since each website keeps track of your last upload folder on its own, there’s no one setting that fixes this for every site. To switch up the default folder for a site, just upload a file from the folder you prefer, like we talked about before.
Recommended guide: How to Add Shortcut to Chrome New Tab Page
Some other tips you might want to consider
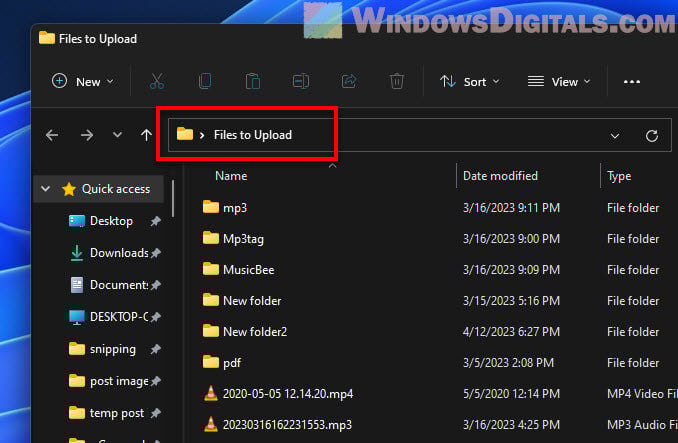
Organize your files neatly so they’re easy to find and upload. Use a clear naming system and structure for your folders. You might also want to move files you often upload to one specific folder.
If you need to upload lots of files from the same folder (if the website allows you to do so), you can use the Ctrl key to select multiple files at once.
Also, consider using a cloud file syncing service like Google Drive, Dropbox or Microsoft’s OneDrive to sync your files across devices. Syncing your files this way is much easier compared to manually uploading them (if your original upload intention is to backup your files).
Try to create shortcuts for folders you often open for uploading to some common places like the Desktop or the Quick Access place. This way, you can get to the folder quickly even when the browser is opening a different folder when you upload.
If you’re handling complicated team projects, use a tool or platform that allows you to easily upload, share, and keep track of files between your team members. These platforms should have more options when it comes to uploading files, which should make things more convenient.
Too long; didn’t read
Although you can’t directly set a default upload folder in Chrome or Windows, you can kind of influence it by simply uploading a file from the folder you want to set as default on a website. Then, Chrome will remember that folder and open the same folder the next time you want to upload something on that website.
There is no other way around unless you use a browser extension to help you with that, but that wouldn’t be a very secure option since uploading files is pretty sensitive. If you don’t mind the safety, you can search around to see if there is an extension that could help with changing the default upload folder for certain sites.