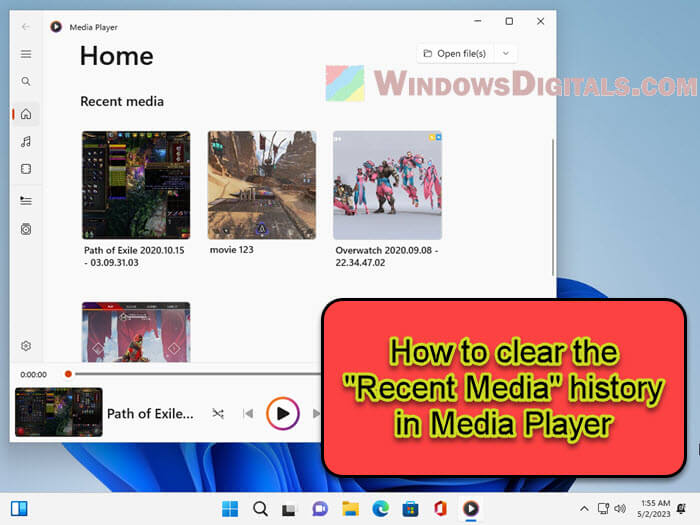
Microsoft upgraded the old Groove Music to something called the new Media Player in Windows 11. It can do a pretty good job in playing songs and videos of most formats, but it also remembers what you watched or listened to and has a list of history shown right on the Home of the player. Well, some people might not like this because of different reasons. If you’re bothered about this, in this guide, we’ll show you how to clear the “Recent Media” history using four different methods.
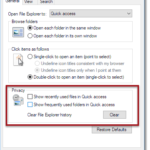
Also see: How to Disable Recent Files and Frequent Folders in Windows 11
Page Contents
Method 1: Deleting the MediaPlayer.db-wal file and setting it to read-only
This first trick is like saying “no more” to the Media Player for keeping tabs on your watchlist. You’ll delete a file named MediaPlayer.db-wal and then make it so the player can’t write to it anymore. This means your secret watching habits will stay secret.
- Open File Explorer and paste this in the top:
%localappdata%\Packages\Microsoft.ZuneMusic_8wekyb3d8bbwe\LocalState - Find and delete the
MediaPlayer.db-walfile.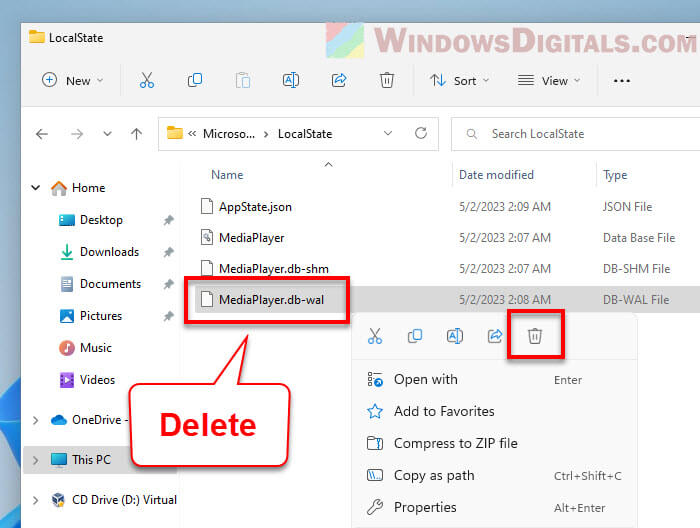
- Play any video or song in Media Player. It makes a new
MediaPlayer.db-walfile. - In Media Player, go to recent media and remove the file you just played.
- Back to the
MediaPlayer.db-walfile, right-click it, hit Properties. - Tick the Read-only box, then hit Apply and OK.
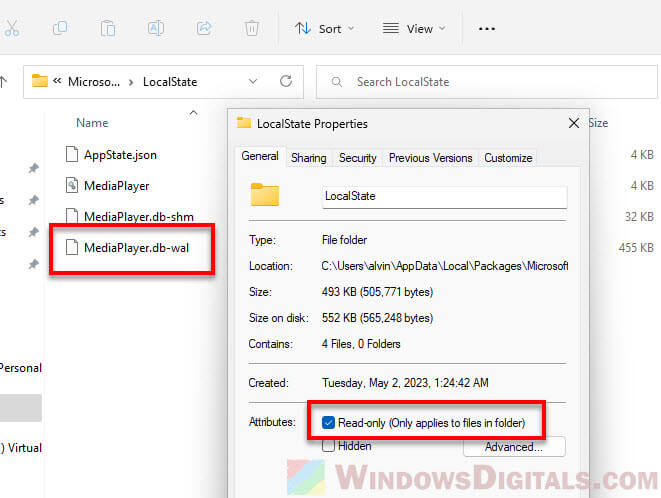
Now, the Media Player can’t remember any new stuff you watch or listen to. Your privacy is safe.
Related resource: How to Clear Timeline Activity History in Windows 10 or 11
Method 2: Deleting files from the “Transcoded Files Cache” folder
If you don’t mind to do it manually, this next way lets you clean out the Media Player’s memory by yourself. You’ll go into a folder and delete some files.
- Head to this place in File Explorer:
C:\Users\username\AppData\Local\Microsoft\Media Player\Transcoded Files Cache. Swap “username” with your own. - Delete all files there to forget the recent stuff.
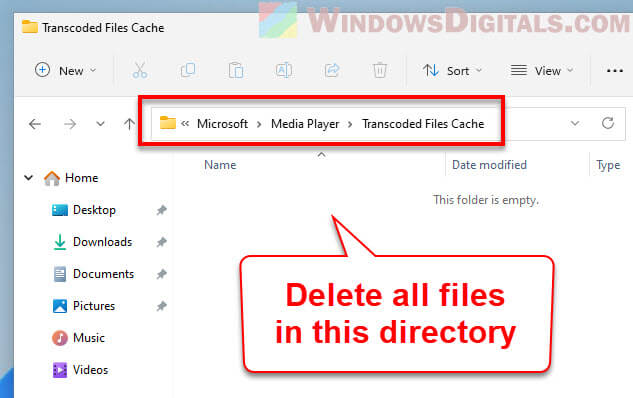
Tip: Make a shortcut to this folder on your desktop so you can clear things out fast next time.
Useful tip: How to Add Subtitles to Video in Windows 11
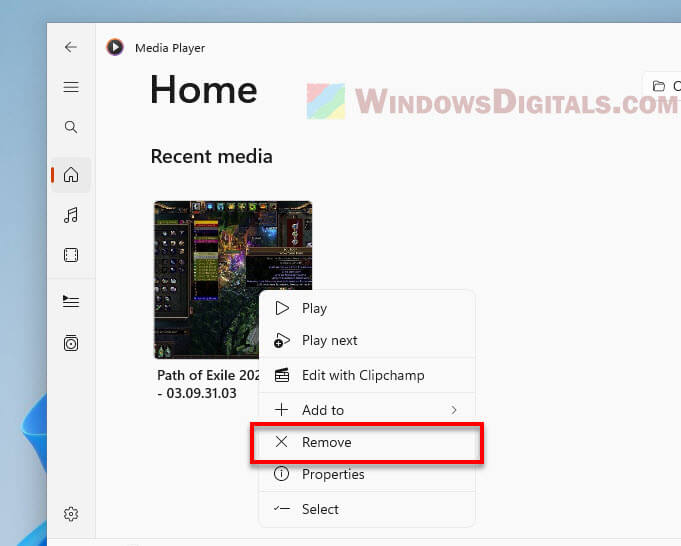
Method 3: Removing videos from the Media Player’s Home tab
If you just want to pick and choose what to forget, this way’s for you. You can delete certain things right from Media Player.
- Open the Windows 11 Media Player.
- Click on Home on the right.
- Hover over a video thumbnail. You’ll see a checkbox.
- Tick the box for any video you want to forget, or hit Ctrl + A to select all.
- At the top, hit Remove to clear them out.

This is great when you want to keep some stuff but ditch the rest.
Related issue: Windows 11 Media Player Closes Immediately After Opening
Method 4: Resetting the Media Player app
Resetting the Media Player is like hitting the big red button. It wipes everything clean – your history and any changes you made to the app. Use this when you really want to start fresh.
- Hit Search in the taskbar, type Media Player, and right-click the app from the results.
- Choose App Settings.
- Scroll to Reset and press the button. You’ll see a warning about deleting app data and going back to square one.
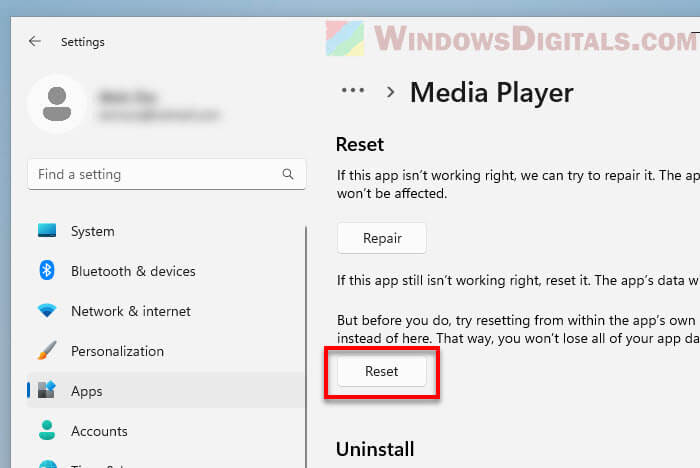
- Hit Reset again if you’re sure.
After this, your Media Player will be like new, with no memory of past plays.
Here’s what I think
The new Windows 11 Media Player is cool, but it’s a bit too nosy with your watch history. It might keep things you really don’t want it to store. If ever in doubt, the steps above can help you clear the video watched history and keep things private. And if this player isn’t quite your cup of tea, there are always other better options out there like VLC or KMPlayer.