Windows 10 and Windows 11 introduced a timeline feature that stores your past activities and allows you to go back to them and continue where you left off. However, as time passes, this timeline history may get cluttered and may need a cleanup. This guide will show you how to clear timeline activity history in Windows 10 and Windows 11.
Also see: How to Disable Timeline Feature (Task View) in Windows 10
Page Contents
How to access the Timeline feature
To access the timeline feature, click on the Task View icon on the taskbar or press Win + Tab keys on your keyboard. If you have been browsing websites or opening documents in Microsoft Office apps, you would see them listed on the timeline sorted by the date you visited them.
Clear Timeline activity history
If you have been browsing a lot recently or have been working on many documents on Microsoft Word, the timeline could look messy with all the activities the timeline collected in the past, and it becomes difficult to look for an activity from the list. If you want to clear the timeline activity history in Windows 10 or Windows 11, follow the steps below.
- Go to the Start menu.
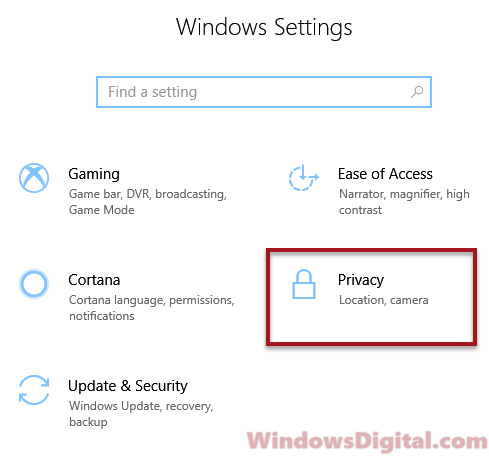
- Click on the gear icon to open Settings.
- Select Privacy. In Windows 11, the setting is called “Privacy & security“.
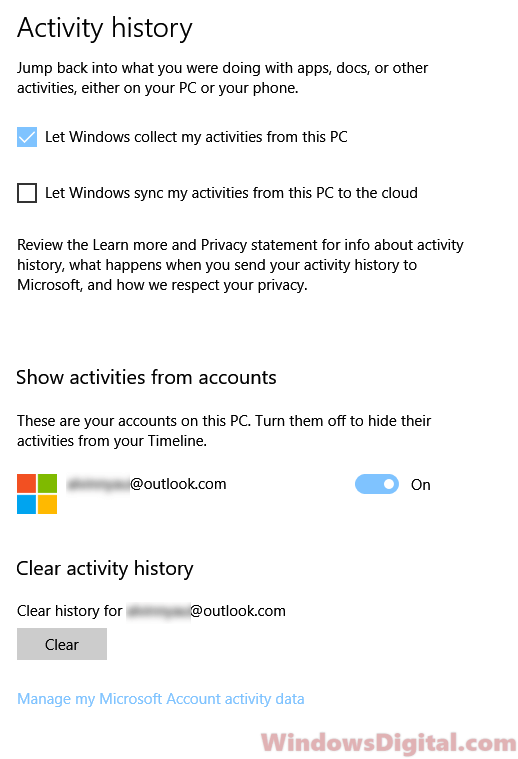
- On the left pane, select Activity History.
- Under Clear activity history, click on the Clear button to clear the timeline activity history in Windows 10 or Windows 11.
After clicking on the clear button, when you go back to the Task View / Timeline activity history, it should be empty by now. It will start collecting your activity history all over again.
Linked issue: Timeline Not Working in Windows 10/11 (Solved)
Clear button in Clear activity history is missing
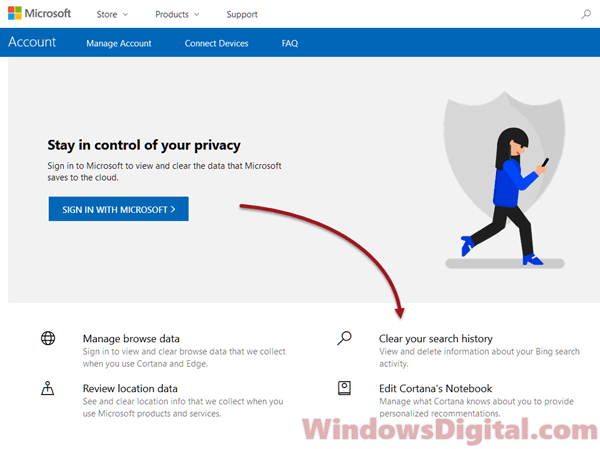
If you allow Windows to sync activities from your PC to the cloud using your Microsoft account, the clear activity history button will be hidden. Since you’ve already synced your activities to your Microsoft account, you will have to clear it from the “Manage my Microsoft Account activity data” page.
The clear button is made for activity history that is stored locally on your computer and doesn’t get synced. As soon as you uncheck the “Let Windows sync my activities from this PC to the cloud” option, the clear button will appear again. To make it appear, switch to another setting page and then switch back to the Activity history page.
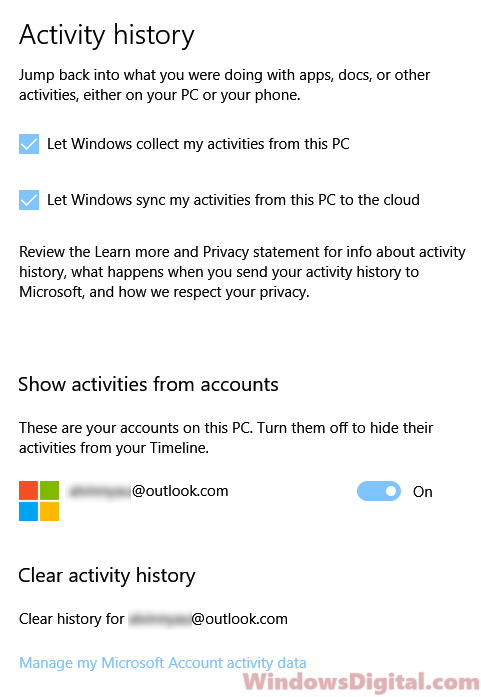
Alternatively, you can temporarily switch off the “Let Windows sync my activities from this PC to the cloud”, go to another setting page, and then come back to Activity history again. Click the Clear button. Then, re-enable the sync.
Note that doing this will clear only the local timeline activity history and delete the “pick up where you left off” items. It won’t clear data Microsoft has already collected from you if you’re using a Microsoft account and the sync was turned on. You will have to clear the search data manually from the Microsoft account interface by clicking the “manage my Microsoft account activity data” link as illustrated above.
How to disable the Timeline feature
If you find the Timeline feature distracting or prefer not to use it, you can disable it altogether. Here’s how:
- Open Settings.
- Click on Privacy.
- On the left pane, select Activity History.
- Under Show activities from accounts, turn off the toggle switch for “Store my activity history on this device.”
- If you have a Microsoft account, also turn off the toggle switch for “Store my activity history on the cloud.”
Once you disable the Timeline feature, you won’t be able to use it to go back to your past activities, but your activity history won’t be stored on your device or in the cloud.
Some tips for using the Timeline feature
If you like using the Timeline feature, here are some tips to help you get the most out of it:
- Pin frequently used apps to the Taskbar to keep them easily accessible.
- Use the Search box in the Taskbar to quickly find a specific activity.
- Group related activities together by clicking on the New desktop button in the Task View and opening apps or websites in a new desktop.
- Customize the Timeline feature by going to Settings > System > Multitasking and adjusting the options under the Timeline section.