If your Windows 11 screen is going nuts, blinking, and the taskbar keeps showing up and then vanishing like it’s playing hide and seek, especially after a Windows update, it sounds like you’re having a tough time. This weirdness keeps happening even if you try to stop and start explorer.exe through the Task Manager. This article will walk you through why this issue happens and show you how to fix it.
Linked issue: Windows 11 White or Black Screen with Cursor (Fix)
Page Contents
What causes the screen to flash and flicker after logging in
The main reason for this chaos usually comes from a software clash following a Windows update. This clash might involve third-party apps that change how the Windows look, like the taskbar, context menu, explorer.exe, and File Explorer.
The update might introduce changes that don’t sit well with these third-party tools, leading to an unstable interface that flashes, flickers, or crashes explorer.exe. Sometimes, the troublemakers can be malware or damaged system files.
Also see: Can’t Click Anything on Desktop in Windows 11/10 (Fix)
Fix 1: Turn off Explorer Patcher
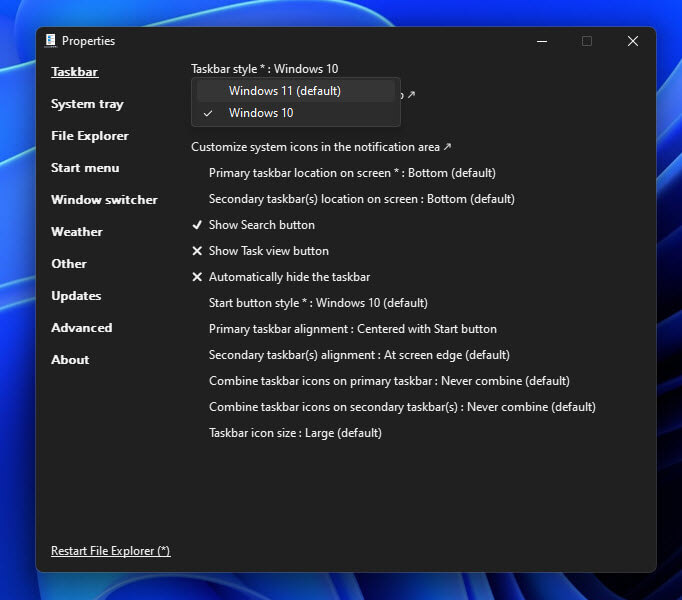
If you’re using a third-party app called Explorer Patcher, here’s something for you. Explorer Patcher changes how your Windows interface, like the taskbar and context menu, looks, trying to make Windows 11 look like Windows 10. But, its deep ties with explorer.exe might not play nice with recent updates, causing your screen to freak out.
Here’s how to turn off Explorer Patcher using Command Prompt (CMD):
- Bring up the Task Manager (Ctrl + Shift + Esc).
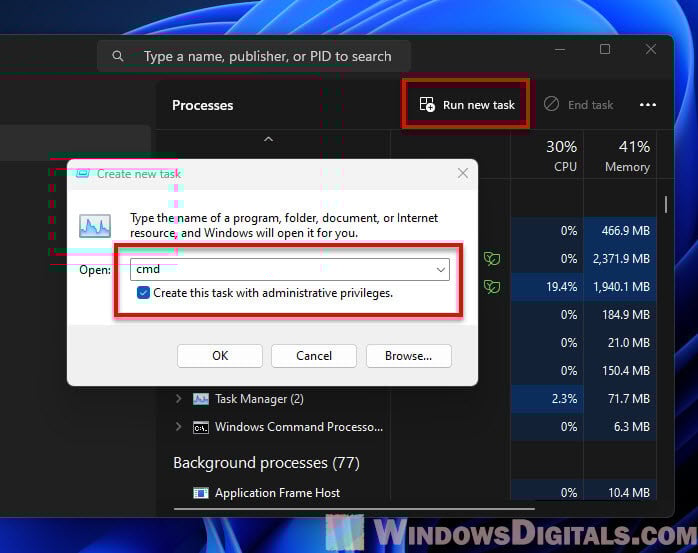
- Hit “File” > “Run new task“.
- In the new window, type “cmd” and tick the box for “Create this task with administrative privileges”.
- After CMD pops up, type this command:
move c:\windows\dxgi.dll c:\windows\dxgi.dll.backupand press Enter.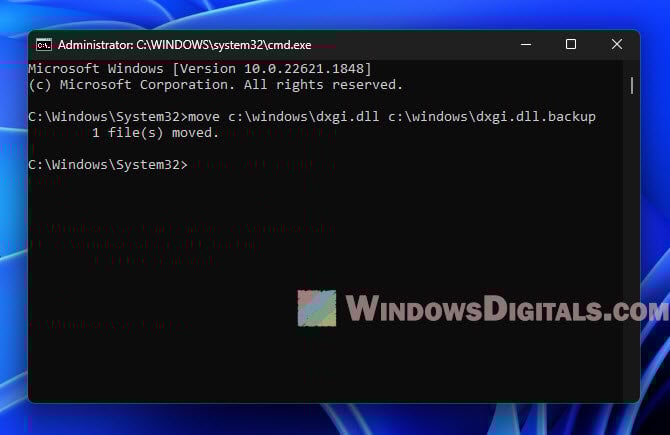
By doing this, you’re renaming the .dll file that Explorer Patcher needs to work, essentially turning it off. After you restart your computer, see if the flickering has stopped. If it does stop, it means Explorer Patcher was causing the clash with the updated Windows 11.
Related resources:
- Restart Explorer.exe with CMD or PowerShell in Windows 11
- Explorer.exe Unknown Hard Error
- Windows 11 Taskbar is Frozen (How to Fix)
Fix 2: Look for other interface-changing tools
Besides Explorer Patcher, there are other tools or hacks that change parts of Explorer, like File Explorer. If you’ve used any of them, they might be causing explorer.exe to crash and your screen to go berserk.
You should turn off or uninstall these tools to see if it fixes the problem. You’ll likely need to use CMD or PowerShell to force delete or move the files these tools use. The steps might differ for each tool, so it’s hard to give one solution that fits all.
If you’re stuck, try searching on Google. Say you’re using a tool called “XYZ,” you could look up “how to uninstall XYZ using cmd” or “how to disable XYZ using PowerShell”. You’ll probably find instructions just for your tool. The key here is finding a way to turn off the software without the need to use Windows Explorer (since you might not be able to use it due to constant screen flickering).
Other problem: Task Manager Not Responding in Windows 11 or 10
Fix 3: Turn off Malwarebytes
Some users on Reddit have pointed out that Malwarebytes, an anti-malware software, might be the cause of the flashing screen. This could happen if the software messes with system processes, causing things to get shaky.
To see if Malwarebytes is the culprit:
- Restart your computer and hold the Shift key while clicking “Restart” to get into Safe Mode.
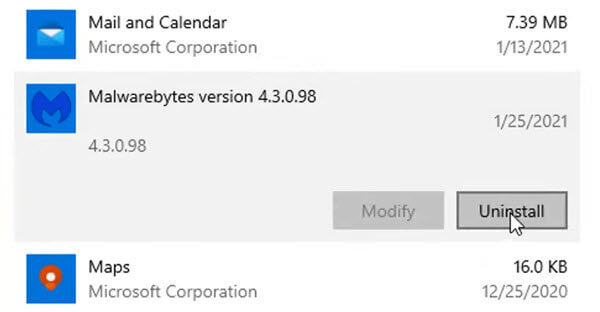
- In Safe Mode, go to “Control Panel” > “Uninstall a program”, find Malwarebytes, and hit “Uninstall“.
Restart your computer in normal mode and check if the flickering has stopped. If yes, you might want to switch to another anti-malware program or look for an updated version of Malwarebytes that doesn’t have this issue.
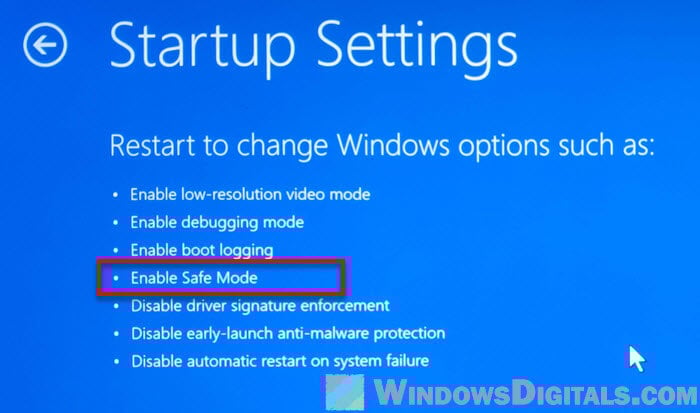
Fix 4: Start in safe mode
Some problems might just go away by starting your computer in Safe Mode and then going back to normal mode. Safe Mode uses only the essential drivers and software. Restarting your computer after that might fix small glitches by starting everything fresh.
Fix 5: Use System File Checker and DISM
Corrupted system files can mess up a lot of things, including making your screen flicker. Windows has two tools, System File Checker (SFC) and Deployment Image Servicing and Management (DISM), that can look for and fix such problems.
Open CMD with admin rights through the Task Manager and run these commands:
- For SFC, type
sfc /scannowand press Enter. SFC will check and fix any damaged system files.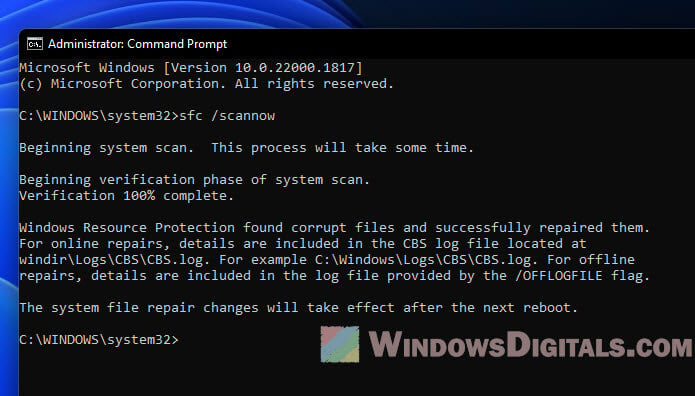
- For DISM, type
DISM /Online /Cleanup-Image /RestoreHealthand hit Enter. DISM will repair issues with the system image.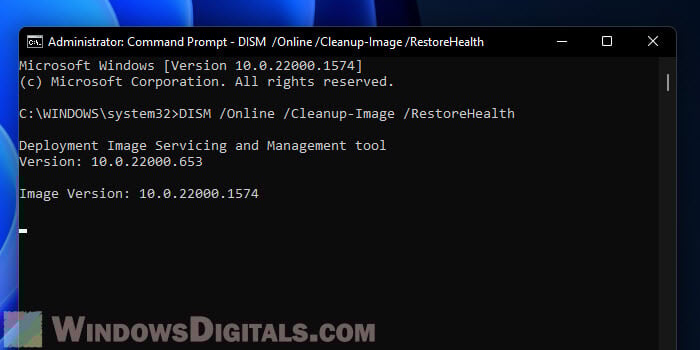
Fix 6: Get rid of recent updates
Although Windows updates are meant to make things better, sometimes they cause more trouble due to compatibility issues. If your screen started freaking out after an update, removing it might help:
- Press Ctrl + Alt + Del.
- Click the “Power” button at the bottom right of the screen.
- Hold the Shift key while choosing “Restart“.
- On the “Choose an option” screen, go to “Troubleshoot” > “Advanced options” > “Uninstall Updates“.
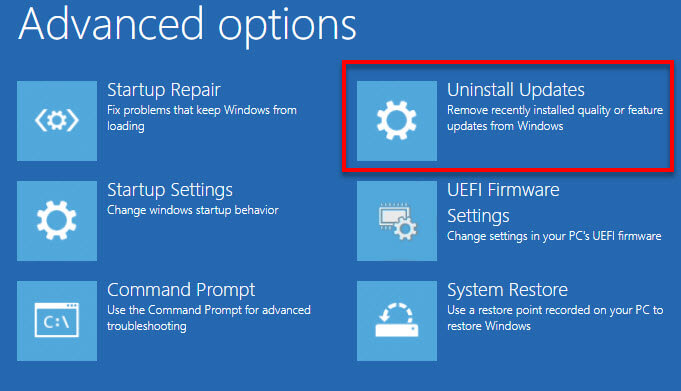
Pick the latest update and remove it.
Fix 7: Reset or reinstall Windows
If nothing else works, your last option might be to reset or reinstall Windows. This will take your system back to how it was when it was new. Don’t forget to back up your important files first.
- On the Windows login screen, hold the Shift key and click the “Power” button at the bottom right, then “Restart“. Your computer will reboot into the Windows Recovery Environment (WinRE).
- In WinRE, select “Troubleshoot” > “Reset this PC“.
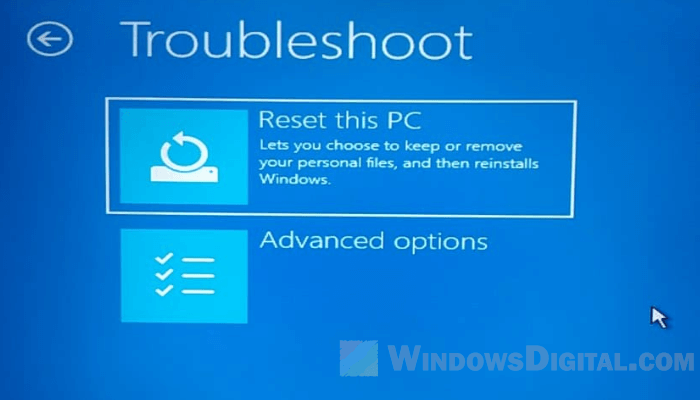
- Choose between “Keep my files” and “Remove everything“. Pick “Keep my files” if you want to save your personal stuff. Choose “Remove everything” to wipe it all.
- Just follow the steps on the screen to finish up.
A quick recap
Most of the time, when Windows 11 desktop screen keeps flashing and flickering, it’s because of a clash between explorer.exe and some third-party apps or tools, especially after a big Windows update. These updates are meant to make things better or safer, but sometimes they end up causing unexpected issues.
The first step to fixing this is to think about any apps or software that might be messing with Windows Explorer. Once you figure it out, try turning them off using CMD or by starting in Safe Mode. This usually solves the problem and gets things back to normal.