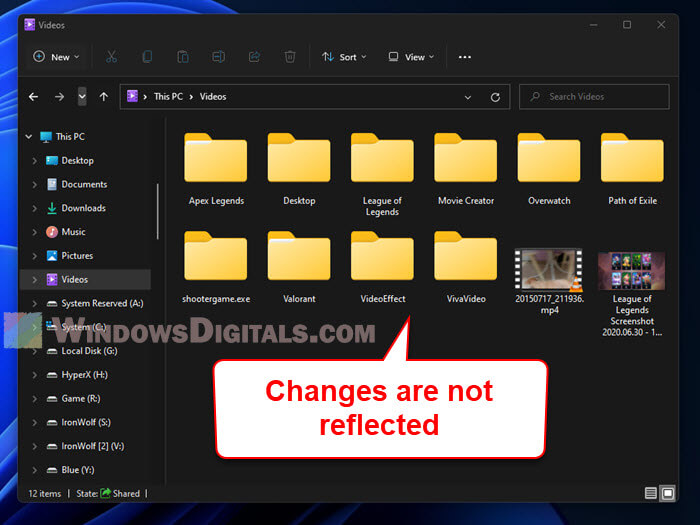
Windows Explorer, or more modernly known as File Explorer in Windows 11, is the very basic thing in Windows that lets you browse, find and sort your files and folders. Sometimes, you might notice that it doesn’t refresh automatically and show you your changes right away, for example, new files you’ve made or old ones you’ve renamed or deleted.
When that happens, you can only see your changes by manually right-click and refresh it or pressing F5. This guide will talk about why this happens and how you can solve it.
Page Contents
Why does Windows Explorer not refresh automatically?
A bunch of different reasons can cause Windows Explorer to lag behind with updates. A big culprit can be a network folder you’ve pinned but can’t access or no longer in use anymore. Even if your changes have nothing to do with that folder, Explorer might still get stuck because it’s trying to check on that pinned folder and end up failing.
In other cases, some software you installed can conflicts with File Explorer’s settings and cause it glitch out. Or maybe some important system files got damaged or went missing. Also, if your folder view settings are incorrectly set, Explorer might not update like it should.
Suggested read: How to Speed Up Search in Windows 11 File Explorer
How to fix the Windows Explorer doesn’t refresh
Press the F5 to refresh
If you need a quick fix, hitting F5 refreshes the Explorer window, showing any new changes. But, this is more of a band-aid than a solution; the problem might come back later.
For tips on previewing files, images, and videos in File Explorer, check this out: How to Preview Files, Images and Videos in File Explorer on Windows 11.
Restart Windows Explorer (explorer.exe) or reboot computer
Restarting Windows Explorer or your computer can sometimes get things back to normal. Here’s a quick way to restart Explorer:
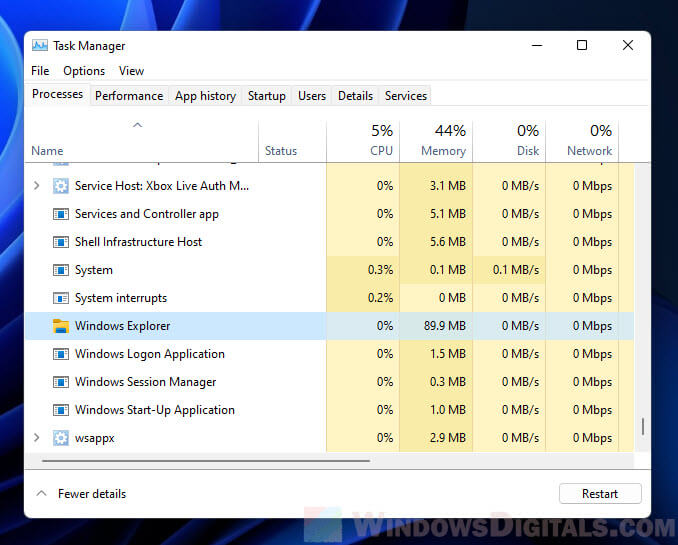
- Hit Ctrl + Shift + Esc to open Task Manager.
- Go to the “Processes” tab.
- Find “Windows Explorer” in the list.
- Click on “Windows Explorer” and hit “Restart.”
Unpin shared folder(s) from Quick Access
If a network folder pinned in Quick Access is causing issues because it’s no longer accessible, unpinning it might help. Here’s how:
- Open File Explorer.
- Right-click the problematic shared folder in Quick Access.
- Choose “Unpin from Quick Access.”
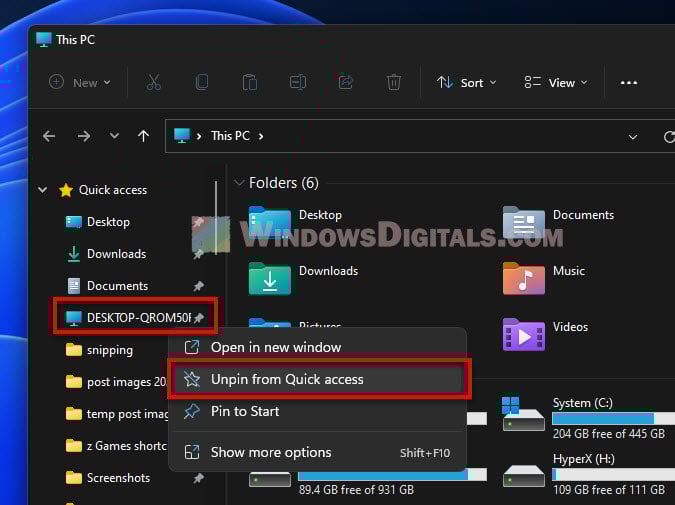
After unpinning, the folder won’t show up in Quick Access, fixing the refresh issue. If the folder becomes accessible again, you can pin it back anytime.
You might want to learn how to set File Explorer to open to ‘This PC’ by default on Windows 11: How to Make File Explorer Open to This PC on Windows 11.
Check for apps that might mess with File Explorer
Apps you’ve added to your computer can sometimes mess up how File Explorer updates itself. If an app changes system settings in a way that doesn’t play nice with Windows Explorer’s default setup, you might run into trouble. For instance, apps that tweak File Explorer’s look or mess with other parts of Windows 11, like the taskbar or Start menu, could be the culprit. To see if this is happening, try turning these apps off and see if that solves the issue:
- Press Ctrl + Shift + Esc to open Task Manager.
- Go to the “Startup” tab.
- Look through the list for any apps that start with your computer.
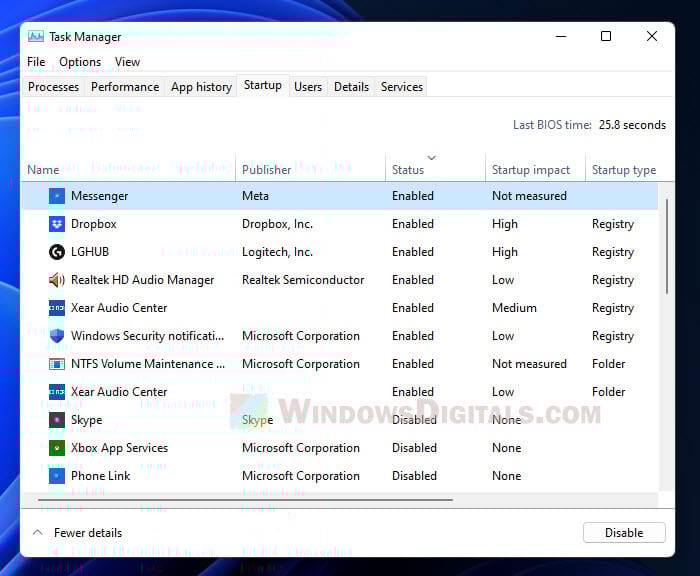
- Turn off any apps you recently added and think might be causing trouble.
- Restart your computer and see if that fixes it.
If stopping these apps helps, you might want to get rid of them or reach out to the app maker for a solution.
Be careful, though—some apps are important for your computer to work right. Only stop the ones you added recently and suspect are causing issues. If you’re not sure which app is the problem, try turning them back on one at a time and see if the problem comes back.
Reset folder views and restore folder options to defaults
Sometimes, messing up folder view settings can stop Windows Explorer from updating like it should. If that’s what’s happening, you can reset folder views and options to their default settings.
Please be warned that resetting the folder views will wipe out any custom settings like how you sort files or the size of columns. So, if you’ve tweaked these settings before, you might want to write down what you did or take a screenshot of the settings before resetting. That way, you can set things back up the way you like later on.
To reset the folder views in Windows 11 File Explorer:
- Open File Explorer.
- Click the three-dots menu and pick “Options”.
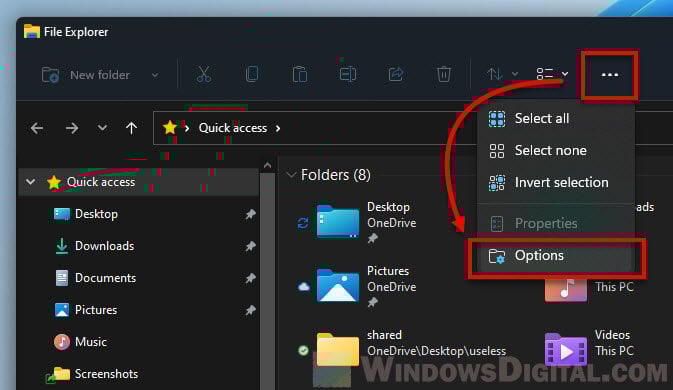
- In the Folder Options box, hit the “View” tab.
- Press “Reset Folders”.
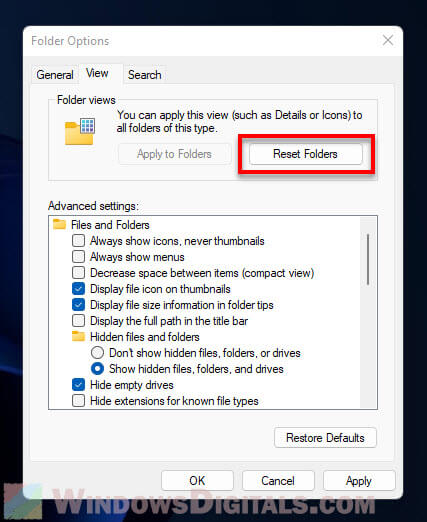
- This brings all folder views and changed options back to their defaults.
To restore folder options back to their defaults:
- Do the steps above to open the Folder Options box.
- Go to the “General” tab.
- Hit “Restore Defaults”.
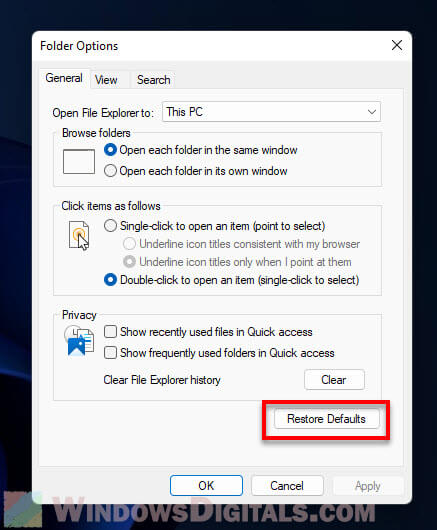
- Then, move to the “Search” tab.
- Click “Restore Defaults”.

- Press “Apply”, and then “OK” to save your changes.
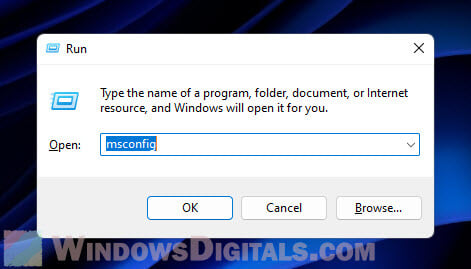
Run a clean boot without 3rd party services
Doing a clean boot will help you figure out if a third-party service is the culprit causing File Explorer to not refresh automatically.
- Press Win + R and type “msconfig” then hit Enter.
- In the System Configuration window, pick the Services tab and select “Hide all Microsoft services”.
- Choose “Disable all”.
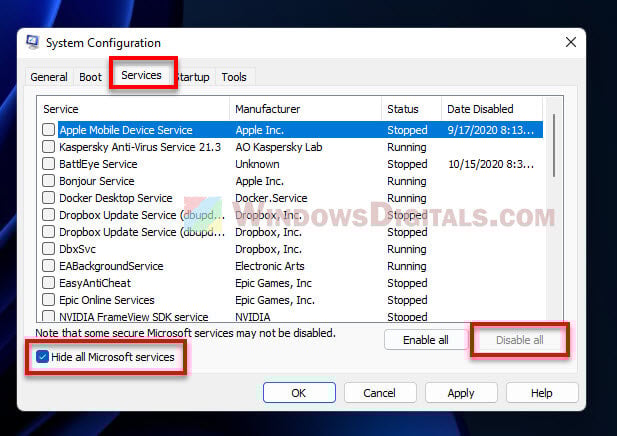
- Go to the “Startup” tab.
- Hit “Open Task Manager,” turn off all startup items, then close Task Manager.
- Restart your PC and see if the issue is still there.
- This method starts Windows with just the basics, which helps find any non-Windows apps or services that might be causing trouble.
Fix system files with SFC and DISM
The System File Checker (SFC) and Deployment Image Servicing and Management (DISM) tools can help finding and repairing corrupted system files. Here’s how to use them:
- Open Command Prompt as an admin.
- Type
sfc /scannowand hit Enter.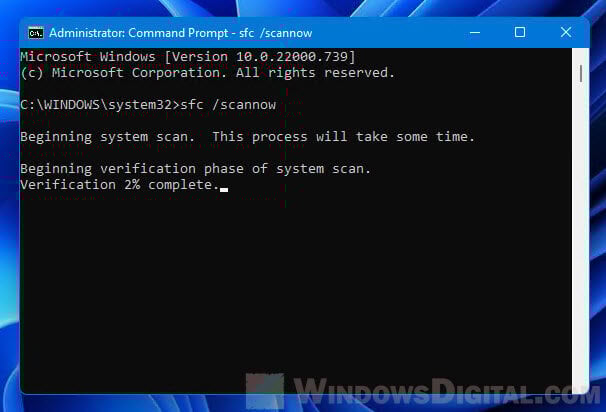
- After that, type
DISM /Online /Cleanup-Image /RestoreHealthand press Enter.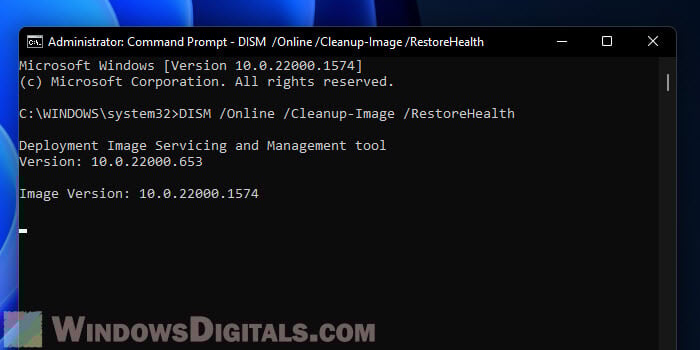
- This fixes any broken system files and gets back any that were missing.
- Restart your computer and check if the issue is resolved.
Some final words
Well, the Windows 11 File Explorer not refreshing automatically issue might seem like not a big deal, but figuring out what’s wrong is pretty difficult sometimes, especially when it happens all of a sudden. The problem could be from many things like apps that don’t play nice, messed up system files, or even security threats.
After solving your issues, it’s best to also run a full scan using a reputable antivirus program for your PC just in case the issue is caused by some nasty malware or virus. They can also be the reasons your File Explorer is acting weird.