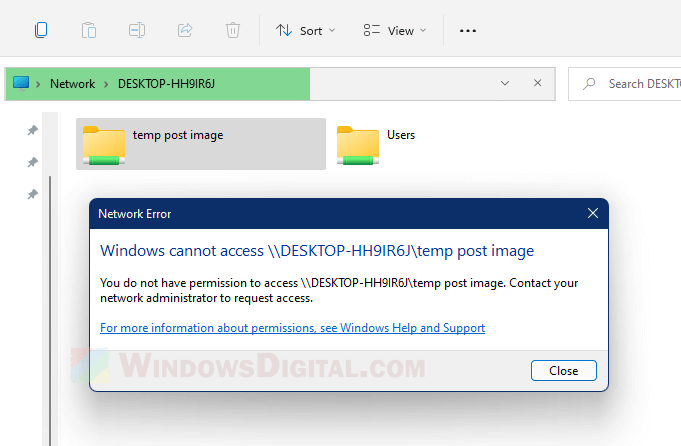
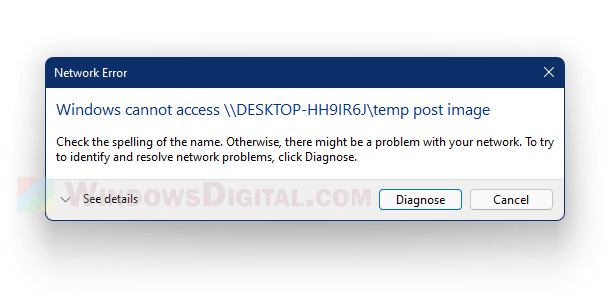
When you open a shared folder in a local network, if you receive the following error: “Windows cannot access \\DESKTOP-XXXXXXX\ shared folder – You do not have permission to access the shared folder. Contact your network administrator to request access” or “Check the spelling of the name. Otherwise, there might be a problem with your network“, try the solutions below.
First, check if you have properly turn on network discovery on the computer you share the folder from and on the computer you want to access the shared folder. Secondly, check if the computer you share the folder from has also turned on file sharing. For a detailed guide on how to enable (or disable) these options in Windows 11 or 10, follow the links below.
- How to Turn On Network Discovery and File Sharing in Windows 11
- How to Turn On Network Discovery and File Sharing in Windows 10
For a detailed guide on how to correctly share a folder from scratch on Windows 11 or 10, read: How to Share a Folder in Windows 11 / 10 Local Network Without Password
If you have done all the above and still getting the error, follow the solutions below. The screenshots in the instruction below were taken on Windows 11, but the steps are similar to that of Windows 10. You can follow the same steps for both Windows 11 and 10.
Fix: “Windows cannot access shared folder – You do not have permission” in Windows 11
In most cases, you get the “You do not have permission” network error message when you open a shared folder if the shared folder does not have the user (you use to access this folder) added to its “share with” list. Follow the steps below to re-configure the Share and Advanced Sharing options for the shared folder to add the user(s) you want to share the folder with and configure their permission levels.
- On the computer you want to share the folder from, right-click on the folder you want to share, then select Properties.
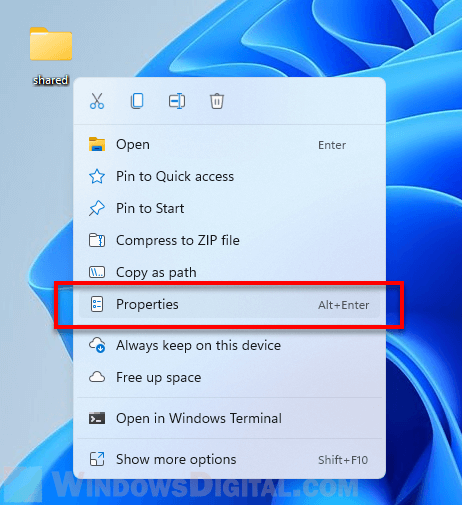
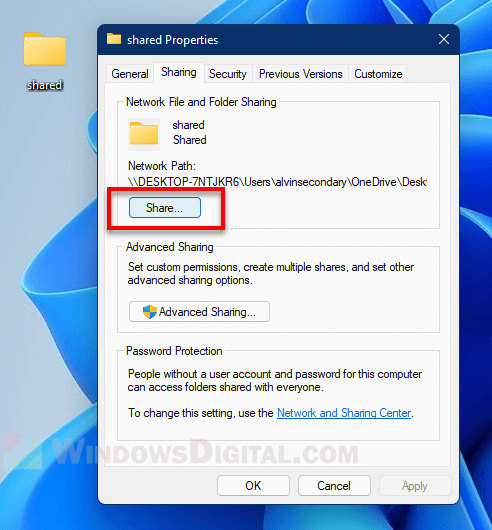
- In the Properties window, click on Sharing tab.
- Under Network File and Folder Sharing section, click on the Share button.
- In the “Choose people to share with” settings window, click on the drop-down menu and select the user (or create a new user) you want to share your folder with. If you are not sure about what user to add, you can select Everyone to share the folder with anyone that has access to the local network (not recommended if the computer is or will be connecting to a public network).

- Once the user is added, optionally, you can configure the permission level of the user. You can set the user to have Read only permission or both Read and Write permissions. The write permission means to allow the user to also edit, move or delete the files in the shared folder.
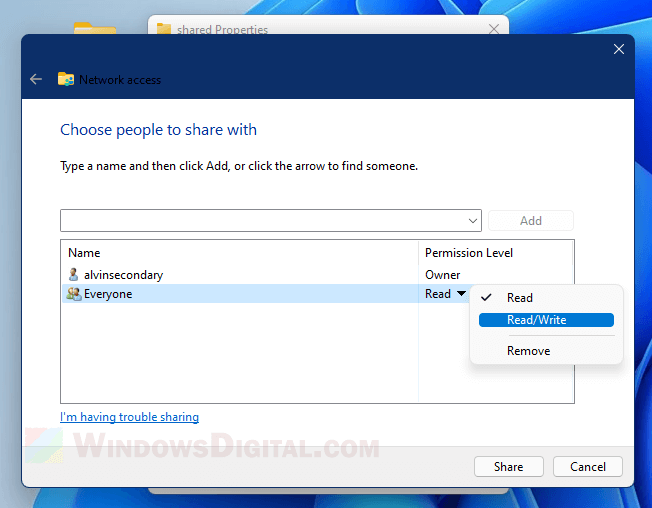
- Next, click Share to proceed.
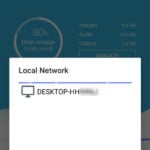
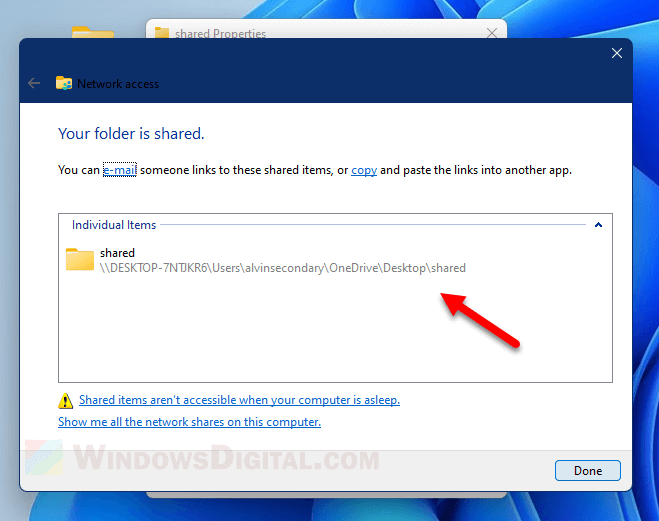
- On the next screen, you can copy the shared link and use it in the File Explorer address bar on another computer to access the shared folder. This step is optional if you can access the shared folder via the Network folder. Click Done to proceed.
- Next, back to the properties window, click on the Advanced Sharing button.
- Tick the “Share this folder” checkbox.
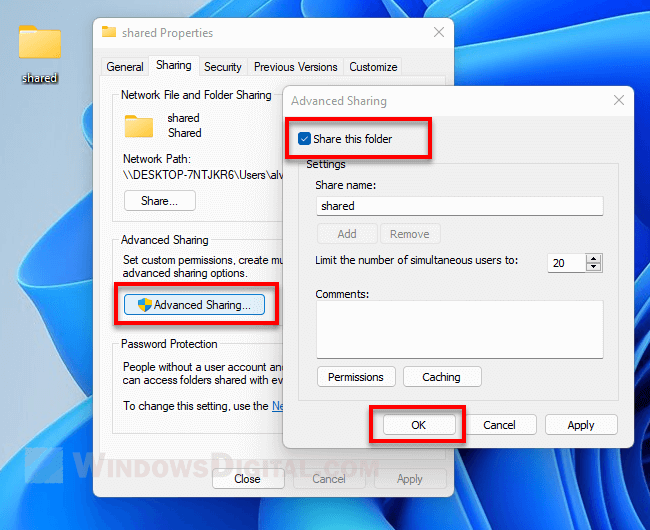
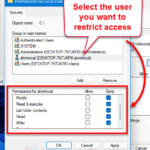
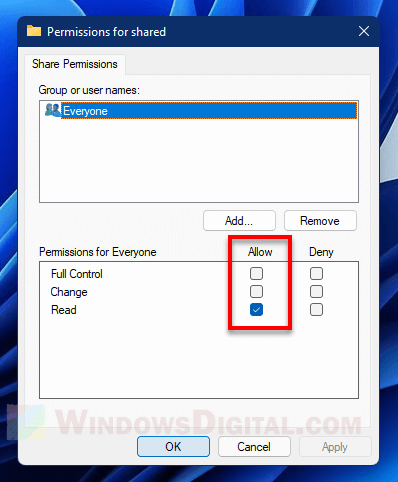
- Optionally, you can click on the Permissions button. From here, you can set the permissions for each user, whether to allow the users to have full control or read only over the shared folder.
- Click Apply, then OK to save the changes. Close the properties window and retry access to this shared folder again from another computer in the same local network.
Note that shared folders are not accessible when the computer where the shared folder is located at is in sleep or hibernation mode. Shared folders can only be accessed when Windows is actively running.
“Windows cannot access shared folder – Check the spelling of the name” Windows 11
Windows would prompt the error – “Check the spelling of the name” when you open a shared folder if the shared folder is not visible or no longer exist, the shared link is already outdated, or the shared folder is no longer being shared. It happens when a shared folder is no longer exist in the location where it was first shared or no longer set as shared.
It could of course also be due to incorrect shared link caused by spelling mistake or change in location of the shared folder commonly due to a recent move of the folder to another location.
Regardless of what causes the issue, the easiest solution to this issue is to re-configure the sharing options of the folder you want to share. If you have access to the computer which you want to share the folder from, follow the same steps in the instruction above (in the first part of this guide) to reconfigure the Share and Advanced Sharing settings for the shared folder to correctly share the folder again.