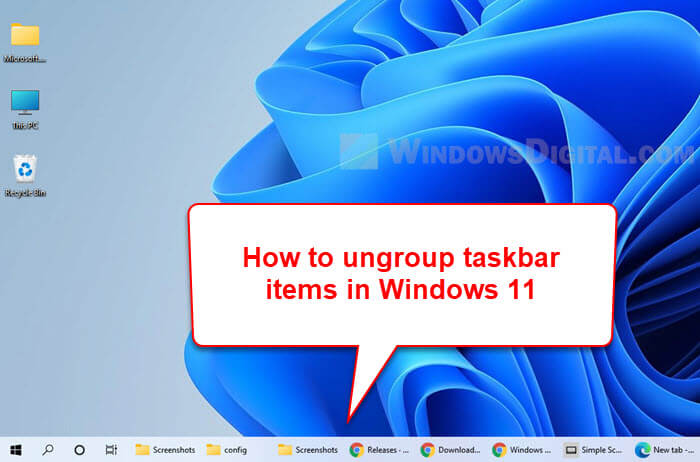
Windows 11 introduces a new and simplified UI which includes many changes to the taskbar. Icons and Start menu being aligned to the center by default and items by a same app are always combined and grouped are among the most obvious changes on the taskbar. Windows 11 does offer you a setting to move the taskbar icons and Start to the left instead of center. However, there is no setting that allows users to ungroup taskbar items in Windows 11.
Back in Windows 10, we used to have a setting called “Combine taskbar buttons” which we can set to “Never” in the taskbar settings to prevent multiple windows by a same app from grouping together. In Windows 11, unfortunately, there is no configurable setting that will allow the taskbar items to be ungrouped. Taskbar icons or items from a same app will always be grouped in Windows 11.
Also see: How to Bring Back Taskbar Toolbar in Windows 11
To force ungroup taskbar items in Windows 11, we have no choice but to rely on third party app that can help us do that. In this guide, we will show you how to use a community made tool called Explorer Patcher to ungroup taskbar items in Windows 11.
Explorer Patcher is a tool that allows users to switch between Windows 11 and Windows 10 taskbar. By being able to switch to Windows 10 taskbar, users can configure the taskbar to never combine items or icons. The ability to ungroup taskbar items is only one of many other features this tool offers. Explorer Patcher is a great tool if you want to bring back the old Windows 10 UI and feels in Windows 11.
Below is a step-by-step guide on how to ungroup taskbar items in Windows 11 using a community made tool called Explorer Patcher.
Also see: How to Change Taskbar Color to Any Color in Windows 11
How to ungroup taskbar icons in Windows 11
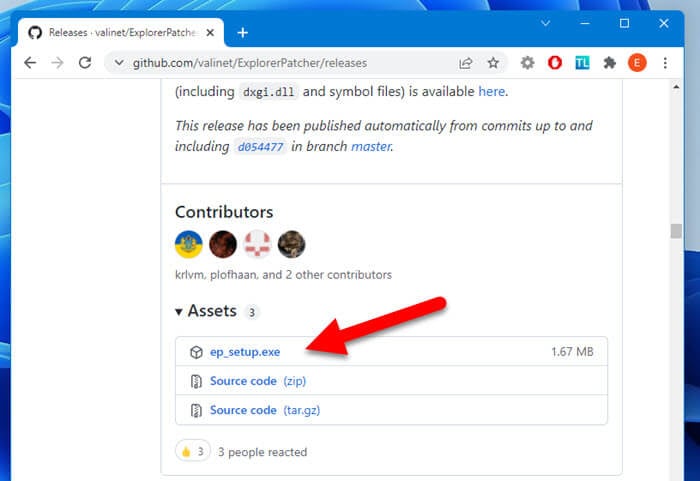
1. Download Explorer Patcher. If this is your first time downloading an app from GitHub, here’s what you should be looking for: First, go to the release page and look for the “latest release” post. At the bottom of the post, click Assets to expand it, then select the ep_setup.exe to download the setup.
2. When you run the setup, Windows will warn that the installer is from an unknown source and ask if you would like to continue. This tool is still in the early stages of its release, but it has been tested to work well in Windows 11. However, please proceed at your own risk.
3. The installation does not have a wizard window or screen. As soon as you run the setup, your screen will flash for a split second and then back to your desktop. This indicates that the installation completed successfully. The taskbar should now be reverted back to how it looks like in Windows 10 where the taskbar icons will appear on the left and classic system tray icons on the right.
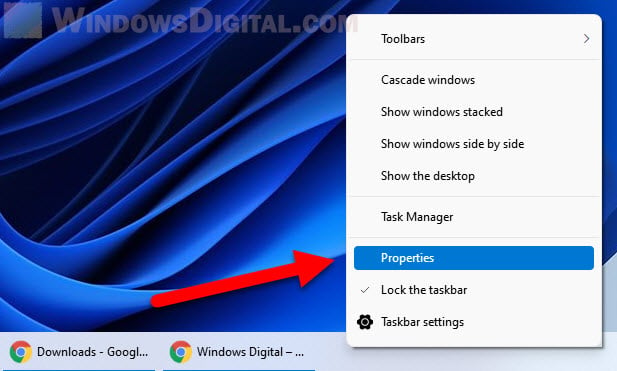
4. To configure the Explorer Patcher settings, right-click anywhere on the taskbar and select Properties.
5. In the Properties window, make sure the Taskbar style is set as Windows 10 instead of Windows 11. Then, under “The following settings only apply to the Windows 10 taskbar” section, click the “Combine taskbar icons on primary taskbar” option and select “Never combine” (it should have been selected by default).
![]()
The “Combine taskbar icons on secondary taskbar(s)” option allows you to configure if you would also like to ungroup taskbar items on taskbar(s) that appear on your secondary or other monitors.
6. After you have done making any changes, click Restart File Explorer at the bottom of the window to apply the changes immediately.
Related: How to Show Hidden Icons on The Taskbar in Windows 11
To revert the taskbar style back to Windows 11, in the Properties window, click Taskbar style and select Windows 11.
![]()
Ungroup taskbar items not working?
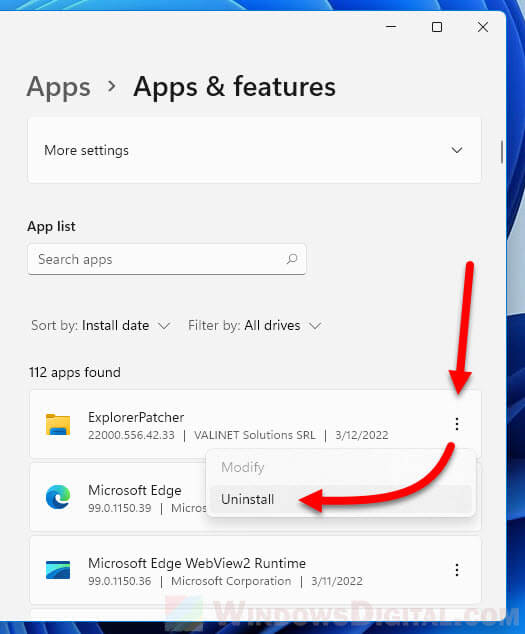
If you don’t like the tool and want to revert back to Windows 11 taskbar, you can uninstall the tool by going to Settings > Apps > Apps & Features. Click the option button next to Explorer Patcher and select Uninstall.
If there is any new Windows 11 update in the future that brings changes to the taskbar, you may quite possibly encounter visual bugs and other compatibility issues due to how the tool modifies your taskbar, context menu, etc.
When that happens, you should check the Explorer Patcher GitHub page again to see if there is any new release available for the app that might fix the compatibility issue. If there is no update to the tool and you are having issues using the tool, you should uninstall Explorer Patcher until a later release is available.
Additionally, if Microsoft finally decides to bring back the option to never combine taskbar items in Windows 11 in the future, you can choose to uninstall Explorer Patcher if you prefer to revert back to Windows 11 taskbar and use the Windows original settings instead.