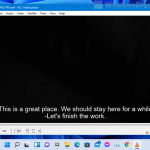
Chromecast has become very popular for streaming videos from gadgets to big screens. But, there’s a common issue some users bump into: subtitles don’t show up when using VLC player to stream videos to Chromecast, even if everything seems set up right. This guide will show you why this happens and how to get subtitles to show up when you cast videos to your TV using Chromecast.
Also see: How to Auto Add Subtitles to a Video in PotPlayer
Page Contents
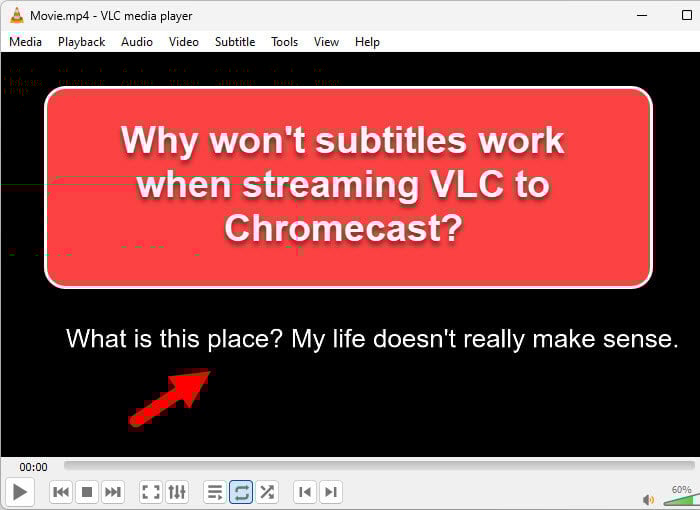
Why won’t subtitles work when streaming VLC to Chromecast?
The big reason why subtitles don’t show up when streaming from VLC to Chromecast is pretty simple: VLC just can’t handle subtitles with Chromecast. When you stream a video from VLC, it sends the basic video data without recognizing the separate subtitle files. Even though VLC is a great player for many things, it just doesn’t know how to send subtitles over to Chromecast as of now.
Related resource: How to Add Custom Subtitles to Netflix
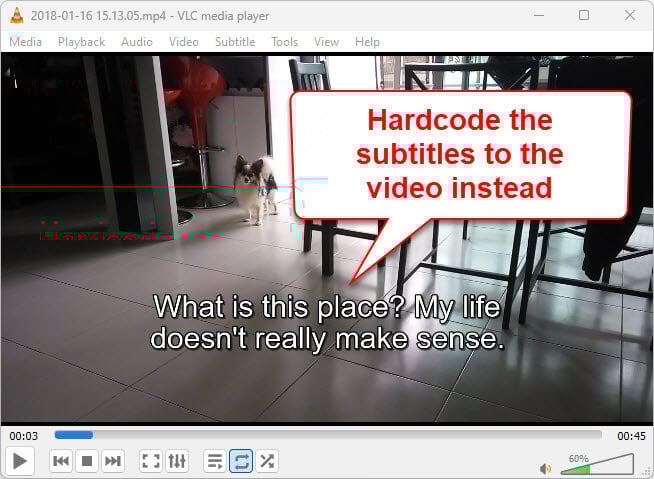
Burn (hardcode) subtitles into the video
One of the best ways to make sure subtitles show up when you stream a video to Chromecast is to fuse them right into the video. This method, called “burning” or “hardcoding,” prints the subtitles onto the video itself.
- Once subtitles are hardcoded, they become part of the video itself. This means they will always be there, no matter how or where you play the video.
- Hardcoding subtitles means no more syncing issues that you might get with separate subtitle files.
- With subtitles built in, you don’t need to mess with subtitle files every time you watch the video.
Whether you’re using Windows, an Android device, an iPhone, or a Mac, hardcoded subtitles will always show up because they are now part of the video.
How it actually works
When you hardcode subtitles, you are basically adding the subtitle text onto the video frames directly. This makes them a fixed part of the video. When you play it, the subtitles will look like they were always supposed to be there. This will make sure devices like Chromecast can show them without any problems.
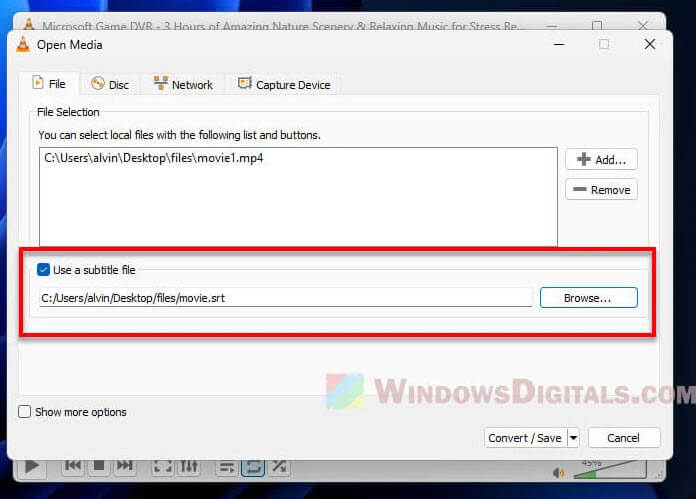
For detailed instructions on how to do this with VLC, check out How to Merge Subtitles With Video Permanently Using VLC.
But if your video is in MKV format and you need a specific tool, MKVToolNix is a good option. For a step-by-step guide on this tool, visit How to Merge SRT Subtitles with MKV using MKVToolNix.
Use Plex Media Server to stream subtitles
Plex has become well-known as a powerful media server that is good for managing and streaming your media. It can be a good alternative if you have issues with subtitles when using VLC with Chromecast.
What is Plex?
Plex acts like a media center, organizing and changing your media files to make sure they work on all sorts of devices. Its big strength is how it can change files right when they’re needed to fit the device they’re being played on.

Why use Plex for VLC to Chromecast subtitle issues?
When you stream with Plex to Chromecast, it knows if a device like Chromecast can’t handle subtitles. If that’s the case, Plex automatically burns the subtitles into the video during playback, so they show up right.
Plex works with many different subtitle formats, so it’s very flexible no matter what kind of subtitles you have.
How it works
After getting Plex onto your computer, Plex then scans your media, adds all the important details, and makes your collection look good.
When you want to stream a video to Chromecast (or any device), Plex checks the video and device details and adjusts the video as needed. If Chromecast can’t handle the subtitles you have, Plex will fix them right during playback. This means your video and its subtitles will play perfectly on Chromecast.
- Install the Plex Media Server on your computer and set up your media library.
- Use the Plex app on your device (like Android or iPhone, tablet, TV) to look through your library and start streaming. When casting to Chromecast, make sure subtitles are turned on in the playback options.
Useful guide: Convert SRT to 3D Subtitles and Add them to 3D Movies
Convert the video with HandBrake
Another good way to deal with subtitle problems is to use HandBrake to convert your video while embedding the subtitles into it. HandBrake is free and an amazing tool for this.
- HandBrake works with many video formats, so it’s likely to work for you.
- If you like to tweak things, HandBrake has lots of settings to adjust your video just the way you want.
- If you have many videos to change, HandBrake can process them all at once.
How it works
The main idea with HandBrake is to make a new video file where subtitles are already in. This skips the need for separate subtitle files, so when you play the video, the subtitles are just there, looking like they were always part of the movie.
- Open the video you want to change in the HandBrake app.
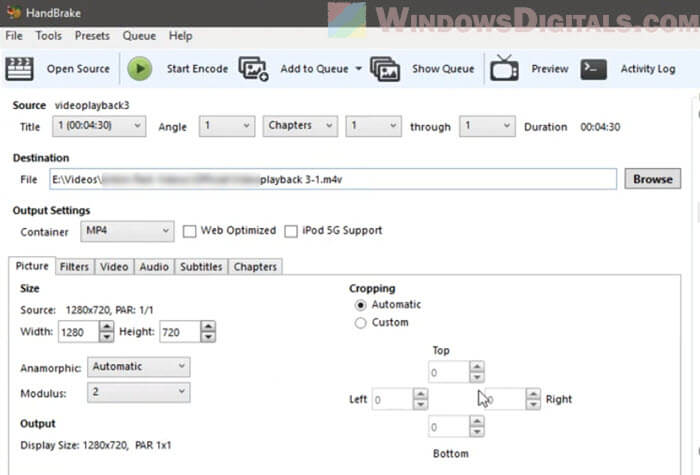
- Go to the “Subtitles” tab.
- Add your subtitle file to the video.
- Check the “Burn In” option to make sure subtitles are part of the video.
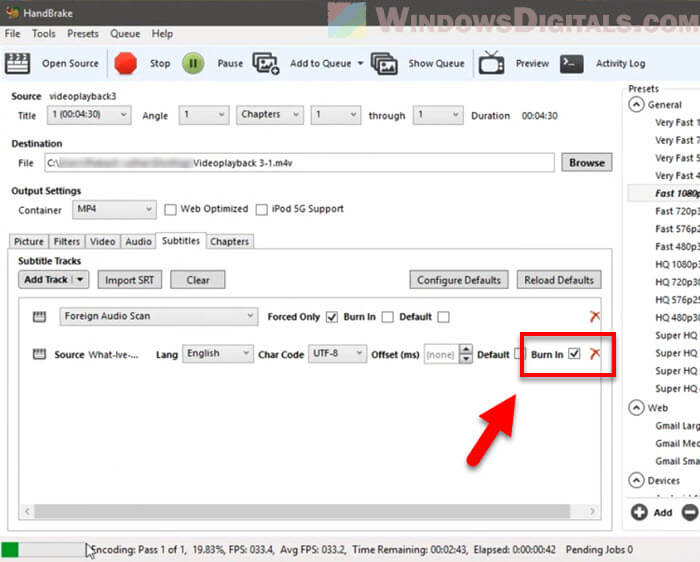
- Once you’ve set everything, start making the new video. Now, your video will have the subtitles ready for any playback, including Chromecast.
Pro tip: How to Watch Netflix with Dual Subtitles
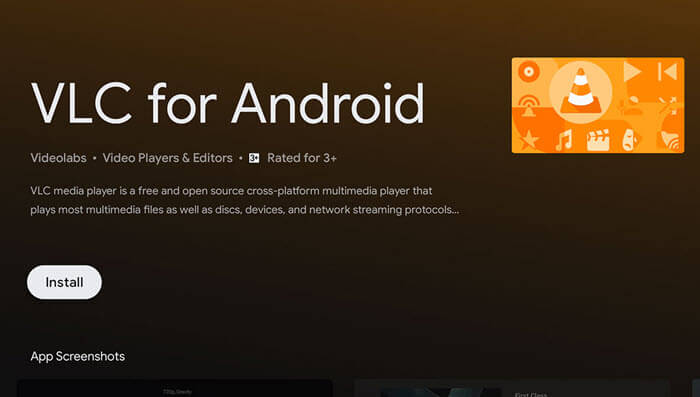
VLC app for Android TV or Smart TV
If you have an Android TV or smart TV, there’s another option. Instead of streaming from a different device, you can put the VLC app right on your TV. Once it’s there, open the app and choose “Local Stream.” Then, set up File Sharing on your computer and make sure “Guest Users” can get to the shared folder. This lets you play videos with subtitles right from your TV, without any other devices or software getting in the way.
Update: VLC now lets you cast to Chromecast through its MacOS app and the VLC app with a “render” option on MacOS. But there’s a glitch with .mkv files: only the sound comes through, and the video just shows a black screen.