3D movies have become more popular, giving us a cool way to feel like we’re right in the middle of the action. But if you’ve tried watching one with regular subtitles, you might have felt something was missing. Good news is, some media players like Plex Media Player and Skybox VR Video Player can work with SRT subtitles just fine without needing to change anything.
But, if your subtitles seem off—like they’re in the wrong spot or just don’t look right—it’s a good idea to switch your 2D SRT subtitles to 3D ones before you add them to your 3D movies. This guide will show you how to do that using a tool called 3D-Subtitler, and then how to use them in Plex Media Player, Skybox VR Video Player, or VLC Media Player.
Also see: How to Add Subtitles to Video in Windows 11
Page Contents
Step 1: Converting SRT to 3D subtitles with 3D-Subtitler (Optional)
3D-Subtitler is a handy tool that makes it easy to turn 2D SRT files into 3D subtitles. Here’s how you can get started with it:
- First up, download and install 3D-Subtitler from its official site or a place you trust. Make sure your computer has what it needs to run the software by checking its system requirements.
https://www.videohelp.com/software/3DSubtitler
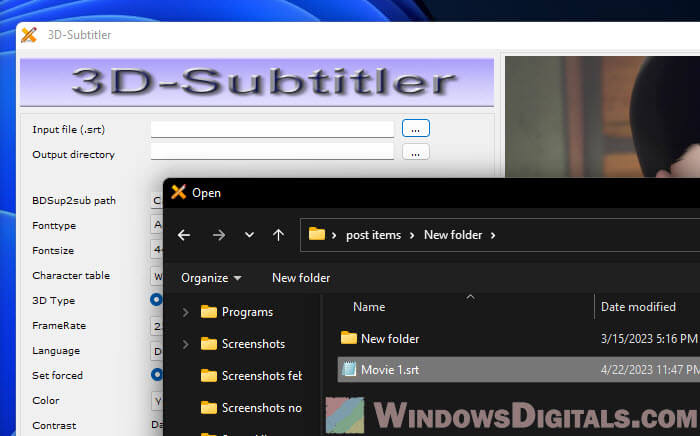
- Open 3D-Subtitler by double-clicking its icon.
- Click on Input File, find your SRT file, select it, and hit Open.
- Then, hit the Output File button, pick where you want to save the new subtitle file, and give it a name. Make sure it ends in .ass.
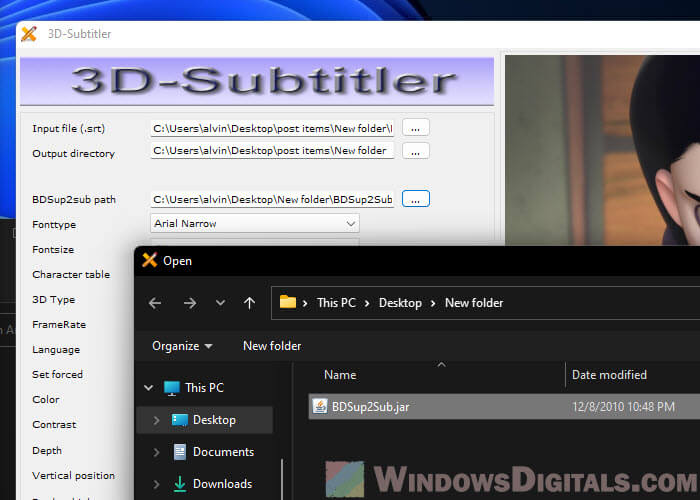
- Check that the BDSup2sub path points to the folder where 3D-Subtitler.exe is.
- Adjust the Settings to fit what you need:
- Choose your 3D movie format under 3D Type, either Side by Side (SBS) or Over Under (Top and Bottom).
- Pick a font for the subtitles that’s easy to read.
- Choose a subtitle color that stands out against the movie.
- Set the subtitle size so it’s easy to read without being in the way.
- Adjust the Depth of the subtitles so they match the movie’s 3D effect.
- For Output format, you can pick “VobSub idx/sub” or “Blu-ray sup”, depending on what your media player supports.
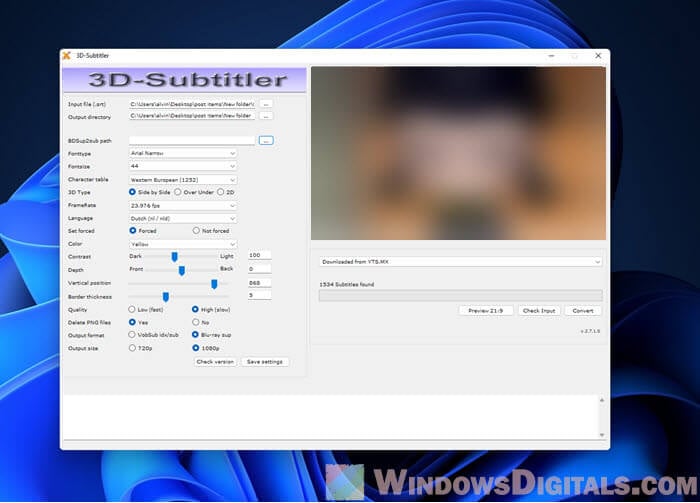
- Click “Check Input” when you’re ready.
- Hit Convert to start turning your subtitles into 3D. Once it’s done, you’ll find your new 3D subtitle file ready to go.
Useful tip: How to Download Subtitles in VLC on Windows 11
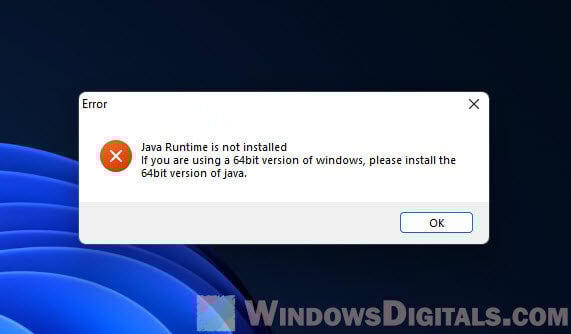
If you run into a message saying “Java Runtime is not installed” on a 64-bit Windows system like Windows 11, just install the 64-bit Java to fix it and get the app working.
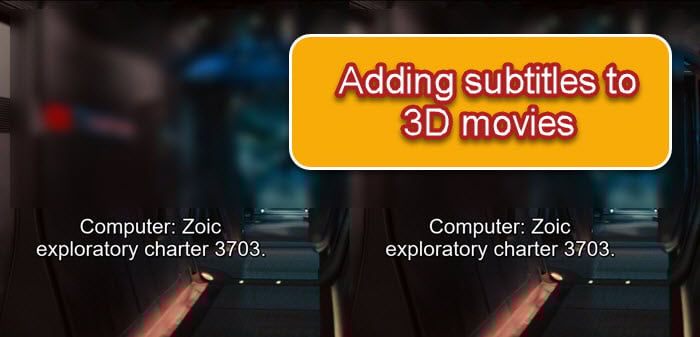
Step 2: Adding subtitles to your 3D movie
Now, whether you’ve got the original SRT subtitle file or a new 3D subtitle file, here’s how to add it to your 3D movie using these media players:
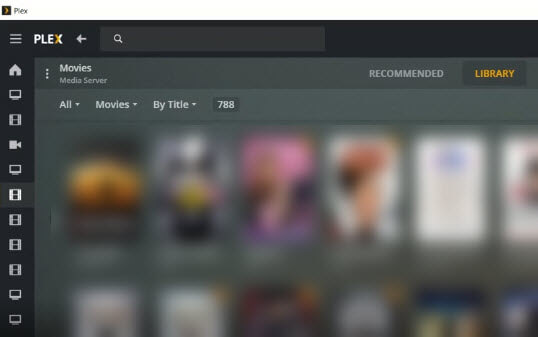
Plex Media Player
- Keep things tidy by putting the 3D movie and subtitle file in the same folder, and name them the same. This helps Plex see them as a matching set.
- Open Plex Media Player and find your movie library.
- Add your new folder to the Plex library by following what you see on screen. Plex will automatically spot the movie and its subtitle.
- Play your 3D movie and enjoy the show with subtitles. You can tweak the subtitle settings in Plex if you need to.
Skybox VR Video Player
- Move your files to the device where Skybox VR Video Player is installed. Keep the 3D movie and subtitle file together in the same folder and with the same name.
- Start Skybox VR Video Player and go to the folder with your 3D movie and subtitle file.
- Play the 3D movie. The subtitles should show up on their own.
- If you don’t see the subtitles, head to the Settings menu to turn them on and adjust their look to get the best experience.
Related resource: How to Take a Screenshot on Oculus Quest 2 or Rift S

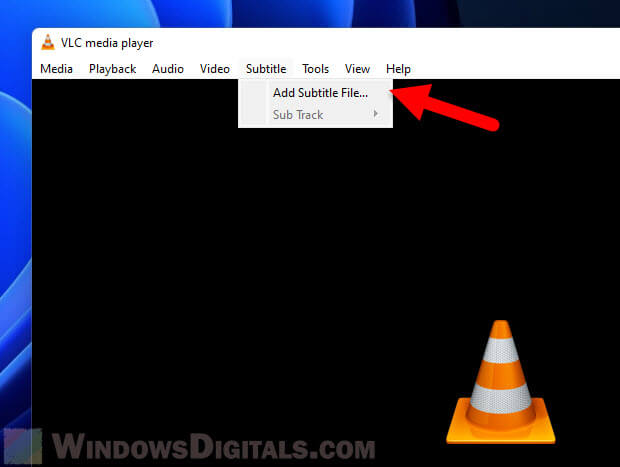
VLC Media Player
- Open VLC Media Player and go to Media on the toolbar, then Open File.
- Pick the 3D movie you want to watch and click Open.
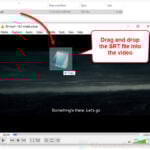
- With the movie playing, click Subtitle on the toolbar, then Add Subtitle File.
- Find your subtitle file (either the SRT or the converted 3D one) and select it.
- Now you should see the subtitles on your 3D movie. If you need to, you can change how the subtitles look under Tools, then Preferences, and the Subtitles/OSD tab.
My two cents
Turning SRT subtitles into 3D and adding them to your 3D movies can sometimes make your viewing feel slightly better, but it doesn’t necessarily suit everyone. Some might find the 3D subs to be kind of intrusive. What it does is it helps the text fit perfectly with the 3D action, making it feel like a part of the movie. Even though some media players can handle regular SRT subtitles for 3D movies, converting them makes sure everything lines up just right, and some people might find this viewing feel more comfortable.