This short tutorial will show you how to quickly take a screenshot on Oculus Quest 2 or Oculus Rift S VR headset, and how to transfer the screenshots, photos or recorded videos from Oculus Quest 2 to PC (Windows 10).
Since the Oculus interface and available features differ between Oculus Quest 2 and Rift S (and possibly future Oculus headsets), the methods to take screenshot are also different from each other.
Page Contents
How to Take Screenshot on Oculus Quest 2
For Quest 2 users, there are two methods to take screenshot of your VR screen – the controller’s shortcut buttons method, or through the Sharing menu on the Oculus menu interface. This tutorial also shows how to share the taken screenshot to social media such as Facebook or Messenger, and how to get the screenshots or recorded videos from Oculus Quest 2 headset to PC.
Shortcut buttons
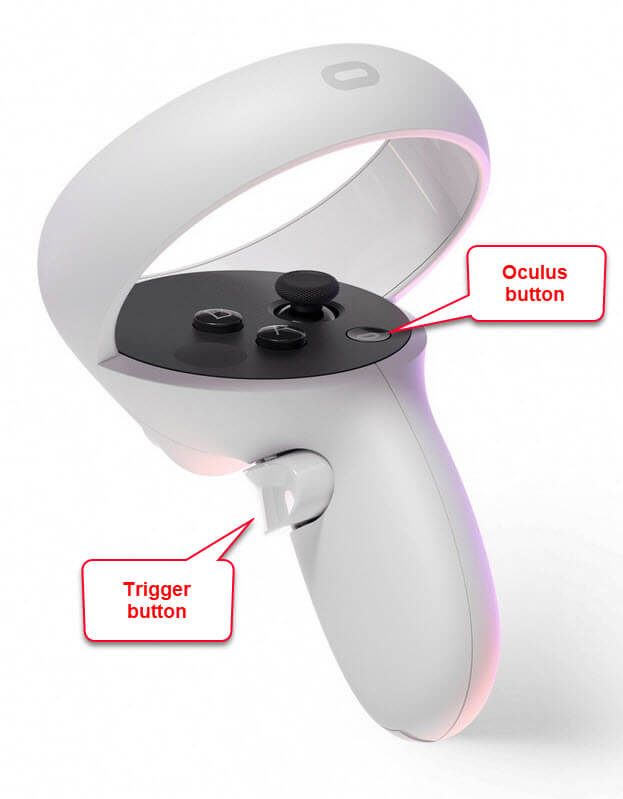
To quickly take a screenshot on Oculus Quest 2 headset without bringing up the menu interface, simply press and hold the Oculus home button, then press on the trigger button, on either left or right controllers.
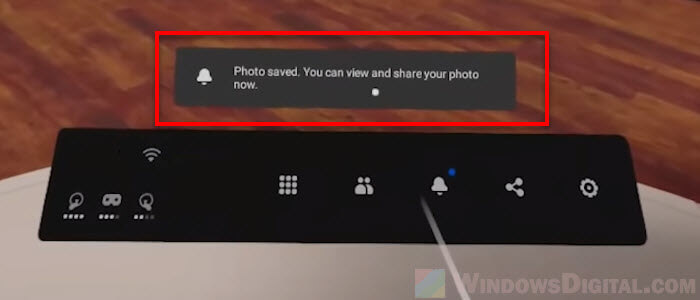
A pop up message will show up when a screenshot is successfully taken using the Home + Trigger shortcut buttons.
Sharing menu
If the shortcut button method above somehow doesn’t work for you, another method to manually take a screenshot on Oculus Quest 2 is by using the take photo button from the Oculus sharing menu.
To access the sharing menu, press the Oculus Home button (on your right controller), then click on “Sharing“.
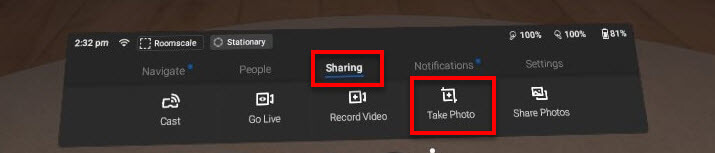
From there, you can take a screenshot by simply clicking the “Take Photo” button. There will be a 5 second countdown until Oculus take the screenshot of whatever that is on the screen. This is to allow you to have a brief period to be ready on the screen of whatever you want to capture.
You can also record a video, go live or cast from the Sharing menu.
To quickly share a photo on Facebook or Messenger, click on the “Share photos” button from the Sharing menu.
To get or transfer the taken screenshots, photos or recorded videos from Oculus Quest 2 to PC, follow the guide below.
Oculus Quest 2 screenshot location and how to transfer them to PC
It’s very simple to access the media or to transfer taken screenshots or recorded videos from your Oculus Quest 2 headset to your PC.
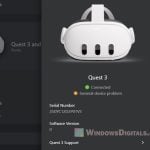
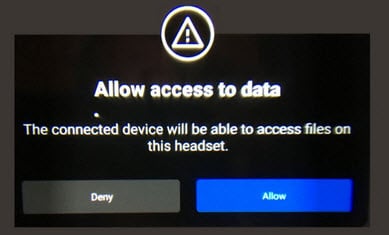
First, connect your Quest 2 headset to your PC using a Oculus link cable. Upon connected, there will be a pop up message inside your headset that asks for permission to “Allow access to data” from another device. Make sure to click “Allow“.
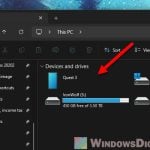
Once connected, the headset will show up as a drive called “Quest” in the This PC / File Explorer on Windows 10 PC. Open the Quest drive, then navigate to Internal shared storage > Oculus > Screenshots folder. All the screenshots and photos taken on the Quest 2 headset will be in this folder.
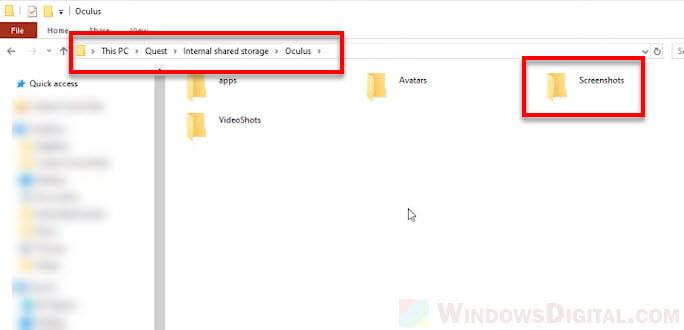
For recorded videos, go to the Internal shared storage > Oculus > VideoShots folder instead.
How to Take Screenshot on Oculus Rift S
As for Oculus Rift S, there is no shortcut hotkey to take screenshot instantly. The only way to take a screenshot using Rift S is by clicking the Screenshot button in the Oculus home menu interface.
To take a screenshot on Oculus Rift S, first, press the Oculus home button on your right controller to bring up the Oculus home interface.
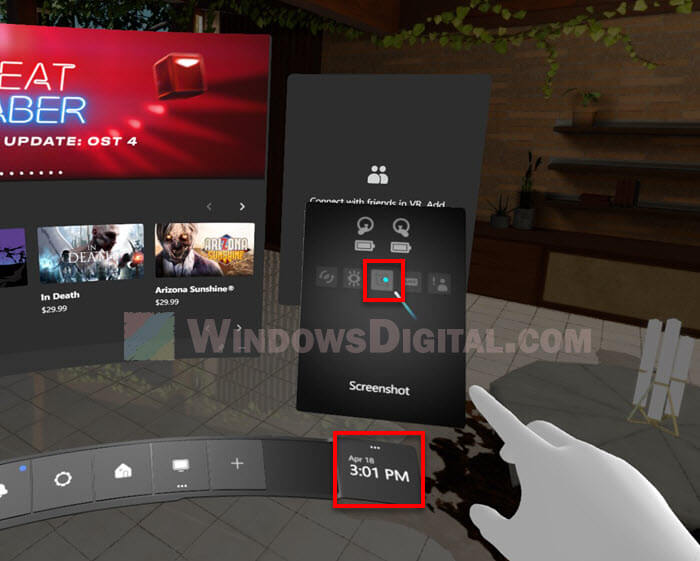
Next, click on the triple dotted option button on the right side of the menu bar (above where the time and date are shown). Then, click on the Screenshot button to take a screenshot. A 5 second cooldown will start as soon as you click on the button. A screenshot of the current screen on your Rift S headset will be taken upon the end of the 5 seconds cooldown.
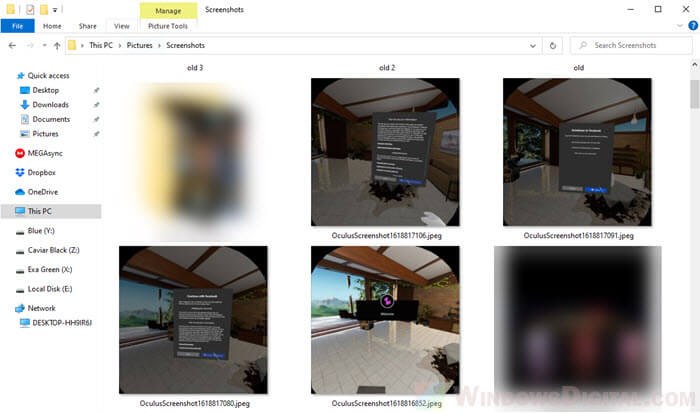
Oculus will save the screenshot directly to your PC, in the This PC > Pictures > Screenshots folder.