qBittorent has become one of the most popular, if not already the most popular, open-source BitTorrent clients because of its straightforward and easy-to-use interface, and, most importantly, it doesn’t have any intrusive ads in the app. A common question regarding torrenting is whether you can or should stop seeding after completing your download. This article will talk about why seeding matters and how to stop seeding (uploading) in qBittorrent.
Also see: How to Disable uTorrent Upload (Stop Seeding)
Page Contents
What seeding is and why it matters
In torrents, everyone shares and takes. When you download, you’re getting from others who are seeding. And when you seed, you help others download. This give-and-take is what keeps the torrent world spinning. But totally stopping seeding can mess with this balance. So, while we’ll show you how to stop, it’s nice to seed when you can.
There might be times when you want to stop seeding because it’s using too much bandwidth, you’re worried about privacy, or you’ve done your bit by sharing as much as you downloaded. Stopping seeding after you’ve shared enough is a way to manage your internet use without being a drag on the torrent community.
Useful tip: How to Know Which App is Using The Internet in Windows 11
Step-by-step guide to stop seeding in qBittorrent
1. Launch qBittorrent
First up, open the qBittorrent app on your computer.
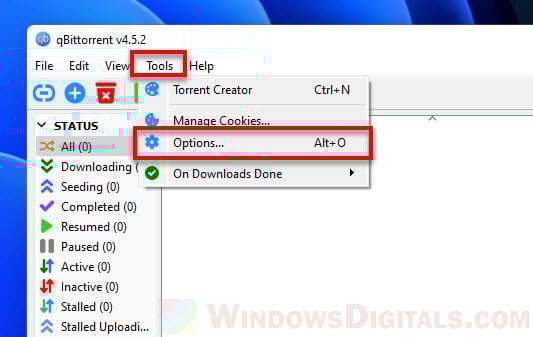
2. Navigate to the settings menu
Find the top menu in qBittorrent and click on “Tools“, then choose “Options…“. This will take you to where you can change a bunch of qBittorrent settings.
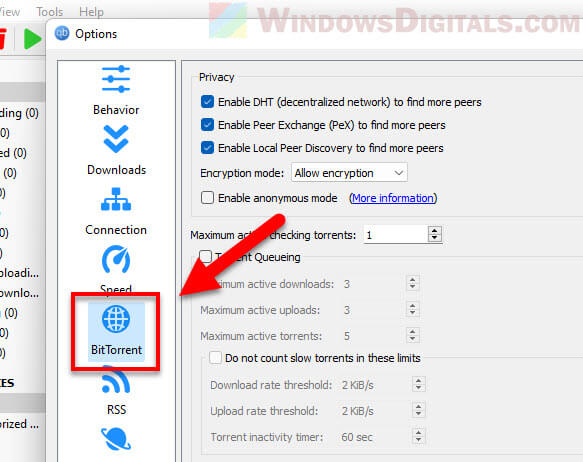
3. Head over to the “BitTorrent” tab
In the settings menu, look for the “BitTorrent” tab on the side and click it to see BitTorrent options.
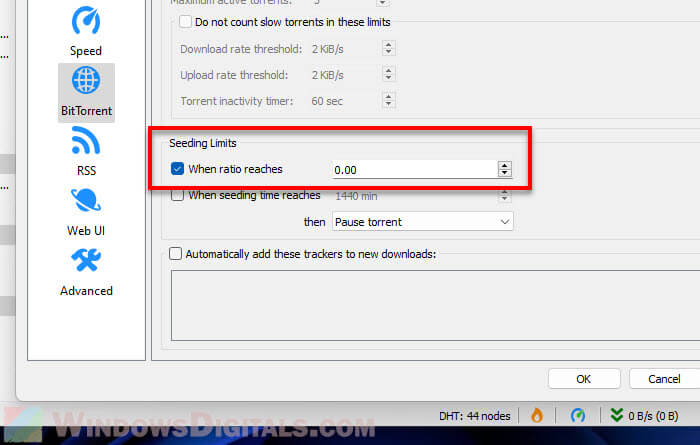
4. Adjust the seeding settings
In the BitTorrent settings, find the “Share Limits” area. Look for “When ratio reaches” and put in 0 if you want to stop seeding right after the download is done. If you’d rather wait until you’ve shared as much as you’ve downloaded, set it to 1.
Recommended guide: How to Enable Net Speed Monitor in Windows 11
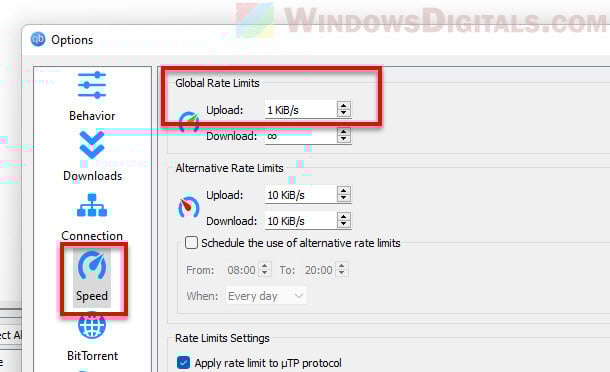
5. Optional: Set global upload limit
This step is optional, but if you want to slow down your upload speed without stopping it completely, go to the “Speed” tab. Under “Global Rate Limits“, set the “Upload (KiB/s)” to 1 to limit your upload speed to nearly nothing, saving your bandwidth for other stuff.
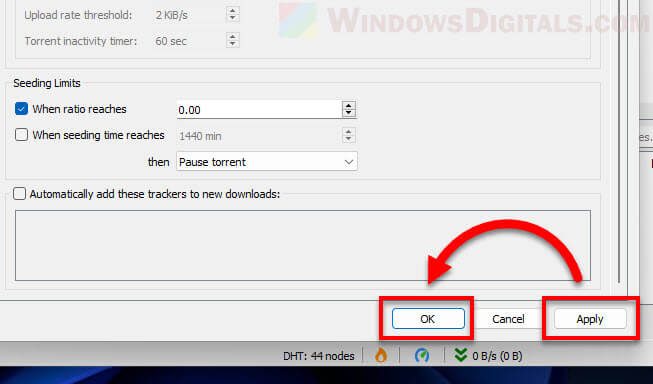
6. Save and apply changes
After setting it up how you like, hit “Apply” and then “OK” to save your changes.
To stop seeding torrents that were already going, go back to the main window, right-click on the torrent you want to stop, and choose “Stop“.
Related resource: Change Ethernet from 100Mbps to 1Gbps in Windows 11/10
Some final advice
Before completely stopping seeding in your torrent client, it’s very important to think about the bigger picture of torrenting. A healthy sharing ratio is crucial for fast and reliable downloads for everyone. But sometimes, you might need to limit or stop seeding because of internet limits, privacy worries, or other reasons, which is understandable. Nonetheless, you have to find a right balance.
If you often hit bandwidth limits, consider setting up scheduled seeding in qBittorrent to seed only at low-internet-usage times. Whenever you can, seed a bit after your download is done. This helps others and keeps the sharing going strong.
And always torrent smart and legally. Respect copyright laws, get permissions when needed, and only share stuff you’re allowed to.