The NVIDIA Control Panel has long been the place to change the resolution, refresh rate and scaling of a monitor plugged into a GeForce card, but after a recent NVIDIA App or driver update, those pages might be completely gone, leaving only the 3D and video settings or no Control Panel at all. This guide will show you where NVIDIA moved them and what to check if they’re missing from the NVIDIA App as well.
Also see: NVIDIA Control Panel Custom Resolution Greyed Out?
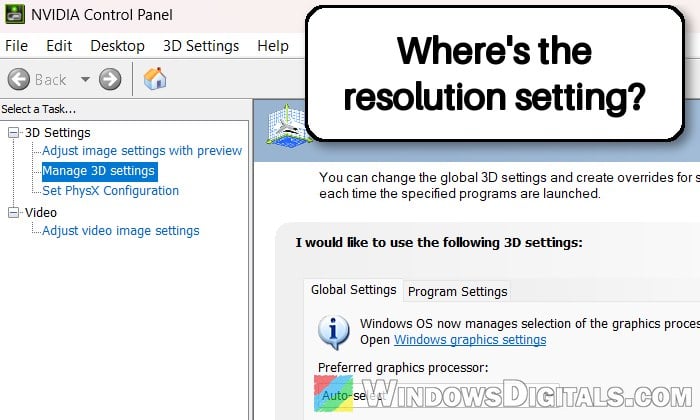
Why are the resolution and scaling options gone?
On May 26, 2026, together with the Game Ready 610.47 driver, NVIDIA announced that the classic NVIDIA Control Panel is retiring for its Game Ready and Studio drivers. Its display options, including resolution and scaling, now live in the System section of the NVIDIA App.
According to NVIDIA, a Control Panel that’s already installed stays on your PC unless you do a clean installation of the driver. That’s why some people still have it, while others lose it after a clean driver install. Its 3D settings have moved too, to Graphics > Program Settings in the NVIDIA App.
If the options are missing from both the Control Panel and the NVIDIA App, there are two other common reasons:
- Your screen isn’t running on the NVIDIA card. NVIDIA’s software can only manage displays connected to the NVIDIA GPU, so a monitor plugged into the motherboard, or a laptop’s built-in screen running on the integrated graphics, won’t show up there.
- A broken NVIDIA App or driver install, which can leave the app without its display page.
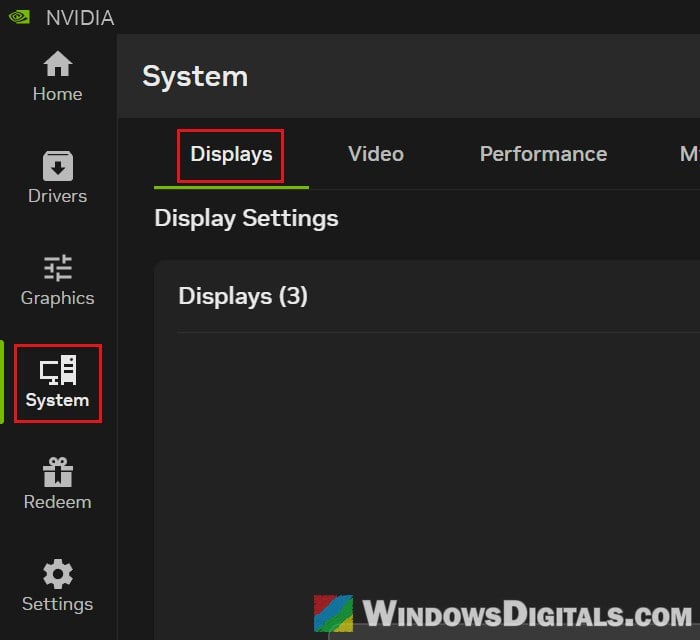
Find the settings in the NVIDIA App (System > Displays)
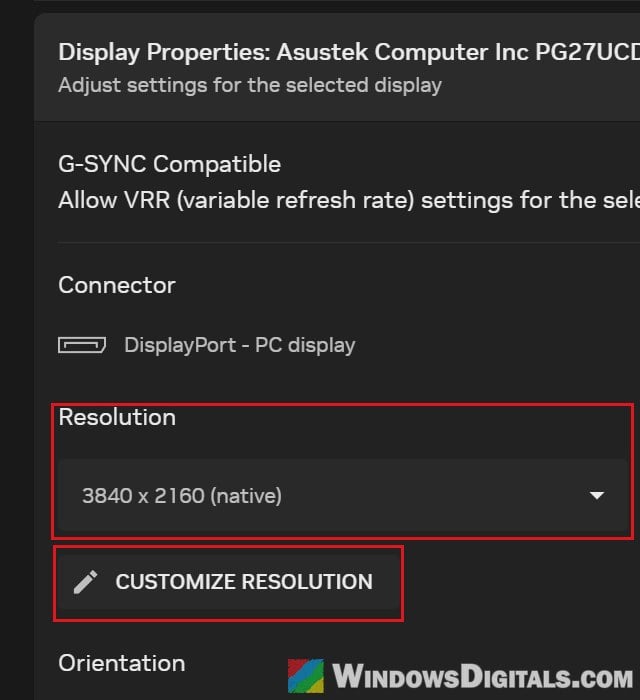
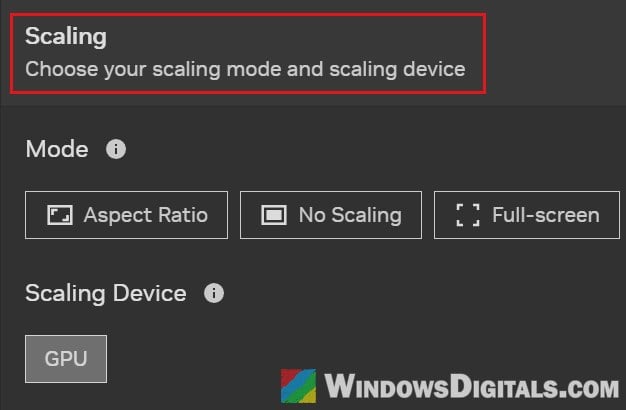
Since this is where NVIDIA has put all the display options, it’s the first place to look. Resolution and refresh rate sit under Display Properties, which also has the Customize Resolution button, while the scaling mode (integer scaling included) and whether the GPU or the monitor does the scaling are under Scaling. Neither has a tab of its own, so they’re easy to miss. Here’s where to find them:
- Open the NVIDIA App. If you don’t have it, download it from NVIDIA’s official page at
https://www.nvidia.com/en-us/software/nvidia-app/and install it. - Select System on the left side.
- Stay on the Displays tab, and if you have more than one monitor, select the one you want to change.
- Expand Display Properties and pick a resolution from the Resolution list (the Refresh Rate list is right next to it), or click Customize Resolution to create a custom one.
- Expand Scaling to choose the Mode (Integer Scaling is the last option in that row) and the Scaling Device.
Your screen should switch to the new resolution or scaling mode once you pick it.
Get the old NVIDIA Control Panel from the Microsoft Store
If you’d rather keep using the classic Control Panel, NVIDIA still offers it in the Microsoft Store. Just keep in mind that NVIDIA has said it won’t get any new features or fixes.
- Open the Microsoft Store.
- Search for “NVIDIA Control Panel” and open its page (the one by NVIDIA Corp.).
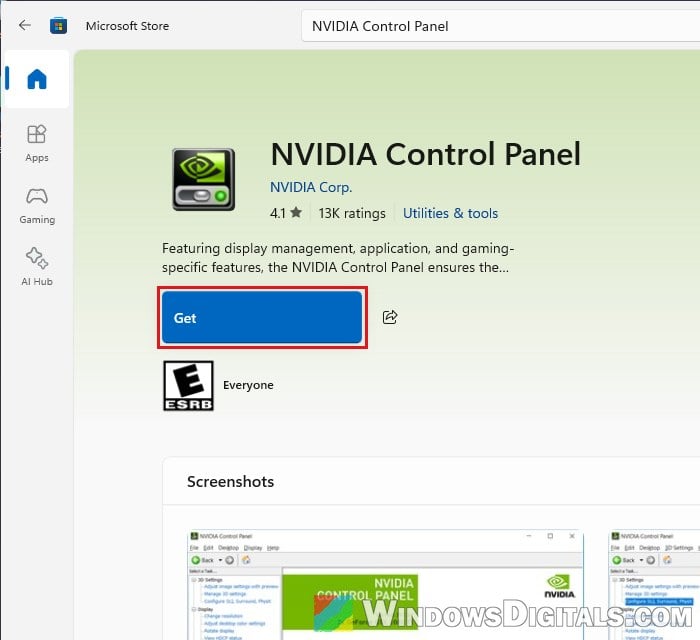
- Click Get and wait for it to install.
- Open the NVIDIA Control Panel from the Start menu.
If the display pages don’t show up in it, use the NVIDIA App’s System > Displays page instead. If they’re missing there too, see the next section.
Make sure the monitor is plugged into the graphics card
When neither the Control Panel nor the NVIDIA App shows any display settings, check which GPU your screen is actually connected to. The display settings only show up for a screen that’s wired to the NVIDIA card.
On a desktop PC, look at the back of the case. The monitor cable should go into an HDMI or DisplayPort port on the graphics card itself, not one of the video ports on the motherboard. If it’s on the motherboard, move it to the graphics card and open the NVIDIA App again.
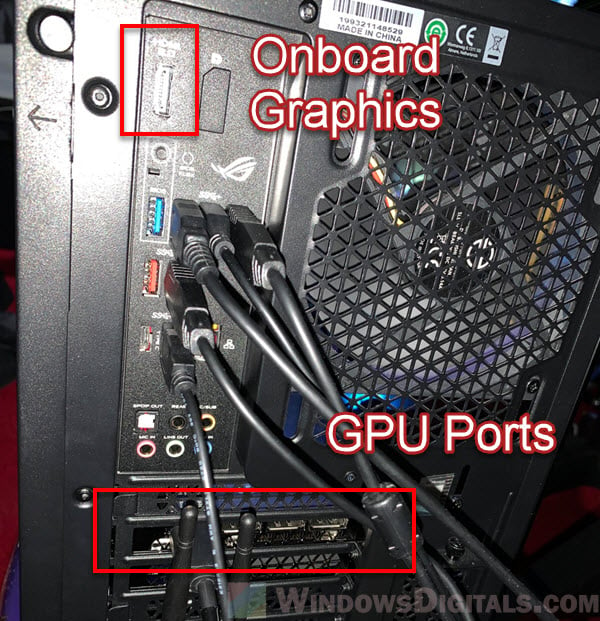
On a laptop, the built-in screen usually runs on the integrated Intel or AMD graphics, even if the laptop has an NVIDIA GPU. In that case, NVIDIA’s software won’t list it, and you’ll need to change its resolution from Windows Settings (see the last section) or Intel’s or AMD’s own graphics software. An external monitor plugged into a port that’s wired to the NVIDIA GPU should show up in the NVIDIA App. Which ports those are differs from laptop to laptop, so check your laptop maker’s support page if you’re not sure.
Related guide: Force App or Game to Use Nvidia GPU or Integrated Graphics
Reinstall the NVIDIA App and graphics driver
If the Displays tab itself is missing from the NVIDIA App on a PC whose monitor is plugged into the NVIDIA card, the app or driver install is probably broken. Several users on Reddit got the display settings back by reinstalling the app and the driver.
- Uninstall the NVIDIA App, then download a fresh copy from
https://www.nvidia.com/en-us/software/nvidia-app/and install it. - If the Displays tab is still missing, download the latest driver for your graphics card from NVIDIA’s driver page at
https://www.nvidia.com/en-us/drivers/and reinstall it with a clean installation.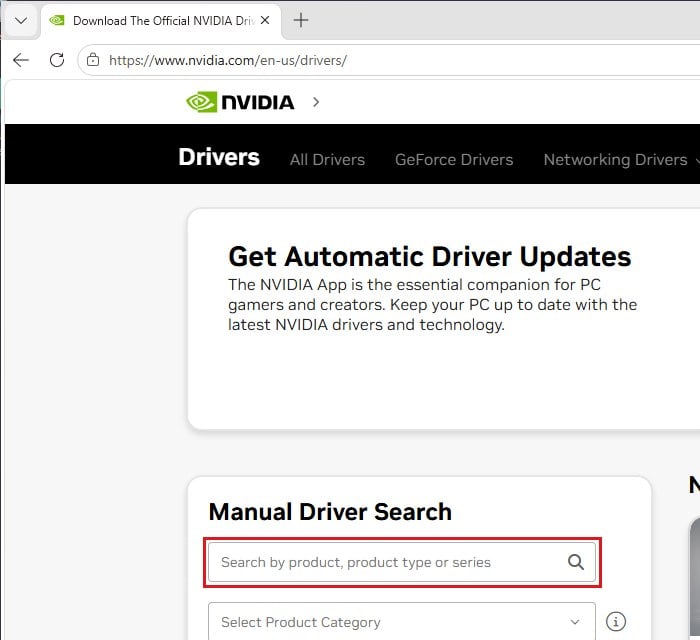
- Restart your PC and open the NVIDIA App again.
Please note that a clean installation removes the classic NVIDIA Control Panel, if you still have it. You can get it back from the Microsoft Store as shown above. Some people also remove the old driver with Display Driver Uninstaller (DDU), a third-party tool, before reinstalling.
Might be useful: How to Update Graphics Driver in Windows 11
Change the resolution from Windows Settings instead
If all you need is to change the resolution, Windows can do it without any NVIDIA software. This also works for a laptop screen running on the integrated graphics.
- Open Start, then go to Settings > System > Display.
- If you have more than one display, select the one you want to change.
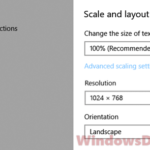
- Under Scale & layout, open the Display resolution list and pick a resolution. Microsoft suggests the one marked (Recommended).
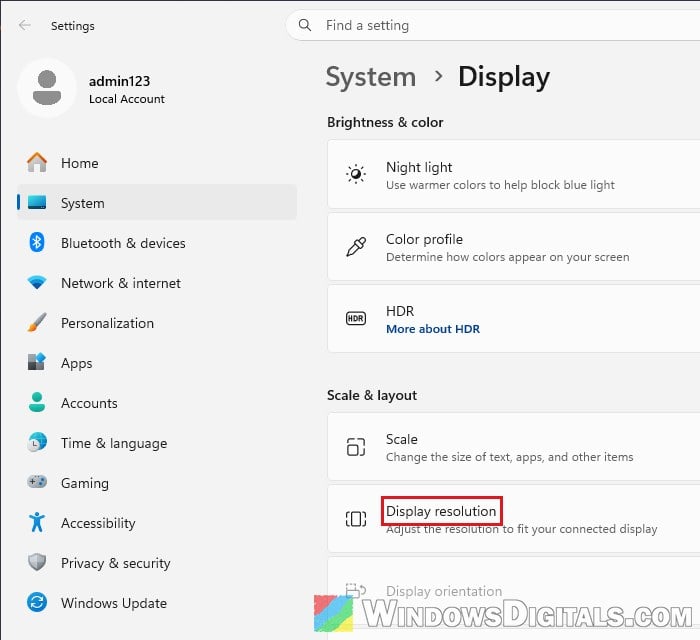
A lower resolution than the recommended one can look less sharp, and you might see black bars or a stretched picture. If the list is greyed out, read Windows 11 Screen Resolution Greyed Out, What to do? for what to check next.