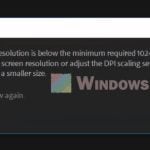
Many people look for custom resolutions in the NVIDIA Control Panel for different reasons. Some need to fix issues with how fast the screen refreshes. For example, if you want to get 144hz or 240hz but can’t, setting a custom resolution might help. It’s also a way to make your display fits better for your gaming or work needs.
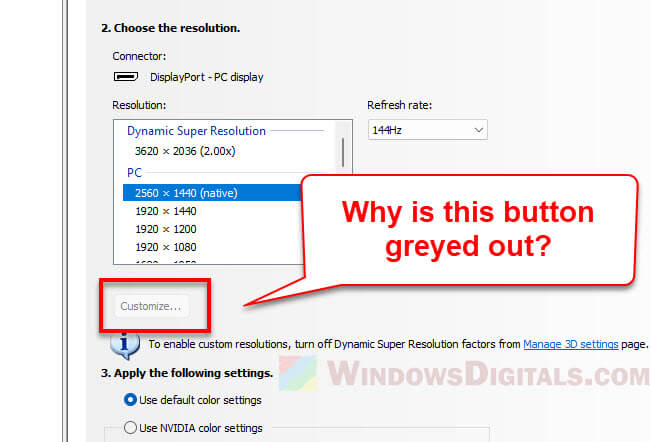
But sometimes when you try to set these custom resolutions in the NVIDIA Control Panel, you might find the “Customize” button you need to click is not working; it looks greyed out and you can’t click it. This guide will show you how to fix this problem and re-enable the button again.
Also see: 144Hz Monitor Only Showing 60Hz in Windows 11, Why?
Page Contents
Turn off Dynamic Super Resolution (DSR) factors
The main way to fix a greyed out “Customize” button in the NVIDIA Control Panel is by turning off Dynamic Super Resolution (DSR) factors. The Control Panel will usually tell you to do this if the button isn’t working.
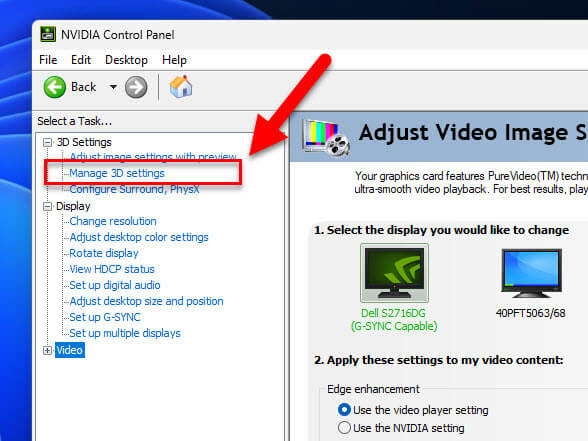
- Right-click on your desktop and select “NVIDIA Control Panel” from the menu to open it.
- In the Control Panel, click on “Manage 3D Settings” on the left side under the 3D Settings section.
- Click on the “Global Settings” tab in the Manage 3D Settings page.
- Find “DSR – Factors” in the settings list. This setting makes your game graphics look better by using a higher resolution and then adjusting it back down.
- Click on “DSR – Factors” and make sure no options like “2.00x” are checked. When nothing is selected, it should say “Off”.
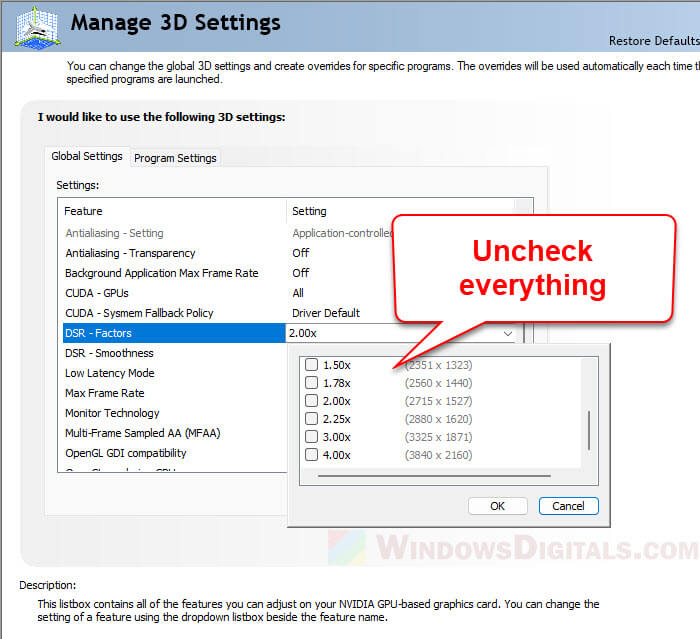
- Click “Apply” at the bottom right of the window to save your changes.

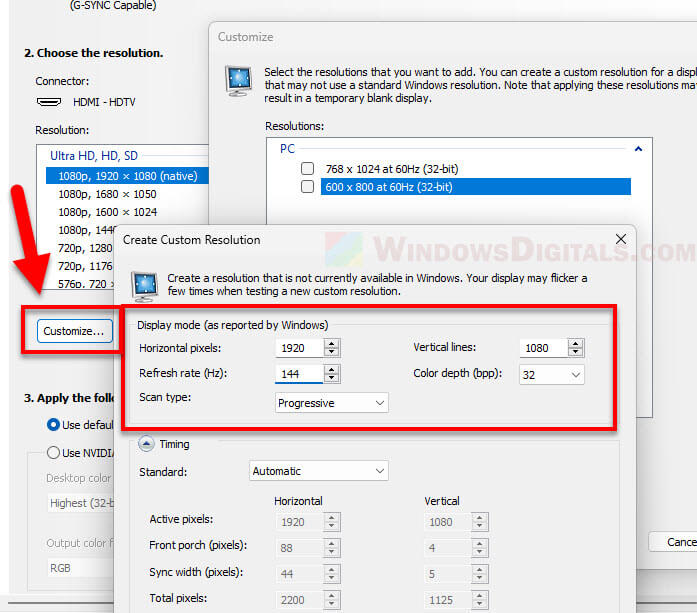
- Go back to the “Change Resolution” settings under the Display category in the NVIDIA Control Panel.
- Now, the “Customize” button should work. Click on it to start setting up the resolutions you want.
Linked issue: Windows 11 Screen Resolution Greyed Out, What to do?
Try a lower resolution first
If turning off DSR factors doesn’t work, you can try changing to a lower resolution temporarily. This workaround is often suggested on Reddit.
- Right-click on your desktop and choose “NVIDIA Control Panel”.
- Click “Change Resolution” in the Control Panel under the Display section.
- Find a resolution lower than what you are using now in the list, like changing from 1920×1080 to 1600×900.
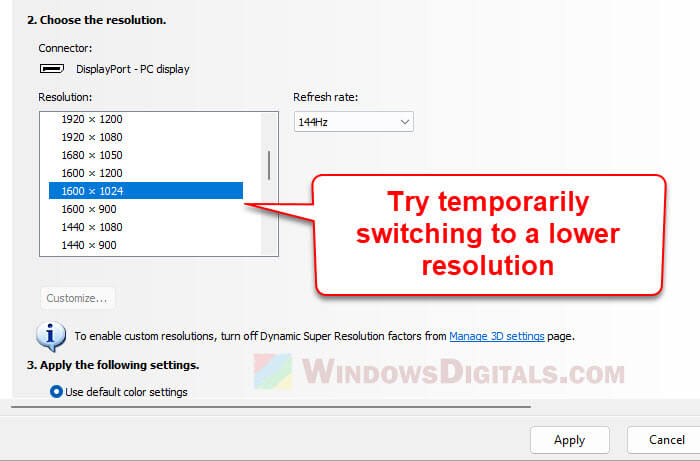
- Click “Apply” to switch to the new resolution. Confirm the change if asked.
- Go back and check the “Customize” button. It should work now, letting you set up your custom resolutions.
- After setting your custom resolutions, you can go back to your preferred higher resolution.
Related resource: How to Change Desktop Screen Refresh Rate in Windows 11
Restart your PC after turning off DSR factors
Sometimes, just restarting your computer might fix the problem, especially if you’ve already turned off the DSR factors.
- Make sure the DSR factors are turned off as shown in the first solution.
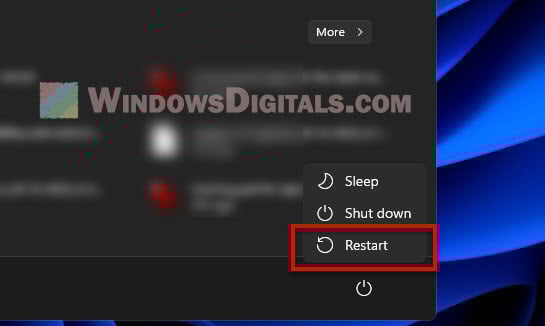
- Save any work and restart your computer through the Start menu or by pressing the power button, depending on your system setup.
- After restarting and logging back in, check if the “Customize” button in the custom resolution settings is clickable again.
Reinstall NVIDIA Control Panel
If none of the above works, you might need to reinstall the NVIDIA Control Panel.
- Open “Settings” on your computer.
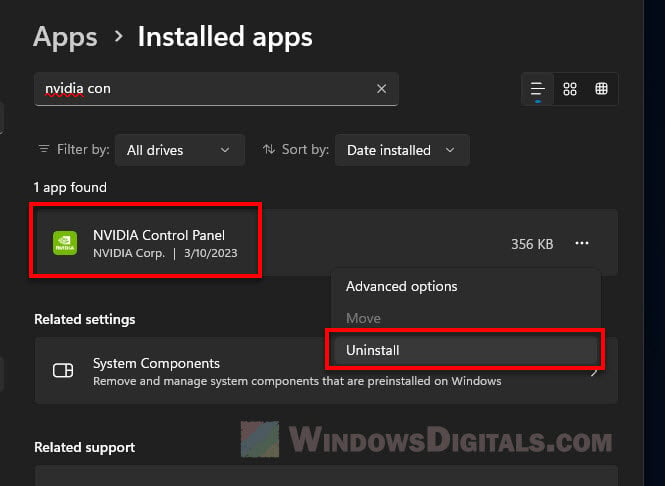
- Click on “Apps” then “Installed apps”.
- Find the NVIDIA Control Panel in the list of apps, click on it, and select “Uninstall”. Follow the steps to remove it.
- After uninstalling, restart your computer to remove all parts of the NVIDIA Control Panel completely.
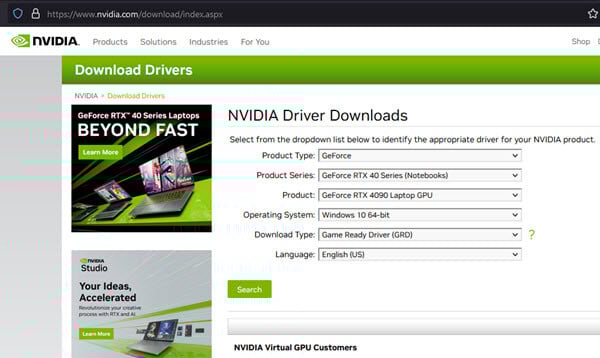
- Go to the NVIDIA website and download the latest drivers for your graphics card. This usually includes the NVIDIA Control Panel.
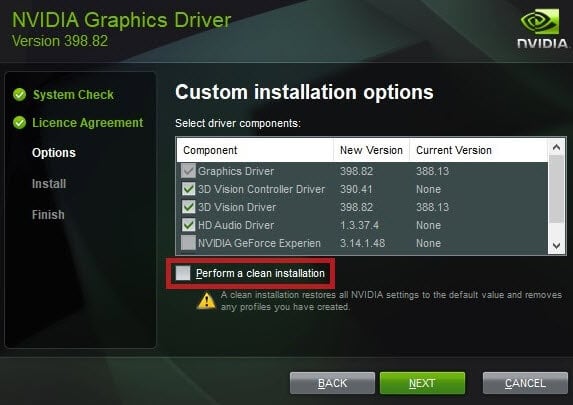
- Run the installation file and follow the steps to install both the drivers and the Control Panel. Choose a clean installation if it asks, as this removes old settings that might be causing problems.
- After installing, right-click on your desktop and choose “NVIDIA Control Panel” to open it.
- Check the “Change Resolution” section to see if the “Customize” button is available now.