For an awesome media play time, mixing Media Player Classic – Home Cinema (MPC-HC) with MadVR is a popular idea. Getting them to work on your Windows 11 or Windows 10 can be a little bit tricky since you will have to follow a bunch of complicated steps. This guide is here to walk you through everything – how to install them on your PC, set things up, and get the best out of MadVR and MPC-HC.
Also see: How to Add Subtitles to Video in Windows 11
Page Contents
What’s MPC-HC and MadVR?
MPC-HC (Media Player Classic – Home Cinema) and MadVR (Madshi Video Renderer) are two pieces of software that make watching videos on Windows knowingly great. They each have very useful features that can make videos look and sound better than they would without them.
MPC-HC is free and doesn’t make your computer slow. It plays all kinds of video and audio files, even the less common ones, without a fuss. It also has some nice features like subtitles, different video sizes, and shortcuts you can set yourself.
It’s made to be easy-to-use for everyone, but it has all the advanced settings that most video enthusiasts need. Even though the official updates stopped in 2017, old users out there are still keeping it going strong.
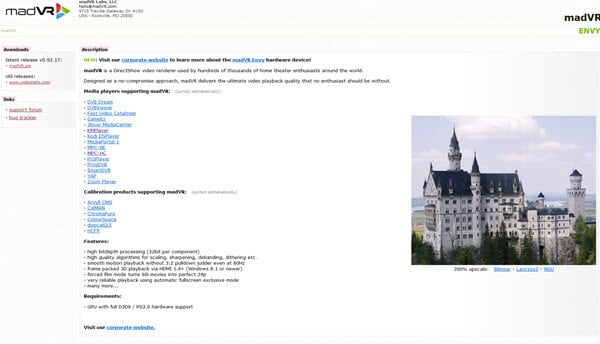
MadVR, is something you use with MPC-HC to make videos look even better. It’s great at making videos look crisp and clear, no matter if they’re low or high resolution. Plus, it makes colors look more real, especially if you’ve got a fancy HDR screen.
Useful tip: How to Cut Video Using VLC in Windows 11
Setting up MPC-HC and MadVR
Step 1: Get the software
First off, you need to download the software:
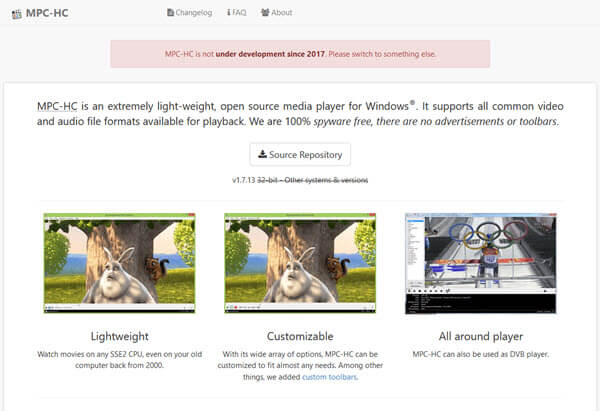
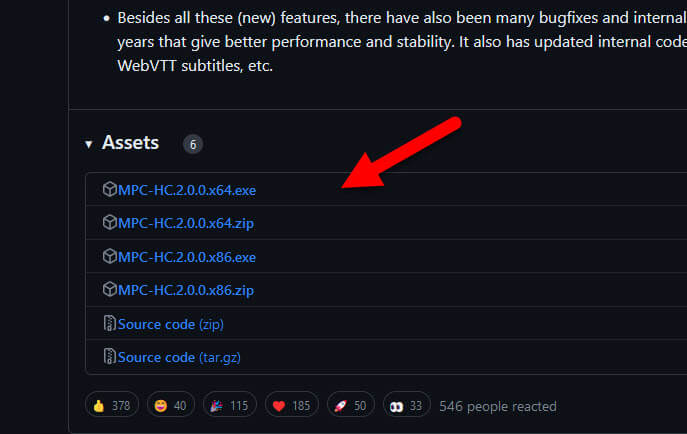
- MPC-HC: Go to the MPC-HC GitHub page and get the newest version. It’s an .exe file, so installing it is easy.
https://github.com/clsid2/mpc-hc/releases
- MadVR: Check out the MadVR site and download the latest version. It comes in a .zip file, so you’ll have to unzip it later.
https://madvr.com/
Step 2: Put MPC-HC on your PC
After downloading MPC-HC:
- Find the .exe file you downloaded and double-click it.
- Follow the setup instructions.
- Stick with the suggested settings, agree to the terms, and hit
Install.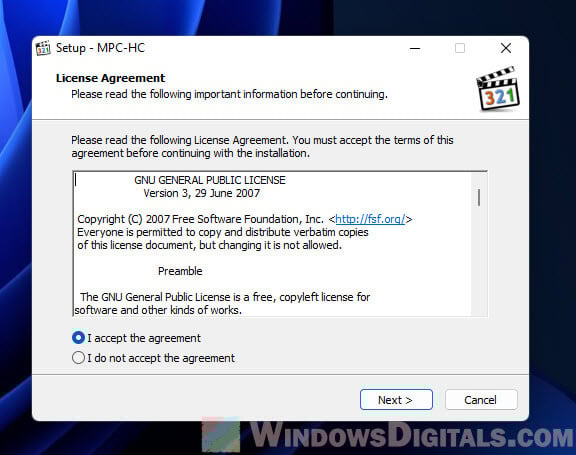
- Click
Finishwhen it’s done.
Pro tip: Convert SRT to 3D Subtitles and Add them to 3D Movies
Step 3: Get MadVR ready
After getting MadVR:
- Go to your Downloads folder and find the MadVR .zip file. Right-click and pick ‘Extract All…’.
- Open the
madvrfolder you just extracted. - Find
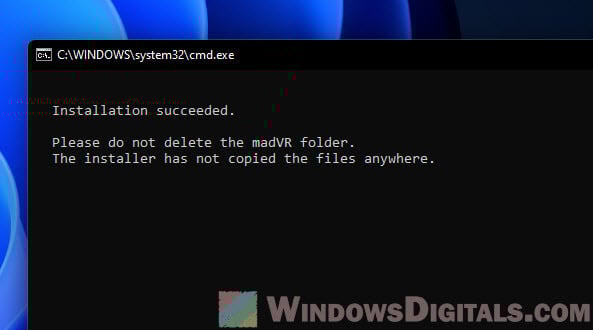
install.bat, right-click it and choose “Run as administrator“. Say ‘Yes’ if Windows asks for permission.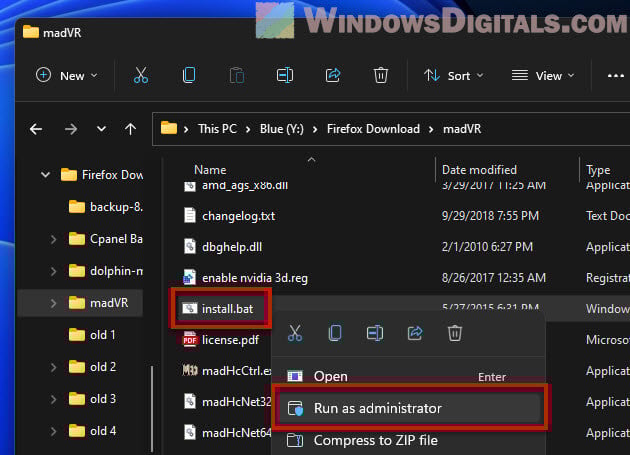
- A command window will pop up and then close. That means MadVR is ready to go.
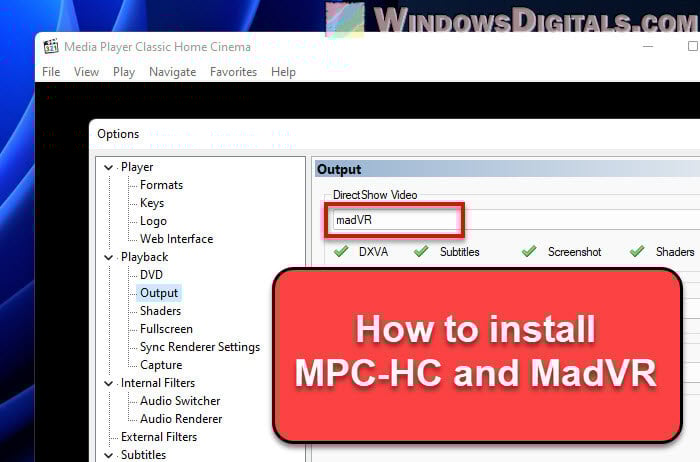
Step 4: Make MadVR the default renderer in MPC-HC
With both installed, here’s how to make MadVR the default renderer in MPC-HC:
- Start MPC-HC.
- Go to the menu, click on
View, thenOptions.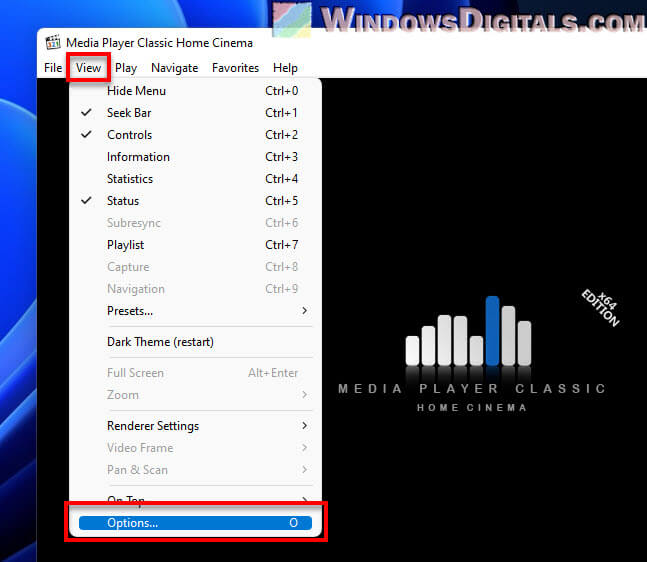
- Find
Playbackon the left, click the arrow to open it, and pickOutput. - Look for
DirectShow Videoon the right, click it and choosemadVR.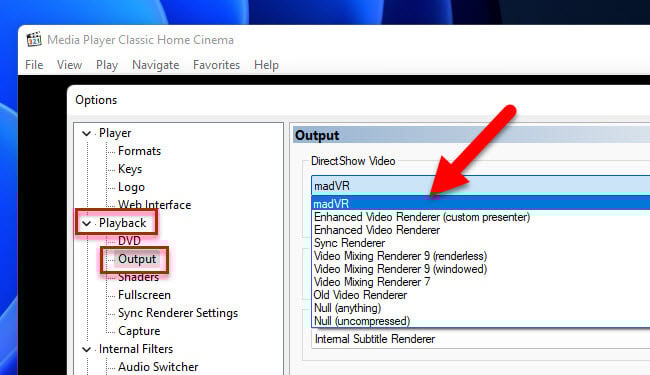
- Hit
Apply, thenOK.
Related resource: How to Play VOB Files on Windows 11
Testing your setup
To make sure everything’s working, play a video in MPC-HC:
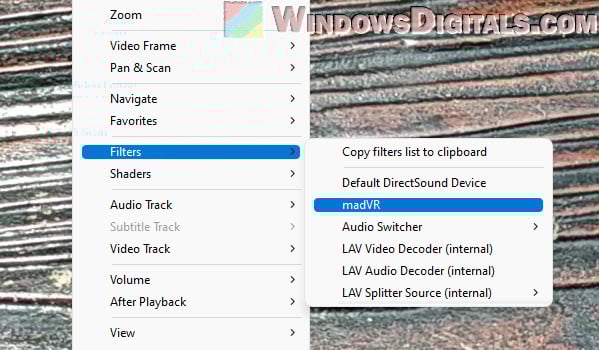
- Right-click the video, choose
Filters. - If you see
madVR, that means it’s using MadVR to show the video.
You’re all set! MPC-HC and MadVR are now up and running on your Windows. This combo gives you a top-notch video watching experience with great image quality and lots of custom settings.
Note that MadVR can use up a lot of resources (CPU, GPU, etc.) on your computer. If videos start to stutter or lag, you might need to tweak the MadVR settings or think about upgrading your hardware for the best experience.
Configuring MadVR in MPC-HC
After setting everything up, there are a few MadVR settings you might want to change to get everything running properly. To get to the MadVR settings, right-click on a video that’s playing, pick Filters > madVR and then Edit Settings. Here are some basics to start with:
- Go to
rendering > general settings. Turn onuse Direct3D 11 for presentationto keep videos smooth.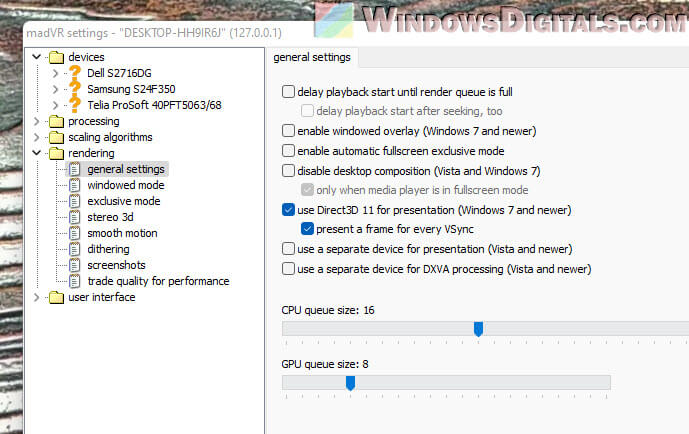
- Under
scaling algorithms, you will have options for making things look better when you make them bigger or smaller. Starting off withLanczos (3 taps)for making colors look good andBicubic60for making images clearer might be good. But know that the fancier settings will need a stronger computer.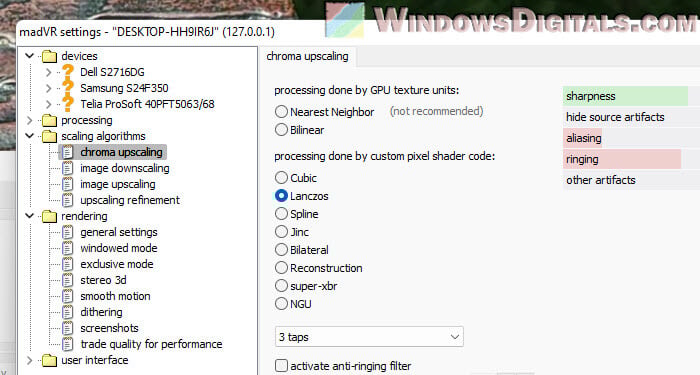
- If you’re into HDR technology and your screen can show it, check out
devices > hdrto make those videos look even sharper.
Play around with these settings to see what works best for your setup and what you like watching.
One last thing
That’s pretty much the rundown on setting up MadVR and MPC-HC. It might look a bit complicated at first, but stick with it and you’ll eventually get it done and seriously boost your video enjoyment. Don’t hesitate to tweak the settings to find what’s perfect for you.