If you’re on Windows 11, maybe using a Dell computer, you might have come across a file named WavesSvc64.exe in your Task Manager and wondered what it actually is. This curiosity might be because you’re seeing it use a lot of your CPU, memory, or disk space, which could slow down your computer. This guide will tell you what WavesSvc64.exe is, why it might be eating up so much of your computer’s resources, and how you can either stop or get rid of it if you want.
Also see: Why is My Memory Usage So High When Nothing is Running?
Page Contents
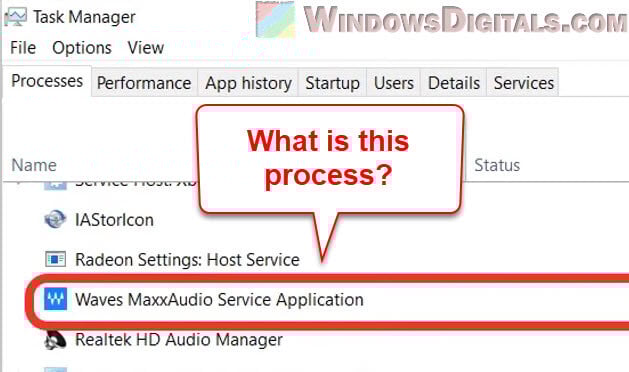
What is WavesSvc64.exe?
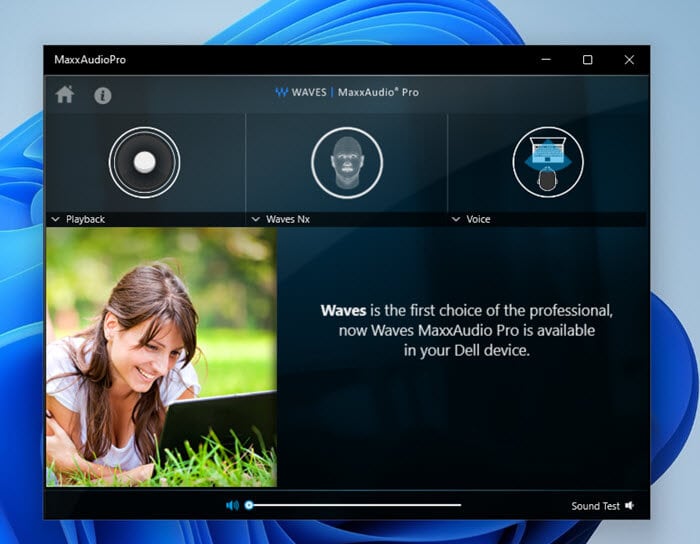
WavesSvc64.exe is a part of the MaxxAudio software made by Waves Audio Ltd, which is pretty common on Dell computers. It’s all about making your audio sound better and giving you more sound features.
The WavesSvc64.exe file is a crucial piece of the MaxxAudio suite. It manages lots of different audio tasks quietly in the background. It makes sure all the awesome audio enhancements and features from MaxxAudio are working well, giving you a great sound experience.
Useful guide: How to Know Which App is Using The Internet in Windows 11
Is WavesSvc64.exe a virus or malware?
Even though WavesSvc64.exe is usually safe and legit, it’s good to be careful with any .exe file. Sometimes, bad guys disguise their malware or viruses as these files, trying to trick you into letting them harm your computer.
Thus, it’s pretty important to make sure the WavesSvc64.exe file is where it should be (like in C:\Program Files\Waves\MaxxAudio\ or C:\Program Files\Realtek\Audio\HDA\) and that it’s downloaded from a place you trust, like Dell or Waves Audio’s official websites.
If WavesSvc64.exe is causing you trouble or you just want to learn more about it, reaching out to Dell’s help team or checking out Waves Audio’s info might be a good idea.
Related resource: How to Update Realtek Drivers in Windows 11
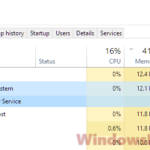
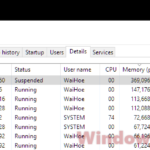
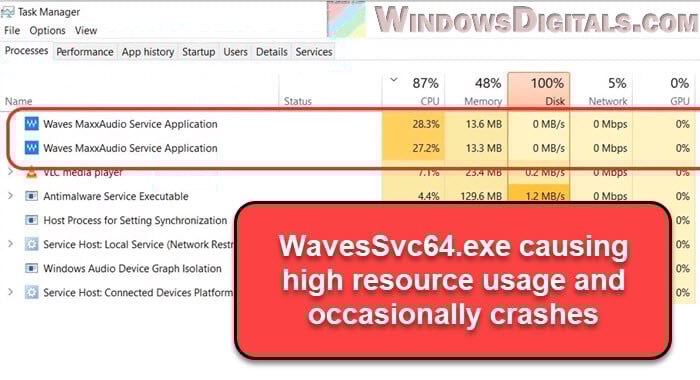
WavesSvc64.exe high CPU and memory usage
The purpose of WavesSvc64.exe is to give you great sound, but it’s not supposed to take up a ton of your computer’s power. If you notice it’s using too much CPU or memory, your computer might start to slow down.
There could be a few reasons why it’s using so much power:
- If your software is old, it might not run well, which can make it use more of your computer’s resources. Keeping everything updated helps your software run better.
- Sometimes, WavesSvc64.exe might not play nice with other software on your computer, causing problems and using up more resources.
- Bugs in WavesSvc64.exe or MaxxAudio could make them act up, using too much CPU or memory. If you think there’s a bug, it might be a good idea to talk to Waves Audio support or look online for help.
- In rare cases, something pretending to be WavesSvc64.exe could be malware. Make sure your antivirus is up to date and scanning your computer regularly.
Linked issue: High CPU Usage After Windows 11/10 Update (Fix)
How to disable WavesSvc64.exe from startup
If you’ve noticed that WavesSvc64.exe is using a lot of resources, stopping it from running when your computer starts might help. Here’s how to do that using Task Manager, MSConfig, and Services.msc.
Disabling WavesSvc64.exe via Task Manager
Here’s how to stop WavesSvc64.exe from starting up with your computer:
- Press Ctrl + Shift + Esc to open Task Manager.
- Go to the “Startup” tab.
- Look for Waves MaxxAudio Service Application or WavesSvc64.exe in the list.
- Right-click on it and choose “Disable”.
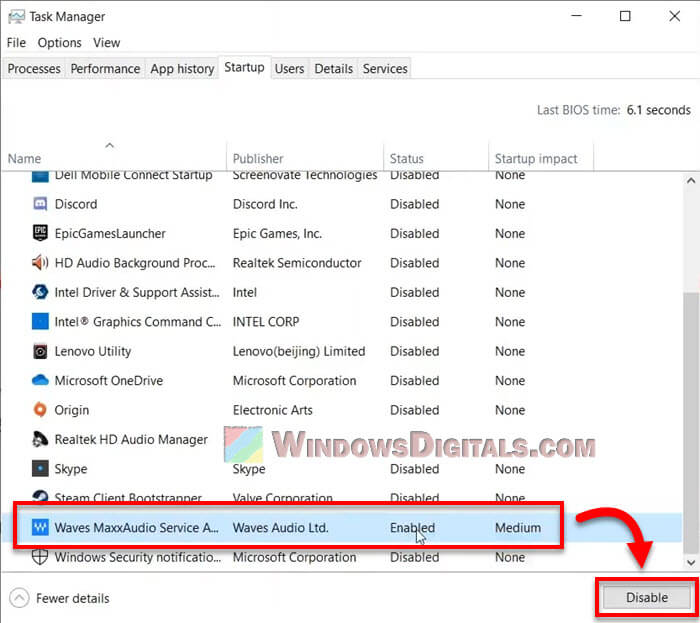
This should stop WavesSvc64.exe from starting up with your computer, which might help with the resource usage issue.
Pro tip: 30+ Windows 11 Services to Disable for Better Performance
Disabling Waves Audio Services via System Configuration
Next, let’s stop the “Waves Audio Services” service that goes with WavesSvc64.exe. We’ll use something called “msconfig”. Here’s how:
- Press Win + R to bring up the Run box.
- Type
msconfigand hit “OK”. - Go to the “Services” tab in the System Configuration window.
- Find Waves Audio Services in the list and uncheck the box next to it.
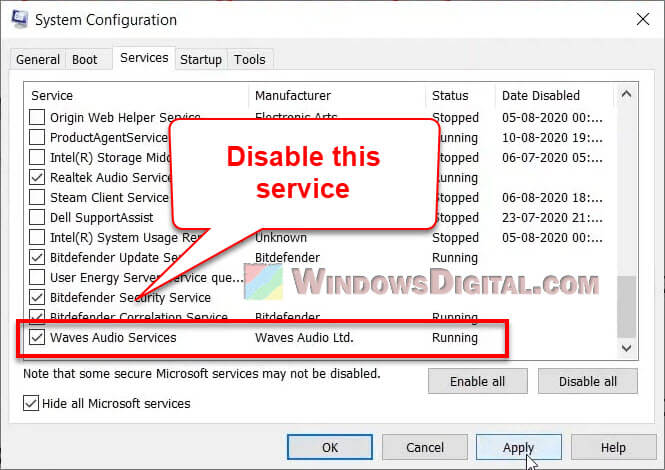
- Click “Apply” then “OK” to save your changes.
See also: How to Delete a Service in Windows 11 or 10 Using CMD
Optional: Disabling WavesSvc64.exe via Services.msc
If you want another way to turn off “Waves Audio Services”, you can use services.msc for a more direct approach. Here’s what to do:
- Press Win + R to open the Run box again.
- Type
services.mscand press “OK”. - Scroll down in the Services window until you find Waves Audio Services.
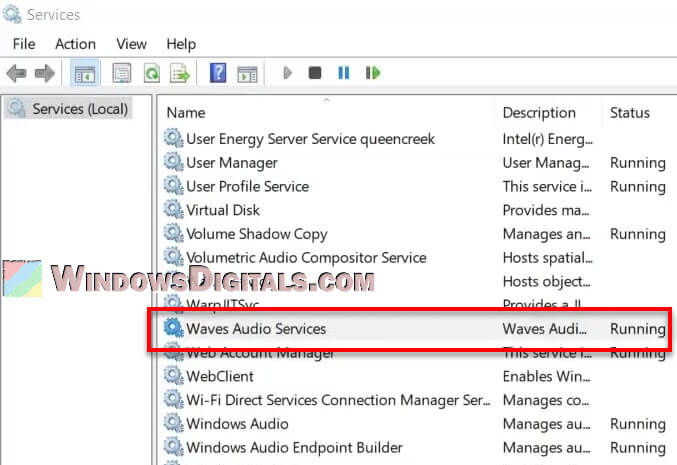
- Right-click on it and choose “Properties”.
- In the Properties window, change the “Startup type” to “Disabled” using the dropdown menu.
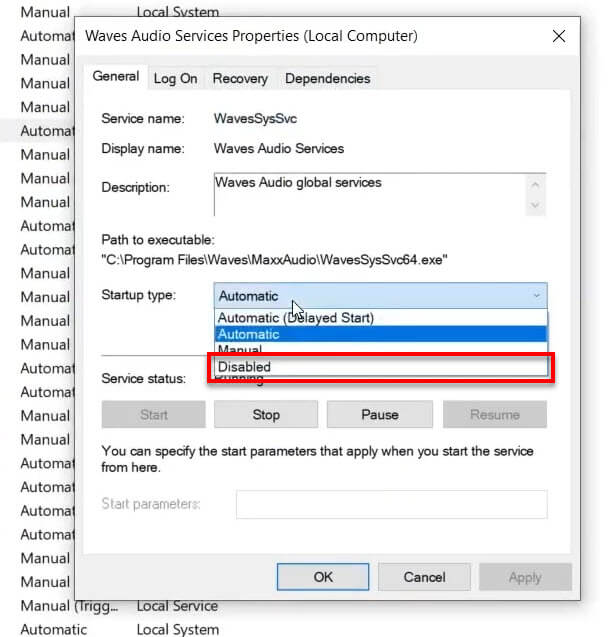
- Click “Apply” and then “OK” to save your changes.
WavesSvc64.exe crashes and shows “Application Error”
Sometimes, WavesSvc64.exe might crash and show an “Application Error” message. This could be because the software is outdated, there are corrupted files, or it’s clashing with other software.
A good step is to uninstall and then reinstall the Waves MaxxAudio application. Doing a fresh install makes sure any bad files are replaced. You can get the latest version for your Dell computer from the Dell website.
How to uninstall WavesSvc64
If you’re still having trouble and want to get rid of WavesSvc64 completely, you can do it through the Control Panel. Here’s how:
- Press Win + S and type “Control Panel” into the search bar.
- Click on “Uninstall a program” under the “Programs” section.
- Find Waves MaxxAudio in the list of installed programs and click on it.
- Hit the “Uninstall” button at the top of the list.
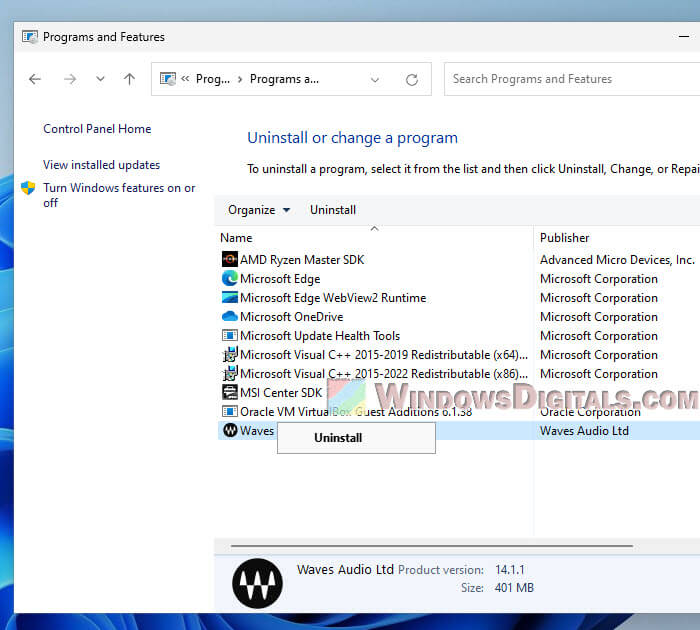
- Follow the steps that pop up to finish the uninstall process.
Just note that getting rid of WavesSvc64.exe might change how your sound works or the quality of it, especially if your audio devices depend on Waves MaxxAudio to sound amazing.
Related solution: How to Uninstall Drivers in Windows 11
Too long; didn’t read
WavesSvc64.exe is an important part of the MaxxAudio software that’s there to make your audio experience better. But sometimes, it might cause your computer to slow down because it’s using too much CPU, memory, or disk space. This is usually due to bugs, old software, or, though it’s rare, malware pretending to be WavesSvc64.exe.
Updating or reinstalling Waves MaxxAudio often fixes these problems. But if that doesn’t help, you might want to stop WavesSvc64.exe from starting when your computer does. This could cut down on how much of your computer’s resources it uses and make things run smoother, but you will also lose whatever features it has.