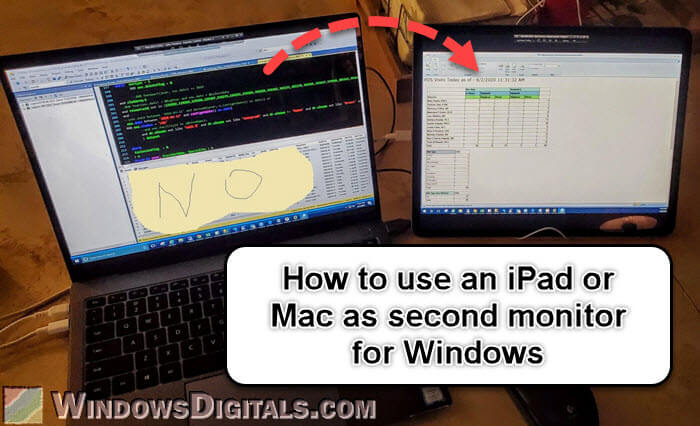
Whether you’re coding, designing, or working on multiple things at once, using an extra monitor can make you a lot more productive. You don’t have to go buy a new one straight away. You might already have what you need. Your MacBook, iPad, iMac, Android smartphone, or iPhone can actually become a great second screen for your Windows PC. We’ll show you how to set this up in this article.
Also see: How to Use Windows Laptop as Second Monitor for Mac
Page Contents
What you’ll need
Before we get into how to use your device as a second screen, below is a list of what you need to start:
- Your desktop or laptop should have Windows 11 or Windows 10. Make sure your graphics drivers are up to date to avoid any issues.
- Your second device could be a MacBook, iMac, iPad, iPhone, Chromebook, another Windows or Linux laptop, or an Android tablet or smartphone. Just make sure it’s fairly new so you get the best performance and compatibility.
- Both your Windows PC and your second device need to be on the same local network, either wired or wireless, with a stable and fast connection.
- We’re going to use software to make this connection work. A popular option is “Space Desk”. We’ll explain more about this software below.
Useful tip: How to Switch Between Monitors on Windows 11
How to use a MacBook, iPad, or any device as a second monitor for a Windows PC
Using a MacBook, iMac, iPad, or any other device as a second monitor for a Windows PC with “Space Desk” basically involves two main steps: installing the “Server” software on your Windows computer and the “Viewer” software on your second device.
Set up “Space Desk” on your Windows PC
The very first step is to set up the server part of Space Desk on your Windows computer.
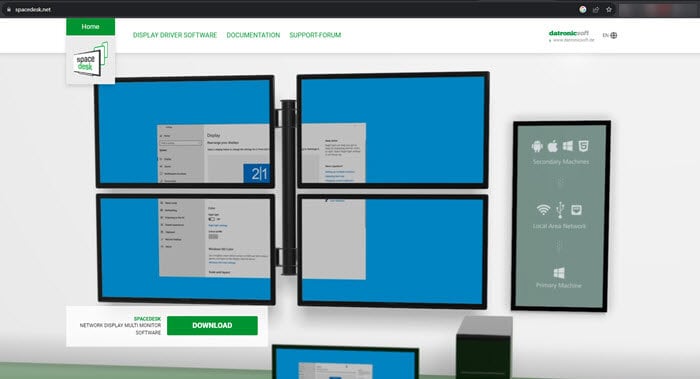
- Visit the official “Space Desk” website at
spacedesk.net. - Go to the “Downloads” section and pick the version that fits your Windows PC, whether it’s 32-bit or 64-bit.
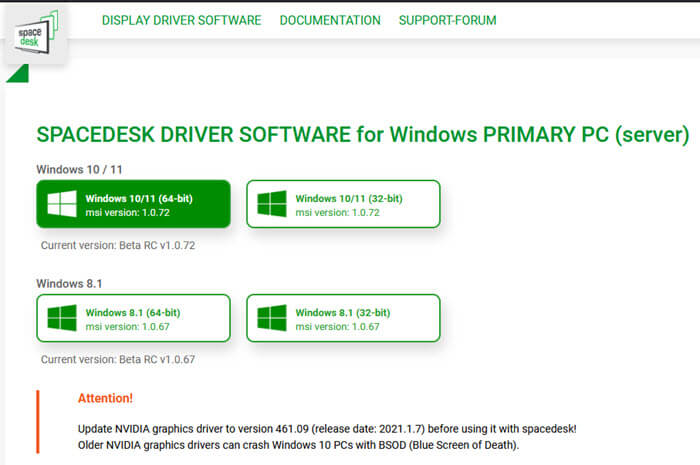
- After downloading, run the installer and follow the instructions on your screen.
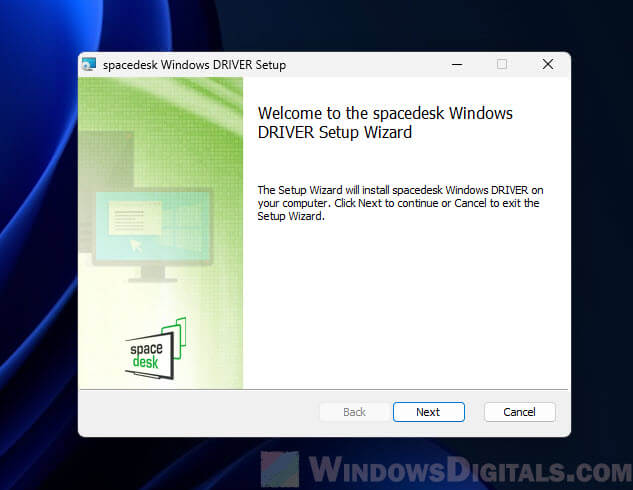
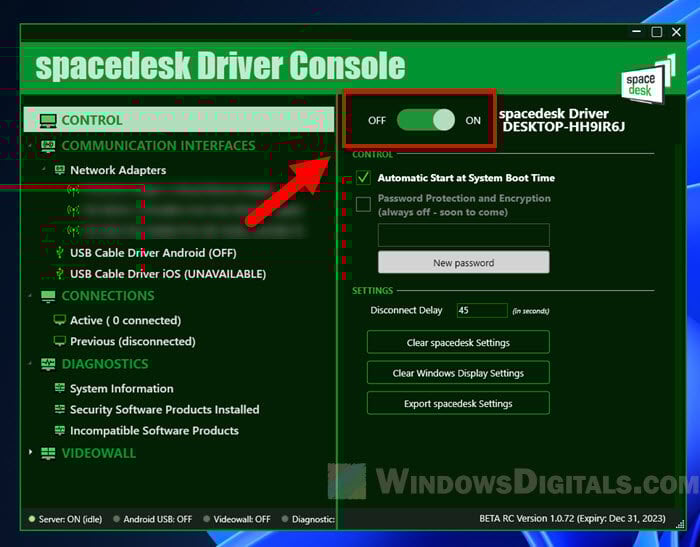
- Once installed, click on the “Space Desk” icon in your system tray.
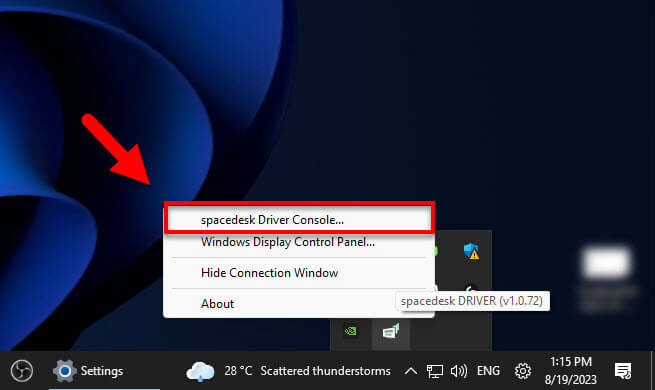
- Make sure the “Space Desk SERVER” is set to “ON”. This lets your second device find your Windows PC as a second display.
Related resource: Windows 11 Different Wallpaper on Each Monitor
Configure your device as the second monitor for your Windows PC
Now, let’s prepare your second device to act as an extended display:
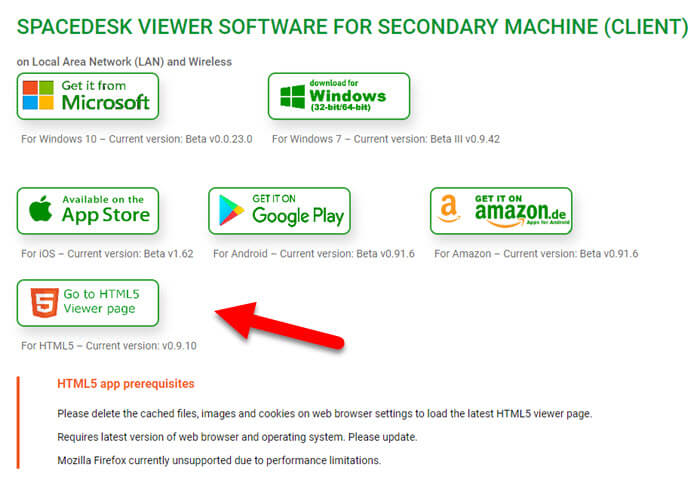
- Go back to the Space Desk website, but this time check out the “Viewer” section.
- Pick the viewer software that matches your device’s operating system.
- If you have an iPhone or iPad, get the spacedesk app from the Apple App Store.
- If you have an Android tablet or smartphone, download spacedesk from Google Play.
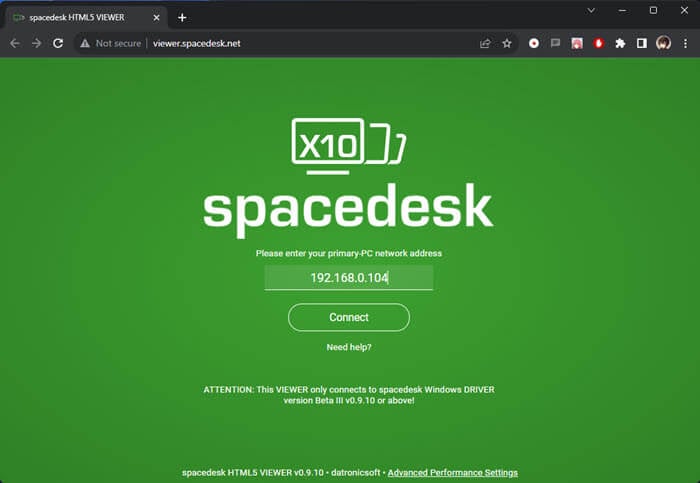
- For other devices, open a web browser and go to the “Go to HTML5 Viewer page”.
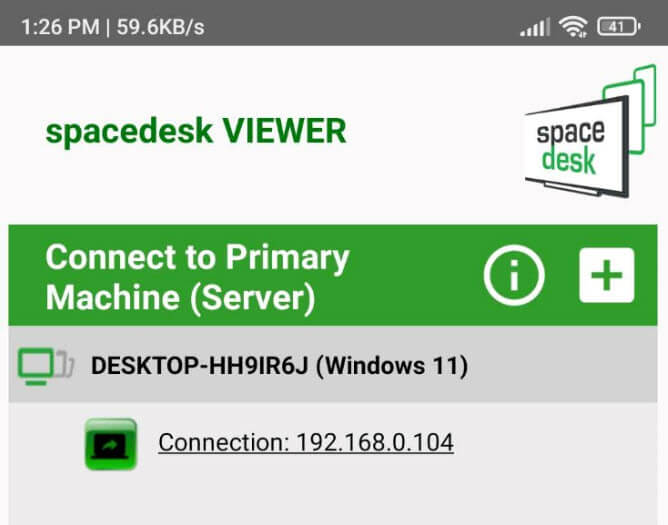
- Open the “Space Desk Viewer” app on your second device.
- Make sure both your second device and your Windows PC are on the same Wi-Fi network.
- In the viewer app, you should see your Windows computer’s local IP address listed as an available display. Click on it to start the connection.
- If you’re using the HTML5 Space Desk Viewer in a browser, you might have to type in your Windows PC’s IP address manually. Learn more: How to Check IP Address in Windows 11.
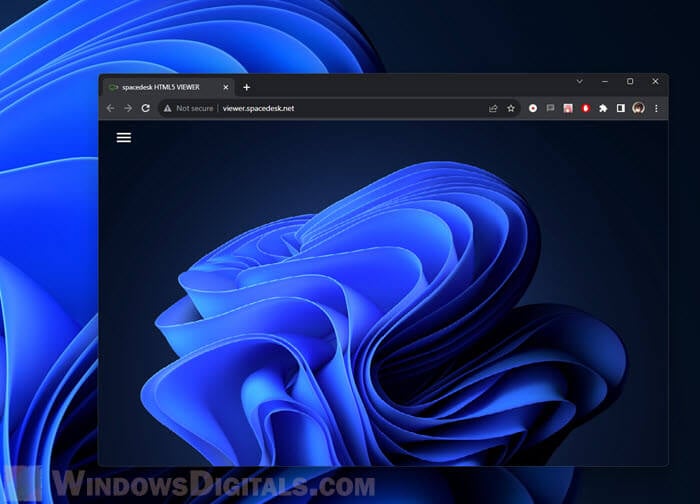
Your devices should now be connected. On your second device, like a MacBook, iPad, or whatever else, you’ll see an extended version of your Windows PC screen. If you move your mouse to the edge of your main Windows screen, you’ll see it pop up on the second device’s screen.
Linked issue: Second Monitor Not Detected After Upgrading to Windows 11
Tip: Arrange the monitor positions in Windows 11 or 10
After connecting your second device as a monitor, you also need to place it correctly next to your main display. This should make using both screens more comfortable.
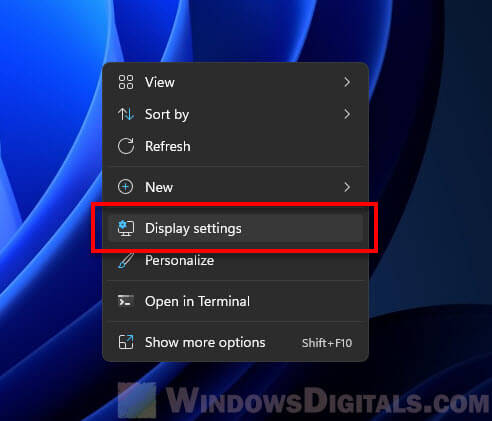
- Right-click on an empty part of your Windows desktop.
- Choose “Display settings” from the menu that pops up.
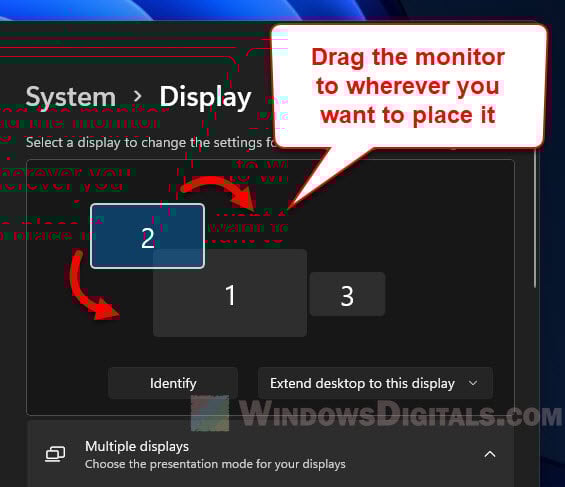
- In the Display settings, scroll down to the “Multiple displays” section.
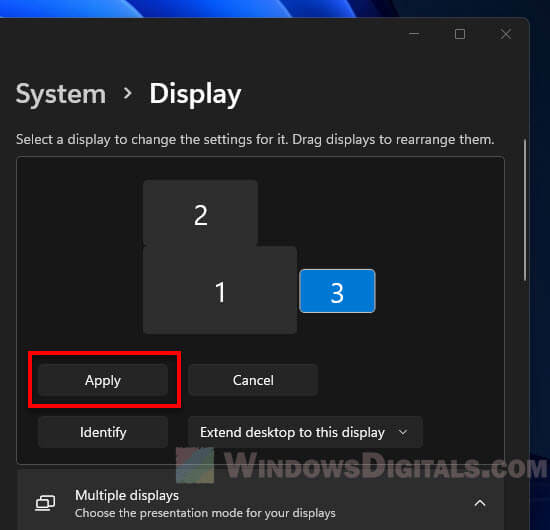
- You’ll see a visual layout of all your screens, each labeled with a number.
- Click on the number that represents your second screen (it might be “2” if it’s your only extra screen).
- Drag it to where you want it relative to your main screen (number “1”). For example, if your second screen is to the left of your main screen, move the number “2” box to the left of the “1” box.
- You can also position it above, below, or even diagonally to your main screen, depending on your setup.
- Try moving your mouse between the screens to check if the setup works as you want.
- Once you’re happy with the setup, scroll down and hit the “Apply” button.
Relevant guide: How to Display Different Things on Two Monitors in Windows 11
How Space Desk turns devices into extra screens
It might seem like magic how a MacBook, iPad, or other devices can become a second screen for your Windows PC. Space Desk makes all this possible, and the below are some explanations of how it actually works.
- When the “Space Desk” software is running on your Windows PC, it acts like a server, ready to send a display signal. It waits for a device, the “viewer”, to connect and show its screen.
- On your second device, when you run the “Space Desk Viewer”, it looks for available servers. Once it finds and connects to your Windows PC, it can show whatever your Windows PC is displaying, making it work like a second screen.
- Once they’re connected, you can move windows or apps from your main Windows screen to your second device’s screen, just like with a normal dual-monitor setup.
If you prefer a hardware solution, like using HDMI or other cables, that’s a different method and can be more complicated between a Mac and a Windows PC because they use different technologies and have different hardware. Using “Space Desk” is mostly software-based and tends to be easier and more flexible.
Some final words
Many of us have old devices like an unused MacBook or iPad lying around. Instead of letting them collect dust, why not turn them into a second monitor for your Windows PC?
It’s a good way to use these devices again and it makes working with multiple tasks much easier. With tools like Space Desk, you can make it happen very easily. Thus, before you think about buying a new monitor, consider using what you already have. It might just be the perfect solution.