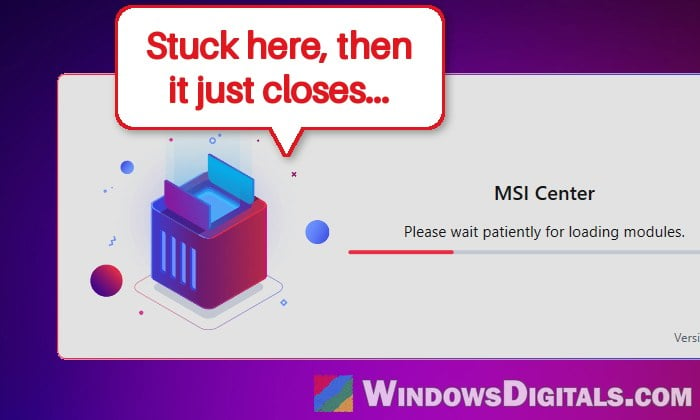
MSI Center asks for permission when you start it, shows a loading screen, and then opens so you can set your fans, RGB lighting and performance modes. On some MSI motherboards and laptops, though, it keeps asking for permission but never opens, loads for a moment and then closes, or only works after you set its service back to “Automatic” in Services every time the PC starts. This guide will explain why MSI Center stops opening and what you can do to get it working again.
Also see: How to Change Color of RGB or ARGB Fans on PC
Why won’t MSI Center open?
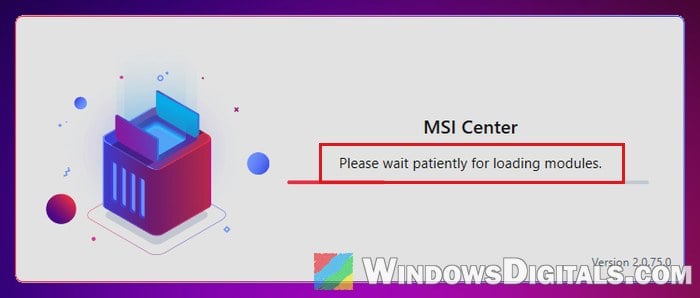
MSI Center doesn’t work on its own. The first time it starts, it installs a background part called MSI Center SDK along with a service named “MSI Center Service“, and the app can’t do anything without them. That first start can sit on “Please wait patiently for loading modules” for a few minutes while it sets these up.
When it won’t open, it’s often one of these:
- MSI Center Service is stopped or disabled, so the app has nothing to talk to.
- A broken install or update, such as leftovers from an older version or from Dragon Center.
- Another RGB or fan control app that can get in the way, since both want the same devices.
- A wrong Windows setup value in the registry, which makes MSI Center think Windows hasn’t finished setting up. MSI links this one to the error “MSI.CentralServer.exe is abnormal. please restart your computer to launch MSI Center.” If you see that error and installed Windows yourself, check the ImageState value at the end of this guide first.
Restart, then run MSI Center as administrator
It sounds too simple, but MSI’s own error message asks for a restart, and MSI’s guide says to start MSI Center as an administrator.
- Restart your PC.
- Click the search box on the taskbar and type “MSI Center“.
- Right-click MSI Center and select “Run as administrator“, or click “Run as administrator” on the right side of the search results.
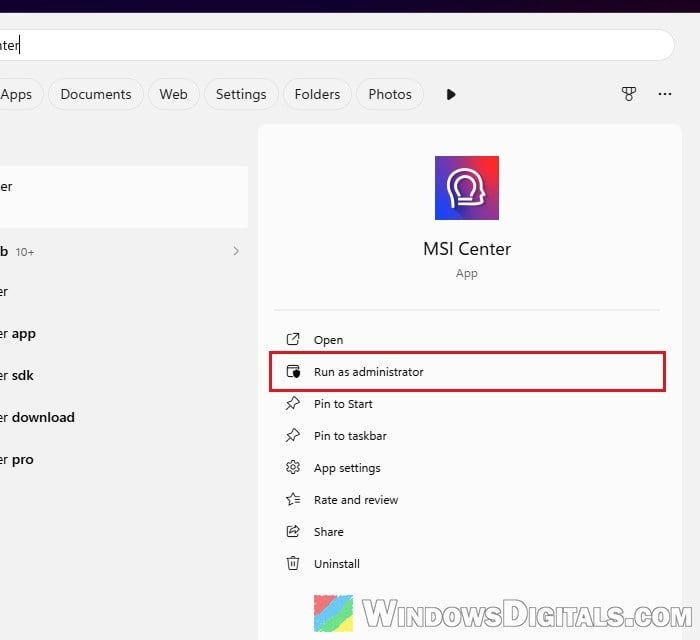
- Click “Yes” when Windows asks whether to allow the app to make changes.
If it shows “Wait for MSI Center installing” or “Please wait patiently for loading modules“, leave it alone for a few minutes. MSI’s guide says to wait until it’s done and follow anything it asks on screen.
Check that “MSI Center Service” is running
If MSI Center still loads and closes or never opens, check its service next. If it’s been set to Disabled, MSI Center can’t start, and setting it back to Automatic gets it working again.
Here’s how to do it:
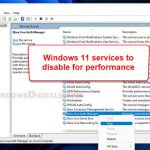
- Press Win + R, type
services.mscand press Enter. - Find “MSI Center Service” in the list and double-click it.
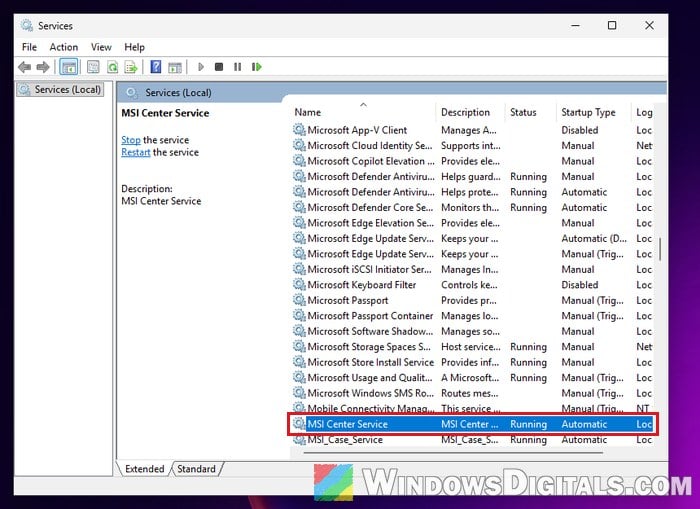
- Set “Startup type” to “Automatic” and click “Apply“.
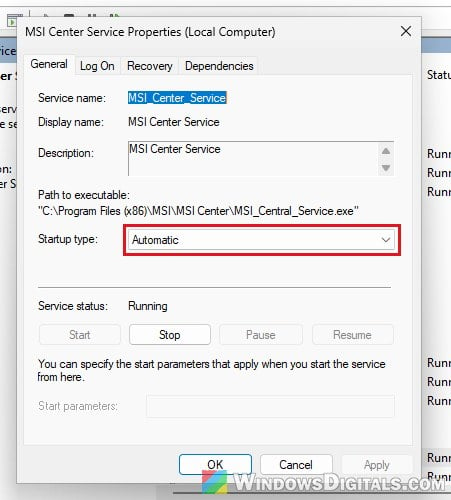
- If “Service status” says “Stopped“, click “Start“, then “OK“.
- Do the same for “MSI_Case_Service” if it’s in the list too.
Open MSI Center again (as administrator) and see if it loads this time.
Linked issue: Services.msc “Startup Type” Greyed Out in Windows 11 or 10
What if it goes back to “Disabled” after every restart?
Then something on your PC keeps switching it off, and setting it back by hand each time only hides the problem. A clean reinstall and an antivirus exclusion haven’t stopped it either, and there’s no known cause yet. If you haven’t used MSI’s own Clean Center Master (below), it removes more than a normal uninstall, so it’s still worth a try. If you also run another lighting app, the next section is worth a quick check first.
Close other RGB or fan control apps
MSI Center (through Mystic Light) and apps like SignalRGB both want to control the same lighting hardware. SignalRGB itself says MSI Center’s SDK service can block it from that hardware, so the two can get in each other’s way.
If you use SignalRGB or another lighting app, close it completely from the system tray (the arrow at the right end of the taskbar), then open MSI Center again. If MSI Center works with the other app closed, you’ll have to pick one of them to control your lighting, or at least don’t let both start with Windows.
Might be useful: How to Disable Startup Programs in Windows 11
Do a clean install with MSI’s Clean Center Master
This is the fix MSI recommends when MSI Center has missing functions, acts strangely or fails to launch. MSI made a small tool for it, Clean Center Master, that clears MSI Center’s cache and removes it with its related components in one go.
Please note that the tool restarts your PC by itself when it’s done, so save your work first. MSI has a separate guide for laptops that use MSI Center S instead.
- Go to MSI’s clean install guide at
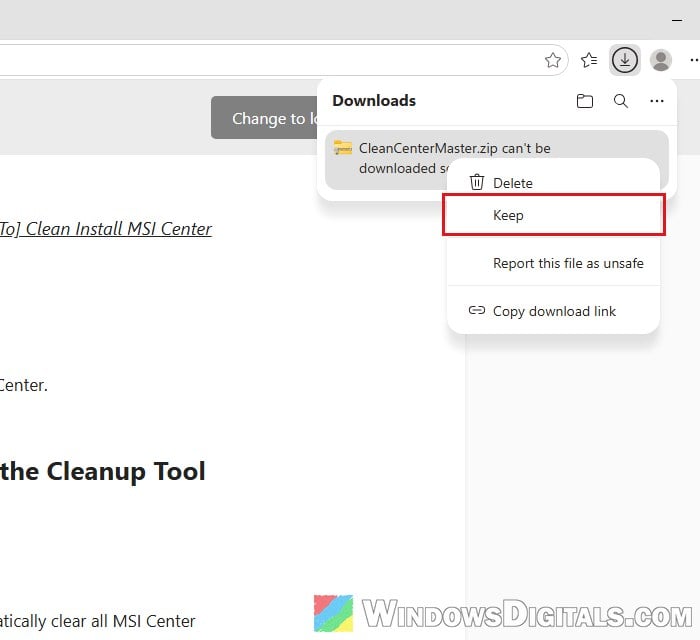
https://www.msi.com/faq/4147and click the “Clean Center Master” link under Step 1. - Microsoft Edge may say “CleanCenterMaster.zip can’t be downloaded securely“. Right-click the download, select “Keep“, then click “Keep anyway“.
- Extract the ZIP file and run Clean Center Master. If Windows asks for permission, click “Yes“.
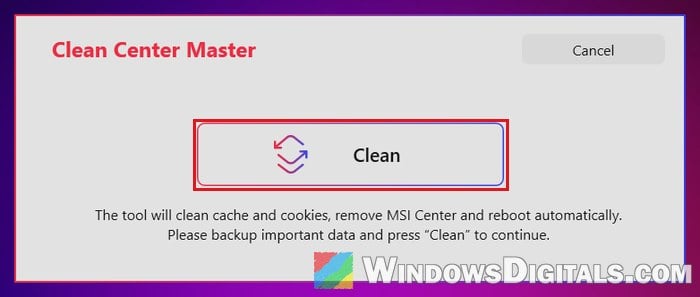
- Click the “Clean” button in the middle of the window and wait. The PC restarts once the cleanup is finished.
- After the restart, go to your MSI product’s support page, open “Utility & Others” and click the MSI Center download link. It sends you to MSI Center in the Microsoft Store, where you click “Get” or “Install“.
- Right-click MSI Center in Start search and select “Run as administrator“. Let it finish “Waiting for SDK initialization” and any other progress bar it shows.
- When it says “MSI Center has been installed or updated, please restart your computer to apply the new settings.“, click “Restart now“.
The clean install is done after that restart. It doesn’t fix it for everyone, but it clears out a broken update and any old Dragon Center leftovers.
Check the “ImageState” value in the registry
This one is for PCs where you installed Windows yourself (a clean install or a self-built PC), and especially if MSI Center says “MSI.CentralServer.exe is abnormal“. According to MSI, MSI Center checks a registry value that says whether Windows finished its first-time setup. If that value is wrong, MSI Center thinks setup isn’t done and stops loading. MSI says laptops with the Windows they came with don’t run into this.
Changing the registry the wrong way can cause serious problems in Windows, and MSI warns that the change can’t be undone, so back up your important files first, or at least create a system restore point. If you’re not sure what you’re doing, it’s better to get someone to help you instead.
- Press Win + R, type
regeditand press Enter. You need to be signed in with an administrator account. - Copy and paste the following path into the address bar at the top and press Enter:
HKEY_LOCAL_MACHINE\SOFTWARE\Microsoft\Windows\CurrentVersion\Setup\State
- Look at the “ImageState” value on the right.
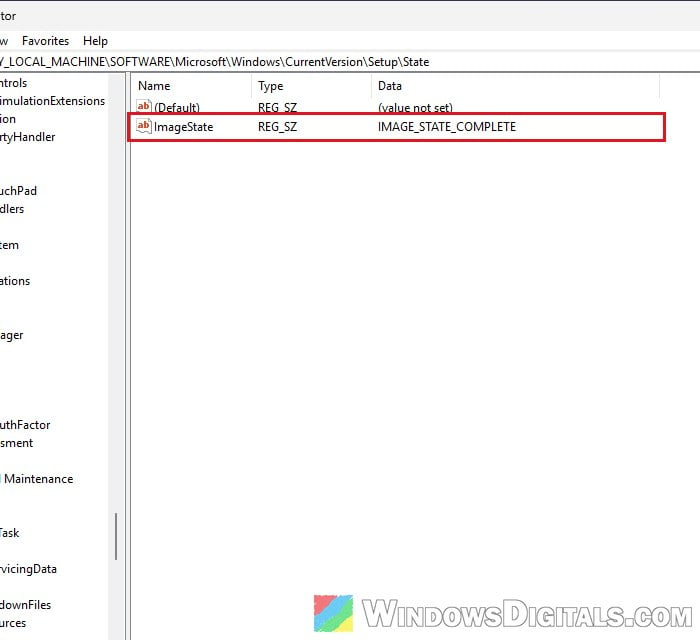
- If it says IMAGE_STATE_COMPLETE, it’s already correct, so this isn’t your problem. MSI suggests contacting its technical support at this point.
- If it says something else, such as IMAGE_STATE_UNDEPLOYABLE or IMAGE_STATE_GENERALIZE_RESEAL_TO_OOBE, double-click “ImageState“, change the value to “IMAGE_STATE_COMPLETE” and click “OK“.
- If you changed it, restart your PC and open MSI Center again.
If MSI Center still won’t open after all of this, contact MSI support with your model and what you’ve tried. A couple of users only got MSI Center working again after a full Windows reinstall, so keep that as the very last option.