Some games need a lot of RAM to run well. If your PC doesn’t have enough, you might see the game lag or even crash. This guide will show you how to give more RAM to a game on Windows 11 or Windows 10, so you can play the game more smoothly and without any trouble like insufficient memory.
Also see: How to Fix Game Stuttering on Windows 11

Page Contents
How does RAM allocation work?
RAM, or Random Access Memory, is super important for your computer. It keeps the data that your games and apps need to run. Giving more RAM to a game means it can use more of your computer’s memory, which makes the game run smoother, with less lag and quicker loading times.
But, you’ve got to make sure you don’t give all your RAM to just one game. Your other apps and the system itself need some to work well too.
Useful tip: How to Clear RAM Cache in Windows 11
Also, giving a game more RAM than it needs doesn’t always make it run better. Every game needs a certain amount of RAM, and if you give it too much, it won’t really use it. This could even make things worse, as other apps might not get the memory they need.
Relevant concern: Why is My Memory Usage So High When Nothing is Running?
Check your system’s RAM
Before you start, check how much RAM your computer has and how much it’s using.
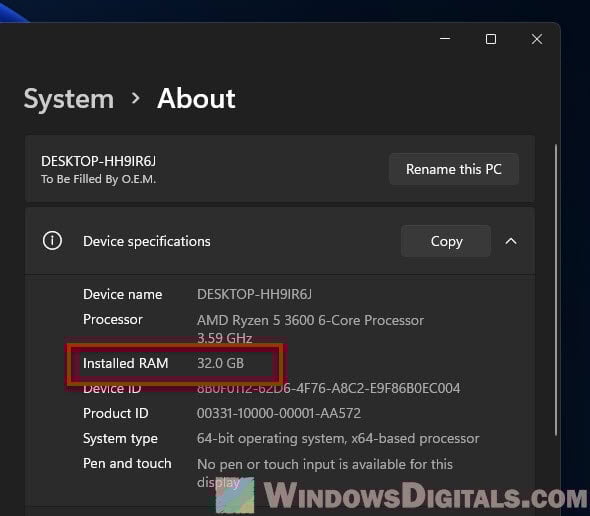
- Right-click on the Start button and choose System.
- Look under the Device specifications section, and you’ll see how much RAM you have next to Installed RAM.
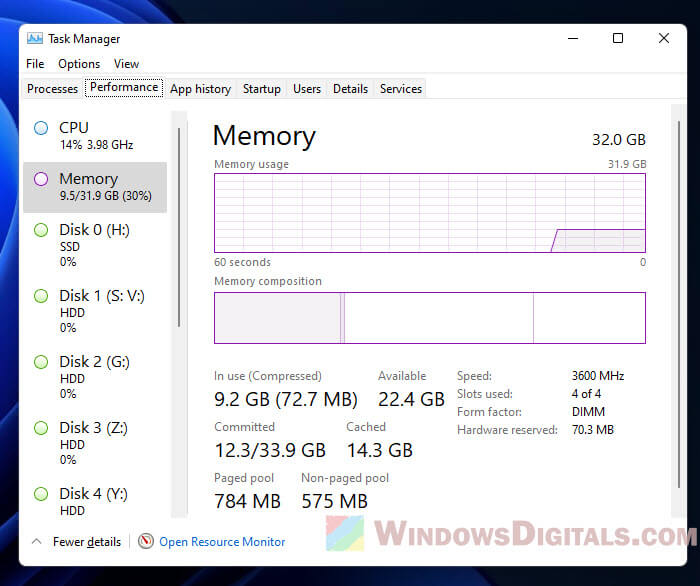
- Press Ctrl + Shift + Esc to open the Task Manager.
- Click on the Performance tab and then on Memory. Here, you’ll see the total RAM and how much is currently being used.
Make sure there’s enough free RAM before giving more to a game, so you don’t slow down other apps.
Handy hint: How to Reduce Hardware Reserved Memory in Windows 11/10
Allocate more RAM to a game by setting its priority
One way to give a game more RAM is by changing its priority in the Task Manager. This tells your computer to focus on the game more than other stuff.
- Start the game you want to give more RAM to.
- Press Ctrl + Shift + Esc to open the Task Manager.
- Click on the Details tab.
- Find the game in the list, right-click it, and choose Set priority.
- Select High or Above Normal to give more resources to the game.
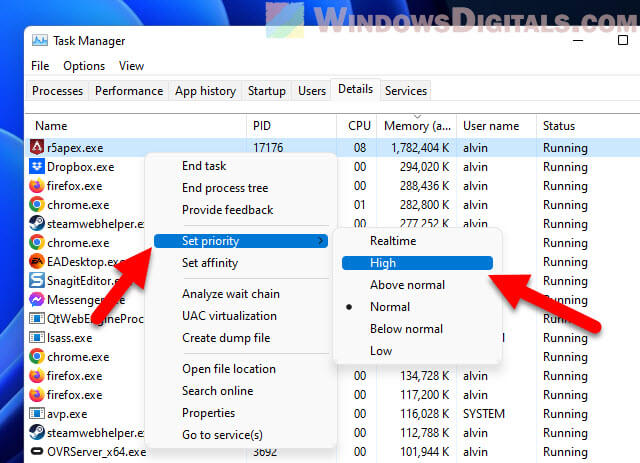
Note: If you set the game’s priority too high, it might affect other apps.
Related issue: Game Lag When Watching YouTube or Twitch on Chrome
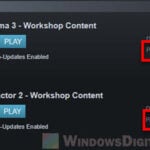
How to give more RAM to a Steam game with “heapsize”
If you play games on Steam, there’s a trick called “heapsize” that lets you give more RAM to your games. The “heapsize” thing is a command that tells the game how much memory (in kilobytes) it can use for keeping game stuff like assets and data. Here’s how you do it:
- Start the Steam app and head to your Library.
- Find the game you want to boost, right-click it, and choose Properties.
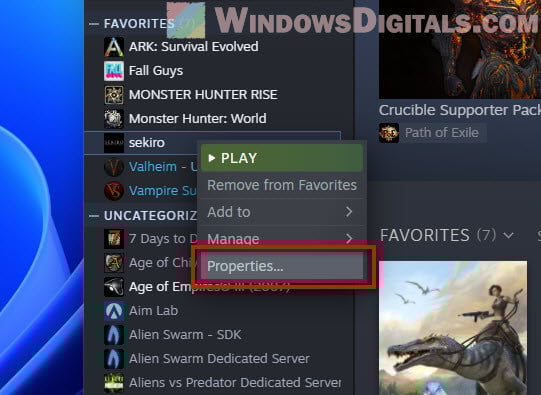
- Hit Set Launch Options.
- Type
-heapsize [value], but swap[value]with how much memory you want in kilobytes. Like, for 2 GB of RAM, punch in-heapsize 2097152(since 1 GB = 1024 * 1024 KB).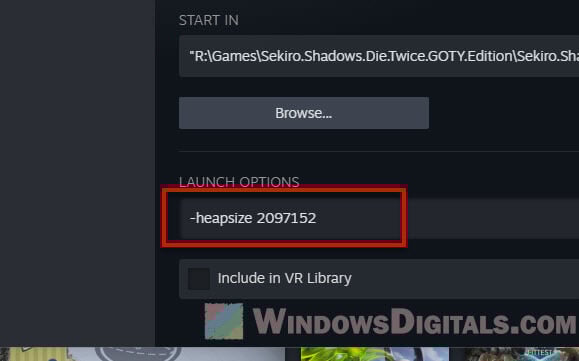
- Click OK and shut the Properties window.
Now, when you start the game, Steam will use the RAM amount you set.
Other similar issue: 16GB RAM Installed Only 8GB Usable in Windows 11
Giving more RAM to Minecraft (Example)
Minecraft is a game where you can also give it more RAM. This time, you use something called JVM arguments in the Minecraft Launcher. Here’s how:
- Open the Minecraft Launcher and hit Installations.
- Mouse over the setup you want to tweak, click the three dots, and pick Edit.
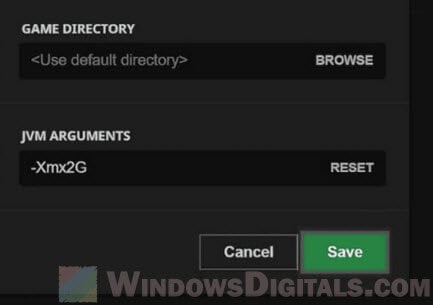
- Tap on More Options.
- Find the JVM Arguments box. There’s a part that says
-Xmx2G, which means it’s set to use up to 2 GB of RAM. - Change the number after
-Xmxto how much RAM you want. Like, for 4 GB, switch-Xmx2Gto-Xmx4G. - Hit Save and start the game with your new setup.
Other games might have their own ways to get more RAM, so it’s good to look up how to do it for each game.
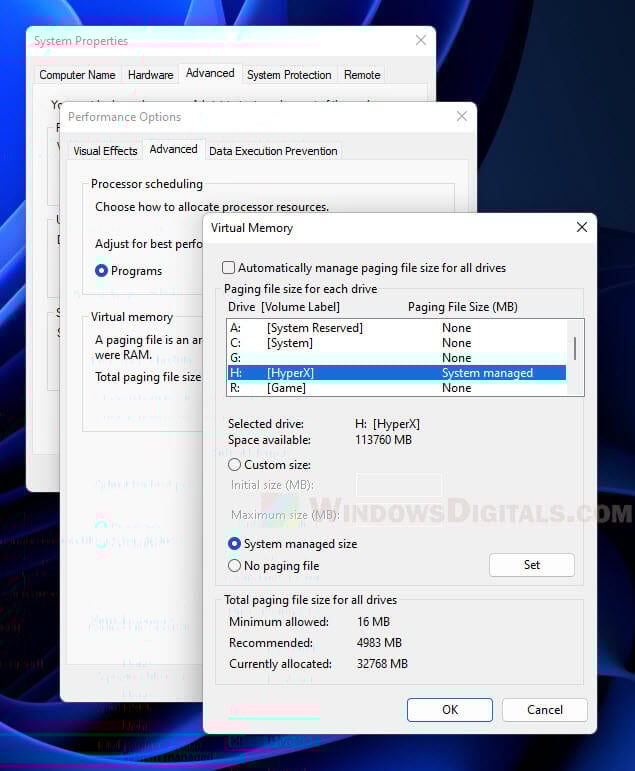
How to tweak virtual memory
Virtual memory is like extra RAM but on your hard drive. Windows uses it when you run out of real RAM. Changing virtual memory won’t make games run better, but it can stop some errors from happening. Here’s how to adjust it in Windows 11/10:
- Right-click the Start button and choose System.
- Click Advanced system settings.
- Under Performance, hit Settings.
- Go to the Advanced tab and click Change in the Virtual memory area.
- Uncheck Automatically manage paging file size for all drives.
- Pick the drive with your game and choose Custom size.
- Set initial and max sizes for the paging file in MB. The tip is to make the max size 1.5 to 3 times your RAM.
- Press Set, then OK.
Adding more virtual memory uses more disk space and might slow down other apps, so keep an eye on your computer’s speed and change things if needed.
Recommended tip: 30+ Windows 11 Services to Disable for Better Gaming Performance
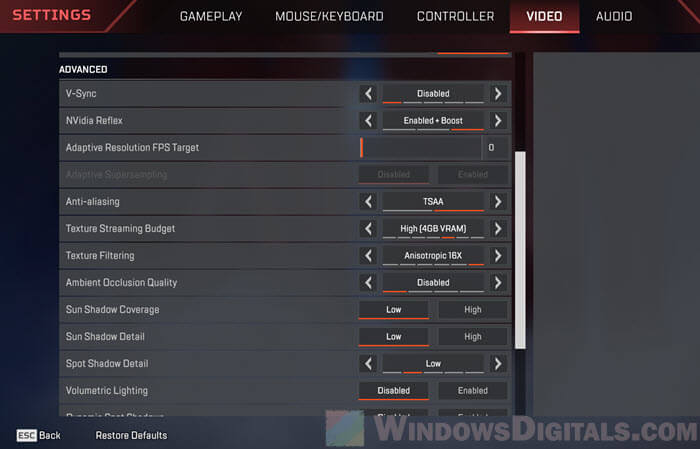
Make your game run smoother by adjusting settings
Besides giving games more RAM, tweaking their settings can also make them run better. Lots of games let you change things like:
- How sharp the picture is
- How detailed things look
- Shadows
- Smooth edges (Anti-aliasing)
- Light and shadow effects (Ambient occlusion)
- How far you can see (Draw distance)
Play around with these settings to see what works best on your computer. Lowering them can make the game run smoother without needing so much RAM or other resources.
Some final words
In the end, RAM is not about “more is good”. An app or game only needs what it needs. Allocating more RAM than a game needs will not improve your FPS or anything at all when you play the game. The task manager’s priority settings should do the job just fine for you when it comes to allocating resources for your games. Also, instead of RAM, you should focus more on other resources that the game can use, such as CPU and GPU. Those are the things that can really improve your FPS and overall smoothness.