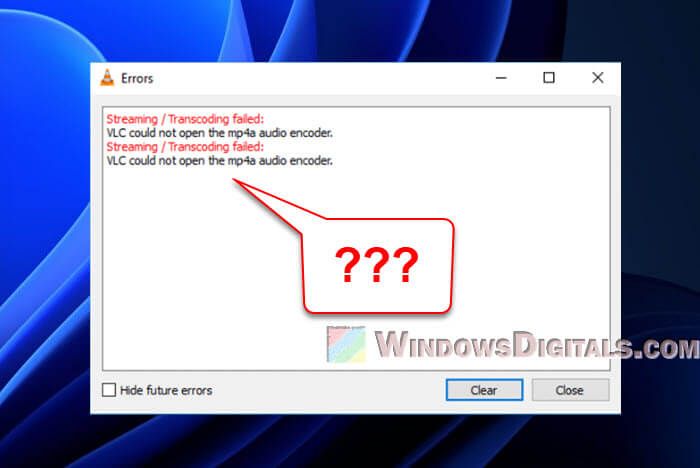
When you try to convert video files using VLC Media Player, there is a common error message that you might see during the conversion: “VLC could not open the mpga audio encoder“. Although the error messages contain keywords like “audio encoder”, it doesn’t only affect audio files. It can also happen when you’re converting between different video formats, like from MKV to MP4. You might see this error with other encoders too, like mp4v, mp4a, h264, hevc, mp2v, mp1v, wmv2, div3, and mjpeg.
This guide will show you several solutions to help fix the issue. Each solution is explained in detail to show why it might work.
Page Contents
Change “Strict standard compliance” to -2
“Strict standard compliance” is a setting in FFmpeg, a library VLC uses for multimedia. This setting keeps strict compliance with multimedia standards, which can sometimes cause compatibility problems, like the “VLC could not open mpga audio encoder” error, especially with media files that don’t fully meet these standards. Changing this setting to “-2” makes VLC less strict, helping it process more file types.
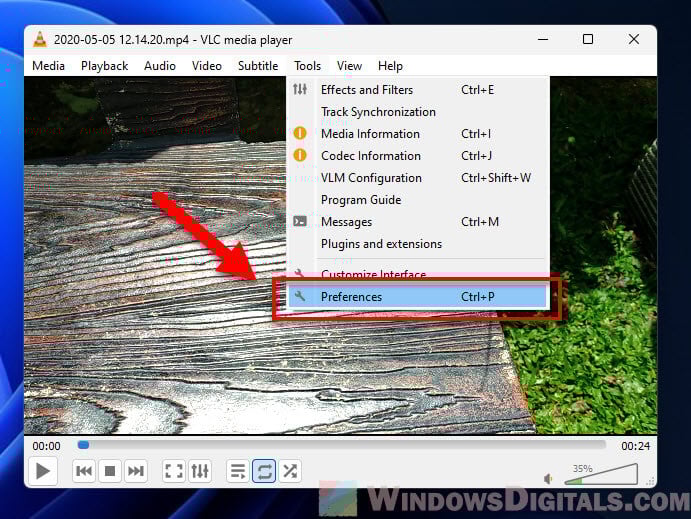
- Open VLC and go to “Tools” > “Preferences“.
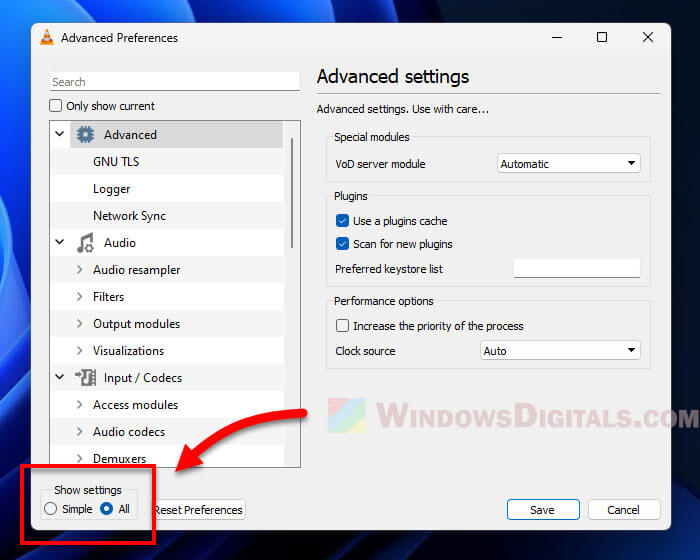
- Change “Show settings” from “Simple” to “All“.
- Go to “Input / Codecs” > “Video codecs” > “FFmpeg“.
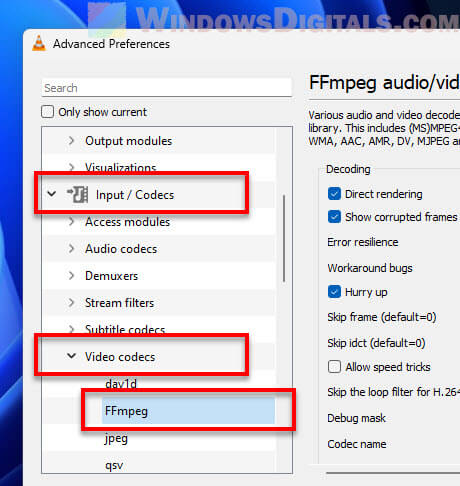
- Set “Strict standard compliance” to “-2“.

- Hit “Save” and give your conversion another shot.
Useful guide: How to Merge Subtitles With Video Permanently Using VLC
Enable “Keep original video track” and “Keep original audio track”
VLC lets you keep the original video and audio tracks during conversion. Enabling these settings can help avoid codec-related issues during encoding. Basically, it keeps the original video and audio streams, which can reduce compatibility errors.
Follow these steps to enable this setting:
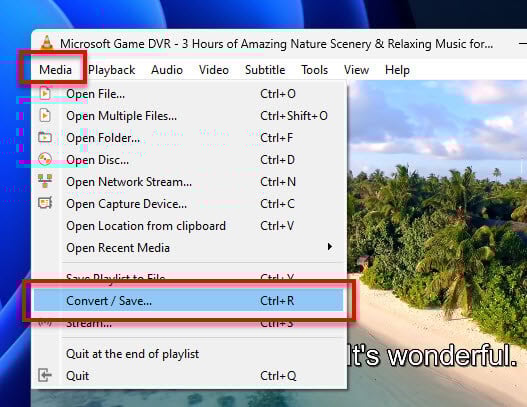
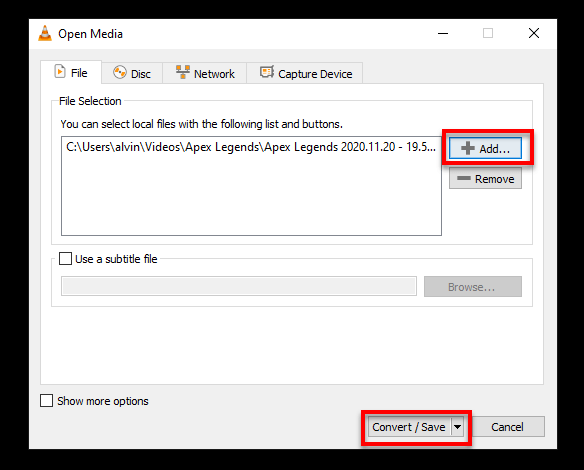
- Open VLC and go to “Media” > “Convert / Save…“.
- Add the video file you want to convert.
- Click on “Convert / Save” at the bottom.
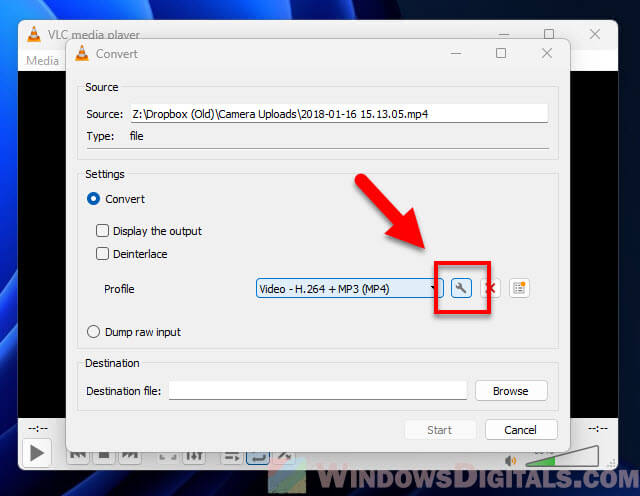
- Choose the desired output profile under “Profile“.
- Click the tool icon next to the profile to edit it.
- Under the “Video codec” and “Audio codec” tabs, check the boxes for “Keep original video track” and “Keep original audio track“.

- Click “Save“, and then try the conversion again.
Pro tip: How to Cut Video Using VLC in Windows 11
Try another conversion profile
Sometimes the problem is just with the profile you’re using. Trying a different one might just fix the problem. Here’s what you can do:
- Do the steps from second solution above until you get to the “Convert” settings.
- Pick a different profile in the “Profile” dropdown.
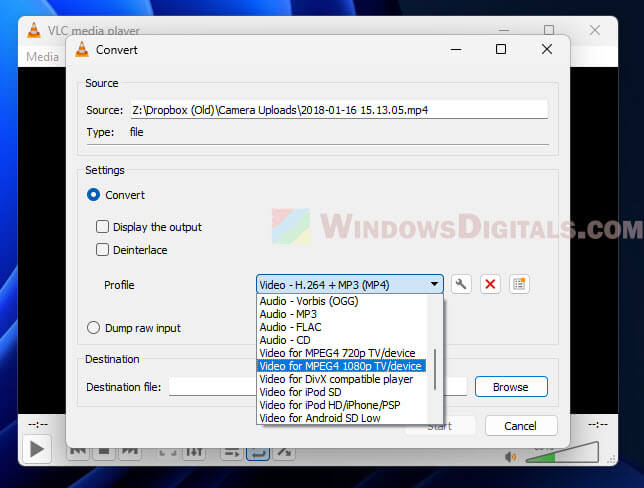
- If it still doesn’t work, try another profile.
Also see: How to Compress a Video in Windows 11
Pick a different audio encoder
If VLC is fussing over the encoder you’re using (like MPGA), switching to another might be the solution. To change the encoder, do this:
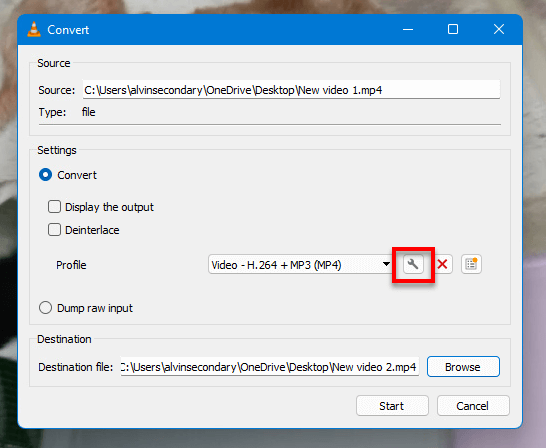
- Follow the steps from Solution 2 until you’re back at the “Convert” settings.
- Hit the tool icon next to the profile you’ve picked to edit it.
- Go to the “Audio codec” tab and switch the Codec to something else, like “AAC” or “FLAC“.
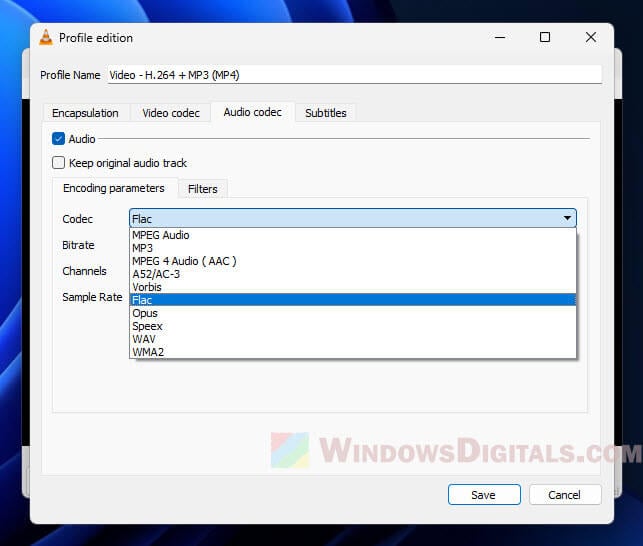
- Press “Save” and try converting your file once more.
Related resource: How to Move Subtitles in VLC Player
Install VLC again
If none of the above steps work, the problem might be with VLC itself. Sometimes, a fresh install can fix things. Follow the steps below to reinstall VLC:
- Remove VLC through “Control Panel” > “Programs” > “Programs and Features“. Find VLC, click it, and then click “Uninstall“.
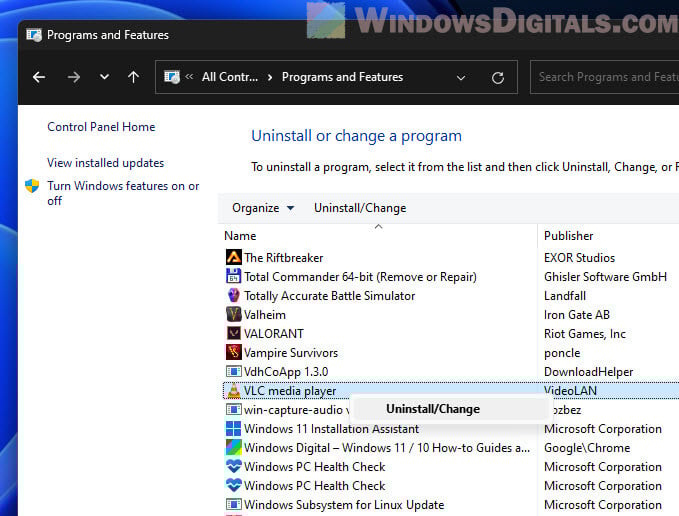
- Restart your computer to make sure VLC is completely gone.
- Go to the official VLC site, download the latest version, and follow the setup instructions.

- Try your conversion again after VLC is back.
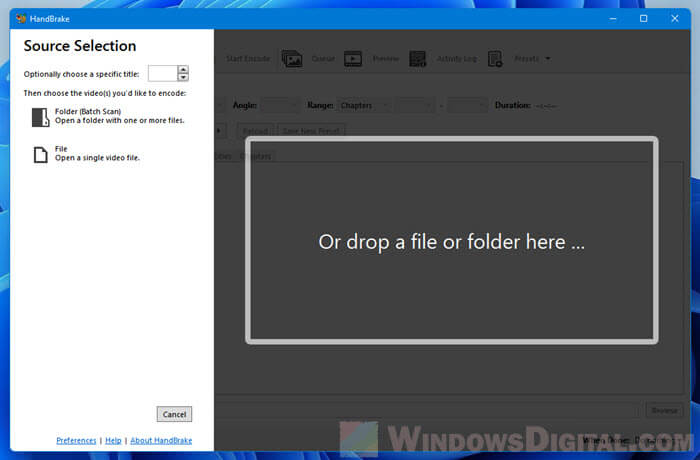
Try another video converter
If you’re still stuck with the “VLC could not open the mpga audio encoder” error (or any similar ones), maybe it’s time to try a different video converter. HandBrake is a great alternative with lots of conversion options.
One last thing
Different VLC versions might have different settings. If you can’t find a setting mentioned here, it could be because of the version you’re using. If “VLC could not open the mpga/mp4v/mp4a audio encoder” keeps being a problem, consider using a different app that focuses on converting media files.