When the sound on your TV doesn’t line up with what you see while watching videos on apps like YouTube, it’s not great. This issue, called audio lag, happens a lot and can mess up any TV setup. There’s no one perfect fix, but there are some common fixes people talk about on places like Reddit that have helped many. We’ll show you different ways that have worked for others to get the audio and video back in sync on YouTube TV.
Also see: How to Fix Netflix Audio and Video Out of Sync Issue

Page Contents
Change the HDMI audio format to fix the audio out of sync issue
A simple way to tackle the audio lag issue on your TV when using YouTube is by changing the HDMI audio format. If your TV and the device it’s connected to aren’t using the same audio settings, you might notice the sound doesn’t match the video. The following steps will show you how to change the audio settings on a Samsung TV, but the steps are similar for most other smart TVs.
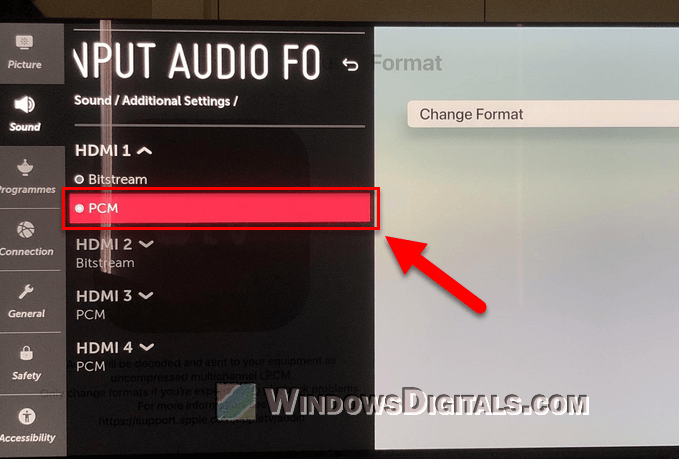
- Use your Samsung TV remote to get to the main menu by hitting the “Home” button.
- Once you’re on the home screen, look for the “Settings” icon and click it. This could look like a gear icon on some models.
- In the “Settings” menu, scroll until you find the “Sound” option. This lets you tweak various audio settings for your TV.
- In the “Sound” menu, there should be an “Expert Settings” or similar section where you can find more advanced sound features.
- Look for the “HDMI Audio Format” option. You usually get to pick between “Bitstream” and “PCM.” Switching to “PCM” has helped many people fix the out-of-sync problem.
The reason this helps is that the “PCM” setting sends a straight audio signal to your TV, which often syncs better with the video. On the other hand, “Bitstream” sends a compressed audio signal that might take longer to process, which might sometimes cause the audio to lag.
This solution may not work for everyone because the options you see can differ depending on the model of your TV and the year it was manufactured. But generally, the idea is to go into your TV’s audio settings and switch the HDMI audio output to “PCM.”
Pro tip: How to Set YouTube to Always Play Highest Video Quality
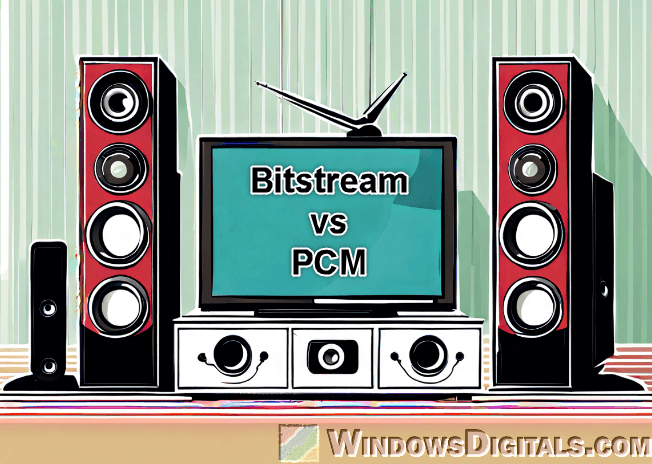
Bitstream vs. PCM
These terms, Bitstream and PCM, describe the kind of audio signal that travels through your HDMI cables from the source to your TV or receiver.
What is Bitstream?
- Bitstream sends the original compressed audio signal straight from the source device. When set to Bitstream, your TV or receiver decodes the audio signal. This is usually best when the audio is going to an external sound system like an AV receiver that can handle decoding better than the TV.
What is PCM?
- PCM, or Pulse-Code Modulation, is an uncompressed audio signal. When you pick PCM, the source device decodes the audio signal before it sends it to the TV or receiver. This setting is often better if you’re using the TV’s built-in speakers or if your external sound system does better with a decoded signal.
Why choose one over the other?
- Not all devices handle Bitstream well, especially older ones. PCM is very compatible and can reduce delays, keeping the audio in sync with the video.
- If you have a high-end sound system that can decode advanced audio codecs, Bitstream might give you better sound quality since it’s the original signal. But if your system struggles with decoding, PCM might give you a smoother experience.
- As mentioned, switching to PCM can help keep your video and audio in sync because the signal processes faster without needing extra decoding from your TV or receiver.
You can try both settings to see which works best for your setup or which fixes the audio lag issue. Some systems handle Bitstream just fine without any sync issues, while others do better with the simplicity and compatibility of PCM.
Related resource: Stream VLC on Discord: Fix No Sound, Lag & Black Screen
Other things to try
If changing the HDMI audio settings to PCM doesn’t fix the audio sync issue, there are other ways to figure out the problem or find a solution.
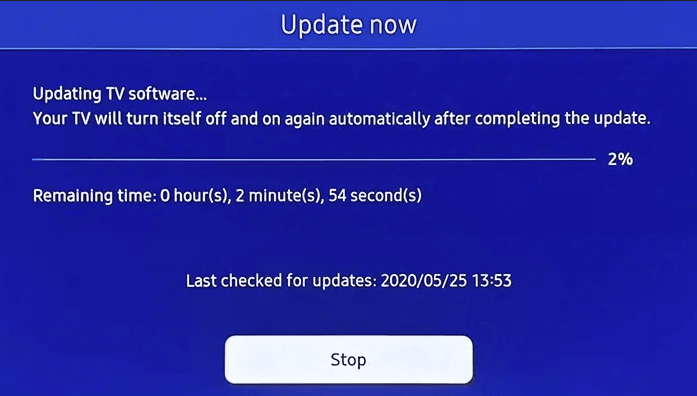
Check for software updates
- Outdated firmware might be causing the audio sync issues. Look for any updates in the “Settings” menu under “Support” or “About” and apply them if you find any.
- Make sure your Roku Streaming Stick or any other connected streaming device is up to date. You can usually find this option in the device’s “Settings” menu.
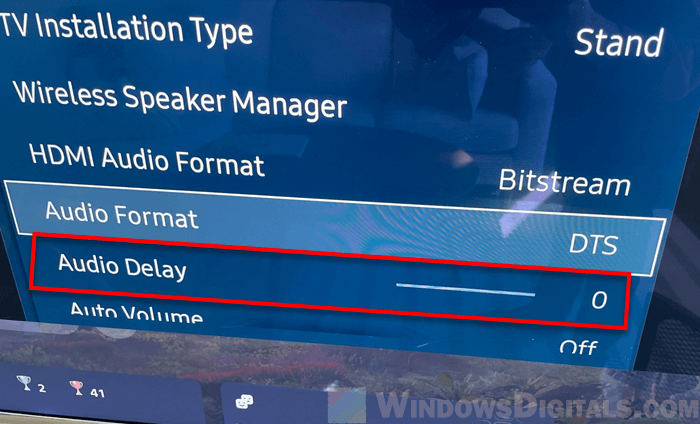
Adjust other relevant audio settings
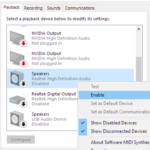
- Besides switching from Bitstream to PCM, look at other sound settings on your TV. There might be options like “Audio Sync” or “Audio Delay” to tweak.
- If you’re using a streaming device, check its audio settings. Adjust the audio output to fit what your TV can handle, which might be just “Stereo” or making sure it’s not set to a surround sound format that your TV or sound system can’t use.
Change the AV receiver settings
- Some AV receivers have a “Direct” or “Pure Direct” mode that skips some processing layers within the receiver. This might reduce lag and improve sync.
- Look for an “AV Sync” or “Lip Sync” adjustment in your receiver’s settings. This feature lets you manually align the audio with the video by adding a delay to the audio track.
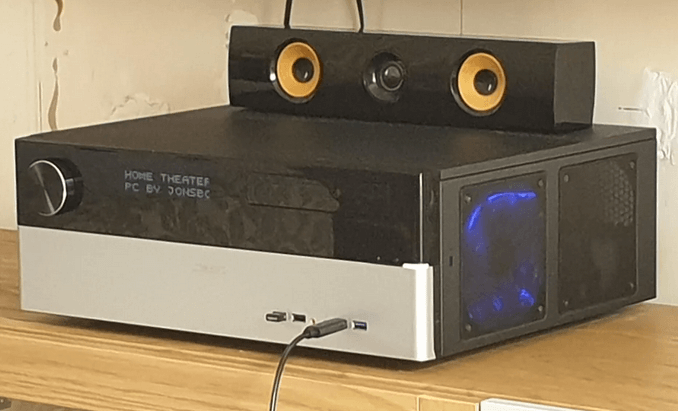
Home theater PC (HTPC) settings
- If you’re using a Home Theater PC (HTPC), look at your media player software settings. Players like VLC or Kodi let you adjust the timing manually.
- Make sure your HTPC’s sound card or onboard audio is set up right for your system. Check that you have the right drivers and output formats selected.
Check the connections and hardware
- Sometimes the problem is just a bad HDMI cable. Make sure the cable is plugged in tightly or try a new one to see if that fixes the issue.
- If you’re using an external sound system, try plugging the audio directly into the TV to see if that solves the problem. This can tell you if the issue is with the external audio setup.

Smart TV apps
- In the YouTube TV app or other streaming apps, there might be settings that affect audio playback. Check for any advanced options within the app’s audio settings.
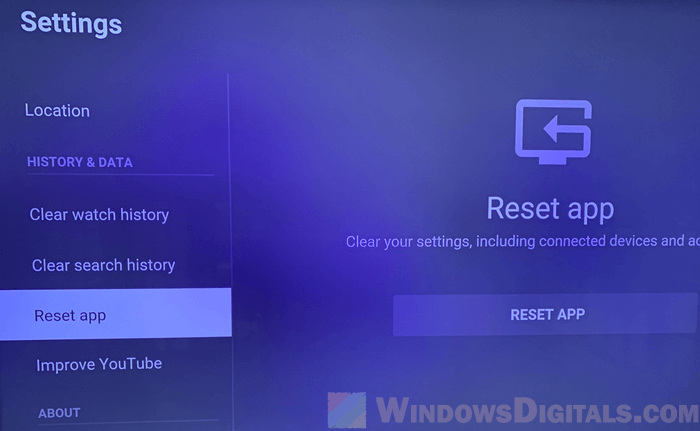
- On some smart TVs, you can clear the cache for individual apps. Doing this can fix problems caused by corrupted data messing with audio sync.
Reset your equipment
- Turning off your TV and any connected devices, unplugging them for a minute, and then plugging them back in can fix temporary glitches that might be messing with audio sync.
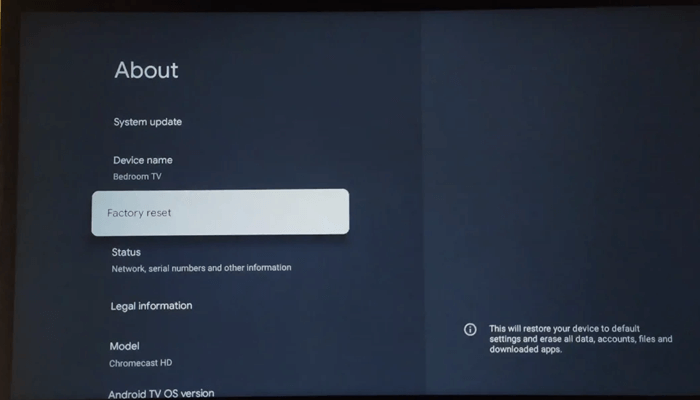
- If other fixes don’t work, you might need to factory reset your TV or streaming device. This erases all your settings, so only do it as a last resort.